9 Common Problems When Filling a Pool (& How to Fix Them)

I filled my first pool with a single garden hose and no plan. Three days later the water was murky brown, one corner of the liner had folded into a permanent wrinkle, and I had no idea why the pump was making a grinding noise. What I eventually figured out: filling a pool looks simple until you’re standing in the backyard staring at something that’s very clearly going wrong.
Whether you’re opening an above ground pool for the first time or refilling an inground pool after winter, the pool startup process involves more than running water until it hits the skimmer line. These are the 9 problems I see come up again and again. I’ll keep the chemistry numbers specific because vague ranges don’t actually help anyone when they’re standing poolside at 9pm trying to figure out what went wrong.
Key takeaways
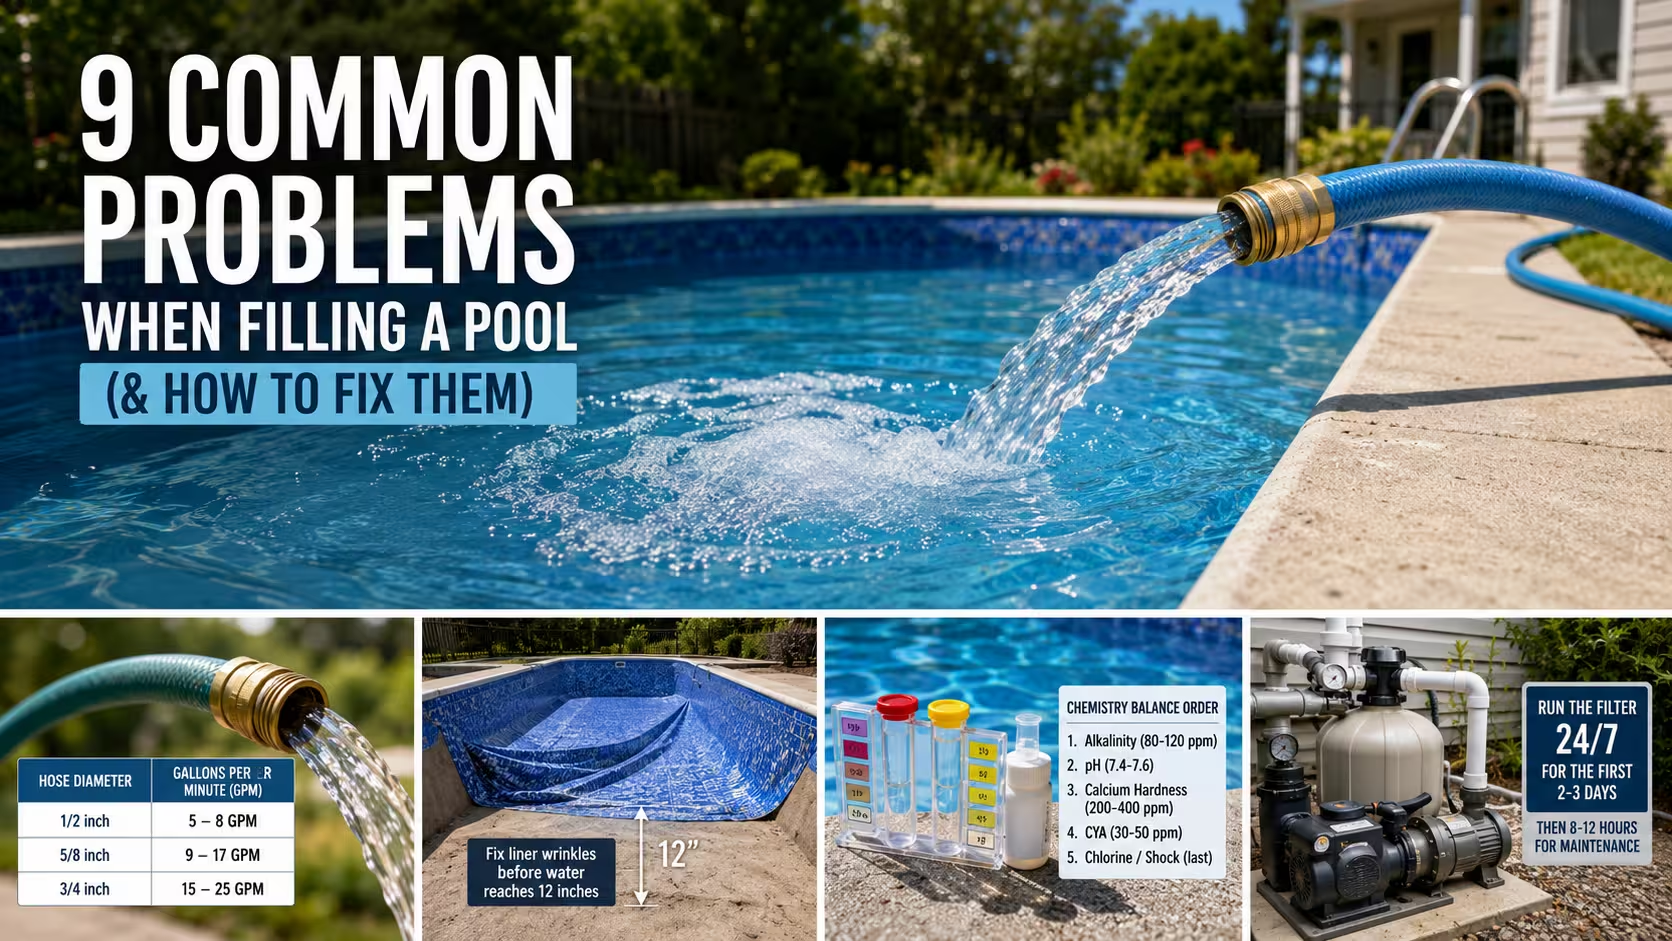
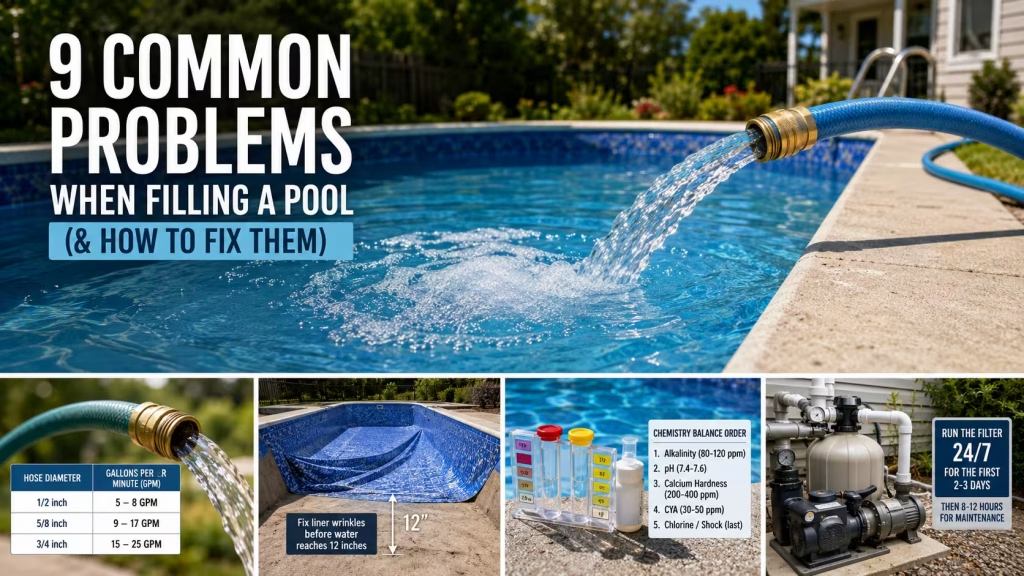
- A standard 5/8-inch garden hose delivers 9 to 17 GPM. An inground pool with 20,000 to 30,000 gallons takes 24 to 50 hours to fill with one hose.
- Pool chemistry balance order for a fresh fill: alkalinity first (80 to 120 ppm), then pH (7.4 to 7.6), then calcium hardness (200 to 400 ppm), then CYA (30 to 50 ppm), then chlorine/shock last.
- Liner wrinkles must be fixed while water is under 12 inches. After that, they’re permanent.
- Well water with high iron turns brown the moment chlorine hits it because of oxidation. Add metal sequestrant before shocking, not after.
- Run the filter 24 hours a day for the first 2 to 3 days after filling, then drop to 8 to 12 hours for regular maintenance.
Why is my pool filling so slowly, and how do I speed it up?
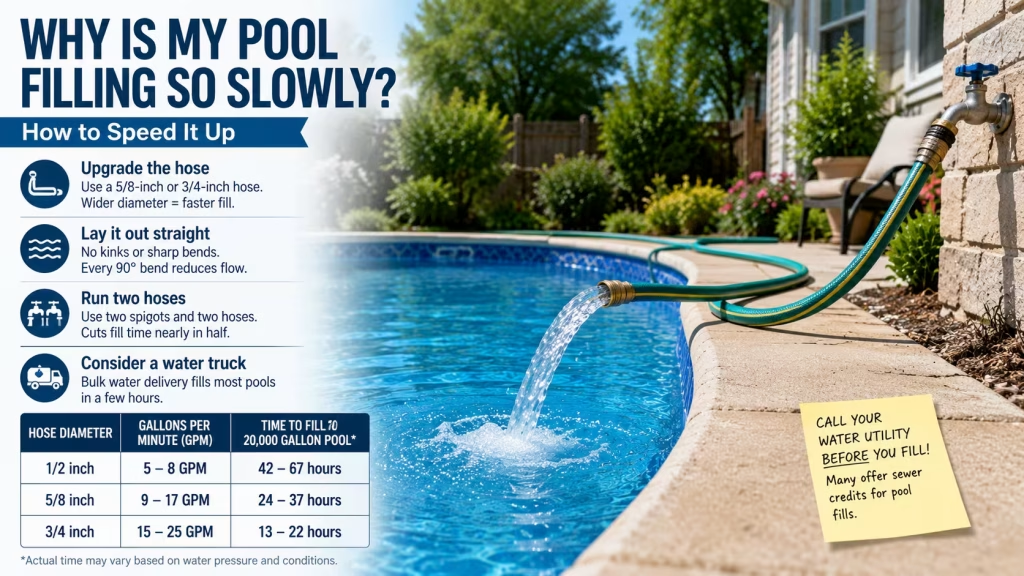
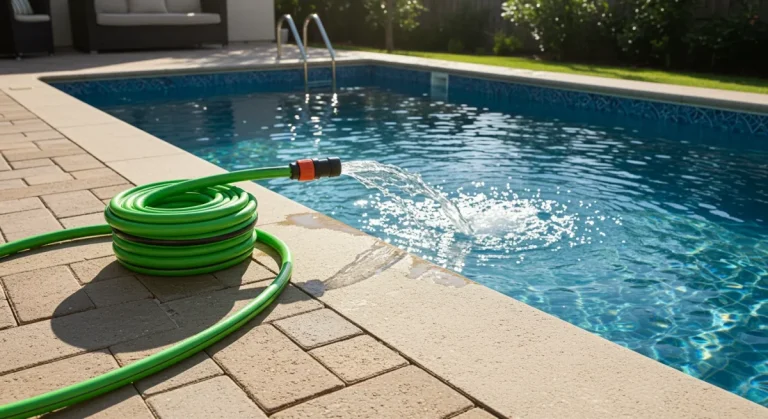
Almost always, it’s the hose. A standard 1/2-inch garden hose moves 5 to 8 GPM (gallons per minute). That sounds fine until you do the math: a 20,000-gallon pool takes 42 to 67 hours at that rate. Upgrading to a 5/8-inch hose jumps you to 9 to 17 GPM. A 3/4-inch hose gets you 15 to 25 GPM and cuts fill time nearly in half.
I was using a 1/2-inch hose with two sharp bends in it. That combination gutted my flow rate. A single tight bend in a residential line can cut water flow by more than half. After I straightened the hose and swapped to a 5/8-inch line, the difference was obvious within an hour.
What actually helps, in order of impact:
- Upgrade the hose: Move to 5/8-inch or 3/4-inch. Wider diameter equals faster fill. Full breakdown at best hose for filling a pool.
- Lay it out straight: No kinks, no sharp bends. A gradual arc from spigot to pool. Every 90-degree bend costs you pressure you can’t recover.
- Run two hoses: Two spigots, two hoses. Not complicated. Cuts fill time close to half.
- Consider a water truck: Bulk water delivery fills most residential pools in a few hours. Costs more upfront but avoids days of hose-watching. Worth comparing at alternatives to filling a pool with a garden hose.
One thing most people miss: call your water utility before you fill and ask about a sewer credit. Many municipalities will reduce your sewer bill for water that clearly went into a pool rather than down the drain. They usually won’t backdate it, so call before you start.
| Hose diameter | Typical flow rate (GPM) | Time to fill 20,000-gal pool |
|---|---|---|
| 1/2 inch | 5 to 8 GPM | 42 to 67 hours |
| 5/8 inch | 9 to 17 GPM | 20 to 37 hours |
| 3/4 inch | 15 to 25 GPM | 13 to 22 hours |
Garden hose GPM by diameter at standard residential pressure (40 to 60 PSI). Source: This Old House, 2023.
How do I know how much water my pool needs, and what will it cost?
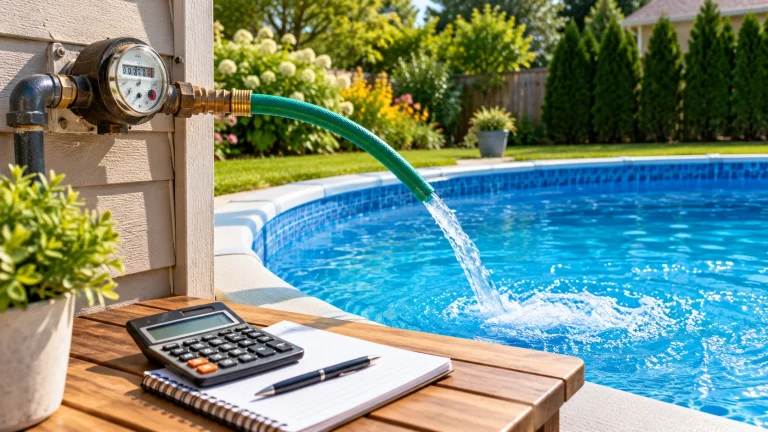
Pool volume is the number that drives everything: fill time, chemical dosing, and your water bill. The average inground pool holds 20,000 to 30,000 gallons. Above ground pools run 5,000 to 15,000 gallons. At a typical municipal water rate of $0.004 to $0.008 per gallon, filling a 25,000-gallon inground pool comes out to roughly $100 to $200 in water. (EPA WaterSense, 2024) See the full cost breakdown at average cost to fill a pool with a garden hose.
To get your exact gallon count, use the formula for your pool shape. Rectangular: length x width x average depth x 7.48. For oval or irregular shapes it gets more involved. Easiest approach is the step-by-step calculator at how to calculate pool volume in gallons.
Why does this matter beyond cost? Pool shock, algaecide, and stabilizer are all dosed per 10,000 gallons. Guess wrong and you’ll either under-treat (which opens the door to algae growth) or over-treat and waste product. My pool holds 18,400 gallons. I know that because I measured it. That number made every chemical decision easier for the entire season.
Why does my vinyl liner wrinkle when filling, and can I fix it?
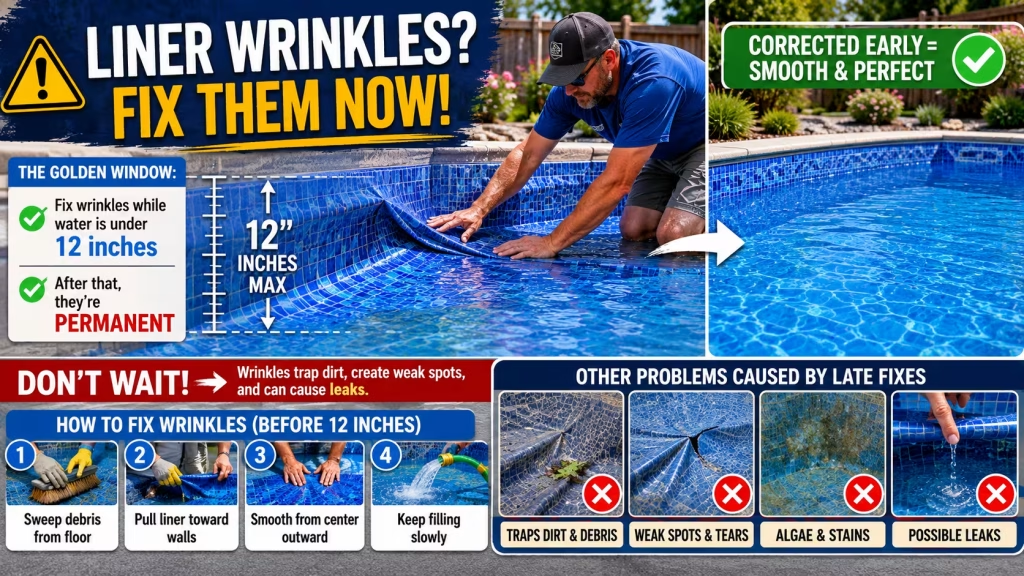
Wrinkles in a vinyl liner are almost always fixable. But only while the water is under 12 inches deep. Once the pool fills past that point, the water weight locks the wrinkles in permanently. That fix window is shorter than most people expect.
Why liner wrinkles happen
Three main causes. First: the liner was installed with residual moisture underneath and slipped during filling. Second: hydrostatic pressure from groundwater below is pushing upward. Third: the liner cooled before filling and contracted, which makes it prone to folding. Cold liner is stiff and uncooperative. If you’re filling in early spring when temps are still low, running water briefly over the liner before filling helps warm and soften it.
Groundwater pressure is worth understanding separately. If your water table is high, hydrostatic pressure can push upward against an empty liner from below. This is common in areas with a lot of rainfall or clay-heavy soil. The liner bead (the track that anchors the liner to the pool wall) can also come loose if you stop and restart the fill multiple times, letting sections of the liner lose their seating.
How to fix and prevent wrinkles
While the water is below 12 inches, push wrinkles toward the wall using a pool brush or your hands. Work from the center out. If a professional installer vacuums the liner flat against the walls before filling starts, wrinkles are far less likely to form. That’s worth asking about when getting a liner replaced.
Don’t stop the fill mid-way to fix wrinkles unless the water is still low enough to address them. Partial fills leave the liner unsupported and actually increase the chance of creasing.
Why does my pool water look brown, green, or cloudy after filling?
Discolored water almost always comes from either the source water quality or adding chemicals in the wrong order. Brown or red water: high iron. Green tint: trace copper. Cloudy or hazy water (turbidity, in technical terms): suspended particles, imbalanced pH, or both. Each one has a different cause and a different fix.
The brown tint is an oxidation reaction. Ferrous iron (Fe2+) dissolved in well water contacts oxygen and converts to ferric iron (Fe3+). That’s what creates the visible discoloration. The same chemistry that causes rust on metal. When you add chlorine before sequestrant, the chlorine speeds up that oxidation reaction and locks the iron as a stain on your pool surfaces. The fix is to add metal sequestrant first. It binds the iron particles before chlorine reaches them. A stain and scale preventer does a similar job and also handles calcium carbonate scaling on pool walls.
If you’re filling from a well, none of this is surprising. Well water with high iron, copper, or elevated total dissolved solids (TDS) is predictable. Test your source water before it goes in the pool. A basic iron and water hardness test strip takes a few minutes and tells you what you’re dealing with before any chemistry goes sideways.
For municipal water, green tints are more common. Trace copper from residential pipes or copper-based algaecide from the water authority are the usual culprits. The fix is the same: sequestrant before shock.
What is the correct order to add pool chemicals after filling?
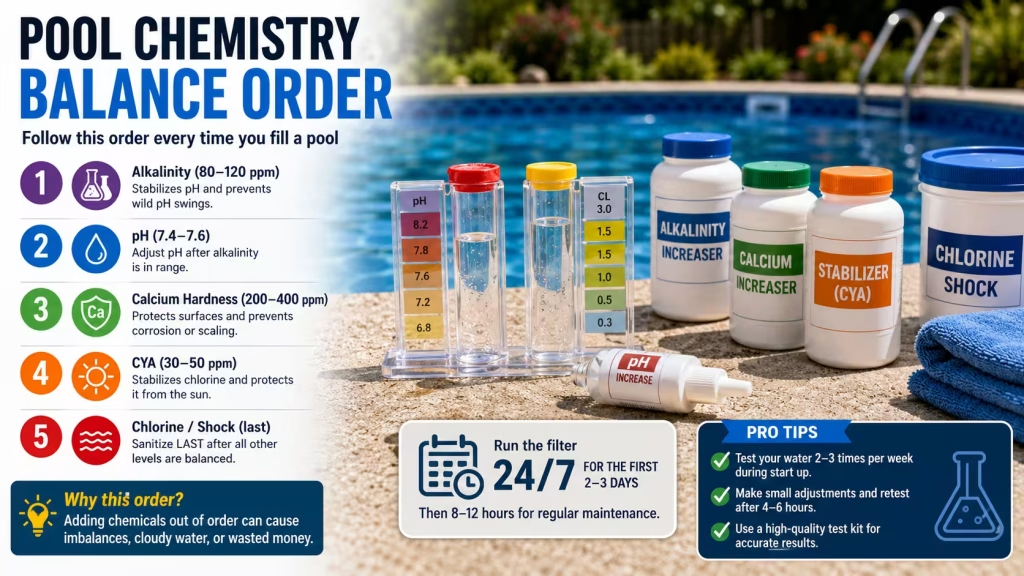
Pool chemistry balance has a specific sequence. Adding chemicals out of order wastes product and causes pH swings or surface staining that could have been avoided. For a fresh fill: total alkalinity first, then pH, then calcium hardness, then cyanuric acid (CYA), then chlorine or shock last. That order matters. (Pool Supply World, 2026)
| Chemical parameter | Target range | Why it matters |
|---|---|---|
| Total alkalinity (TA) | 80 to 120 ppm | Stabilizes pH so it doesn’t drift daily |
| pH | 7.4 to 7.6 | Optimal for chlorine effectiveness and swimmer comfort |
| Calcium hardness | 200 to 400 ppm | Prevents plaster etching and surface scaling |
| Cyanuric acid (CYA) | 30 to 50 ppm | Protects chlorine from UV degradation outdoors |
| Free chlorine | 1 to 3 ppm | Active sanitization level for ongoing maintenance |
Pool chemistry balance targets for residential pools.
Here’s what each step actually does:
Total alkalinity (TA): Set this first, 80 to 120 ppm. TA is the buffer that holds pH stable. If you adjust pH before TA is right, pH will drift back within hours and you’ll chase it for a week. Raise TA with sodium bicarbonate; lower it with muriatic acid.
pH: Once TA is dialed in, target 7.4 to 7.6. Below 7.4 the water turns corrosive and irritates eyes and skin. Above 7.6, chlorine loses most of its sanitization power. Not a little. Most of it. Raise pH with soda ash; lower it with muriatic acid.
Calcium hardness: Target 200 to 400 ppm. Soft water is aggressive water. Below 200 ppm, the water will pull calcium from your pool’s plaster or vinyl surfaces to balance itself. Calcium chloride raises hardness. There’s no quick way to lower it except a partial drain and refill.
Cyanuric acid (CYA/stabilizer): Aim for 30 to 50 ppm if you’re using unstabilized chlorine outdoors. CYA protects chlorine from UV breakdown. Without it, chlorine in direct sunlight degrades within a few hours. Worth knowing: stabilized chlorine tabs (trichlor or dichlor) add CYA automatically every time you use them. If you’ve been on tabs all season, test CYA levels before adding more or they’ll creep too high.
Shock (breakpoint chlorination): For a fresh fill, start with a super-chlorination dose of 10 to 30 ppm. This is different from your normal maintenance routine. You’re clearing all the bacteria, algae spores, and organic material that came in with the source water before settling into normal free chlorine levels of 1 to 3 ppm. Common shock types: calcium hypochlorite is the most widely used; sodium dichloro (dichlor) is stabilized; potassium monopersulfate is a non-chlorine option. Each has different handling and storage requirements, so read the label.
After adding any chemical, wait at least 15 minutes and retest before moving to the next step. Let the pump run between additions. This process takes a few hours total. Getting it right means you’re swimming within 24 hours of filling. Getting it wrong means a week of chemistry problems.
How do I keep debris out of the pool while it’s filling?
Debris during filling is easy to ignore until the pool is full and you’re looking at a bottom covered in leaves and dead bugs. Untreated organic material increases chlorine demand significantly. That means your initial shock will be partially used up fighting debris instead of sanitizing the water. Deal with it during the fill, not after.
Practical steps that actually work:
- Skim the surface every few hours during filling with a standard leaf net. Takes two minutes each time.
- Keep a cover on as much as possible. Even a basic tarp cuts down on what blows in, especially if you’re filling overnight.
- Trim overhanging branches before you start. I do this the week before pool opening every year. Less debris in means less organic load from day one.
- Don’t run the skimmer at very low water levels. The skimmer weir, the floating flap at the skimmer opening, needs the water at roughly the right level to create enough surface pull to work. Below the midpoint of the skimmer throat, it won’t draw anything in effectively.
Why won’t my pool pump prime after filling, and how do I fix it?
A pump that won’t prime is almost always an air problem, not a pump failure. Priming means the pump is actually moving water. When it’s fighting air instead, it runs dry, builds up heat fast, and risks damaging the impeller (the internal spinning component that moves water) and the O-ring seals. Most priming failures come down to air leaks in the suction line, a water level that’s too low, or a clogged pump strainer basket.
I ran my pump dry for about four minutes. The noise should have told me immediately. It sounded like a blender full of gravel. No permanent damage, but four to five minutes of dry running can warp the impeller housing on some pumps. The fix was quick once I knew what to look for.
How to prime a pool pump correctly:
- Turn the pump off completely.
- Confirm water is at or above the midpoint of the skimmer opening. If the pool is still filling, wait. Running the pump too early is the most common mistake.
- Open the pump strainer basket housing and check it’s full of water. If not, fill it manually before closing it back up.
- Set your multiport valve (the 6-position valve on a sand filter) to “Filter.” Never run the pump with the valve halfway between positions.
- Check all union fittings and visible plumbing connections for gaps. A loose O-ring or gasket at the pump housing is a common air entry point. Lubricate O-rings with silicone lubricant. Petroleum-based lubricants degrade rubber over time.
- Restart the pump and look for steady water flow within 1 to 2 minutes. If it doesn’t prime in 2 to 3 minutes, shut it off and start over from step 1.

Once the pump is running, check the filter pressure gauge. Normal operating PSI varies by system but typically runs 8 to 15 PSI. Anything higher than your baseline means the filter is dirty or there’s a restriction in the line. Sand filters need backwashing before first use after winter. Cartridge filters need the cartridge rinsed and reseated. DE filters need to be re-charged with DE powder after each backwash. The startup procedure is slightly different for each filter type, so know what you have before you start.
What should I check before restarting pool equipment after a winter drain?
Restarting pool equipment after a seasonal drain takes about 30 to 45 minutes if you do it carefully. Skip any part of this and you’ll end up debugging the problems covered in this article after the pool is full. That’s a much worse position to be in.
Pool opening checklist before filling:
- Inspect the liner (or plaster or fiberglass surface) for cracks, tears, or damage. Note anything now, before water covers it.
- Reinstall the main drain plug and any equipment plugs you removed for winterization.
- Remove all freeze plugs from return jets. Make sure the directional eyeball fittings are properly seated.
- Reinstall the skimmer weir and skimmer basket.
- Reassemble the filter system. Check the pressure gauge glass for cracks before relying on it.
- Walk the visible plumbing and look for freeze cracks. A hairline crack in a PVC return line creates an air leak that will prevent priming even if everything else is correct.
- For new plaster pools: plaster dust in the water is normal for the first few days. Brush walls and floor twice daily until it clears. Don’t fight it with extra chemicals. Just keep brushing and circulating.
If you have a pool heater or a salt water chlorination system, check the manufacturer’s startup instructions before powering them on. Salt chlorinators in particular need the pool at correct salinity (typically 2,700 to 3,400 ppm) and balanced chemistry before the cell is activated. Running a salt cell in unbalanced water shortens its lifespan faster than most people expect.
What happens if you overfill a pool, and what is the right water level?
The correct pool water level is the midpoint of the skimmer opening. Not the top of the pool walls. Not the pool coping (the cap around the pool edge). The skimmer opening midpoint. Fill above that, and the skimmer weir can’t create enough surface tension to pull floating debris in. Fill to the point where the skimmer is fully submerged, and it stops working entirely.
The structural side of overfilling is less obvious. Excess water saturates the soil around the pool deck and expansion joints. That saturated soil erodes, creating voids under the deck that can cause concrete to crack or sink. It’s a slow process, but repeated overfill-and-drain cycles cause cumulative damage at the deck edge and pool coping. Worth avoiding from the start.
If you’ve already overfilled, the fastest fix is to set your multiport valve to the “Waste” position and run the pump to discharge water directly out of the system, bypassing the filter. Watch the level and shut the pump down before you undershoot. It’s easy to go from overfilled to underfilled faster than you’d expect. For more on managing level throughout the season, see our guide on how to maintain pool water level.
Frequently asked questions about filling a pool
How long does it take to fill a pool with a garden hose?
It depends on your pool size and hose. A 5/8-inch hose flowing at 9 to 17 GPM takes roughly 20 to 37 hours to fill a 20,000-gallon inground pool. A 1/2-inch hose takes 42 to 67 hours for the same pool. Above ground pools in the 5,000 to 15,000 gallon range fill in 5 to 28 hours, depending on hose size and how much pressure you’re working with at the spigot.
Do you need to shock a pool right after filling?
Yes. Fresh fill water needs an initial shock dose, technically called breakpoint chlorination, at 10 to 30 ppm. That clears bacteria, algae spores, and organic material from the source water. Do this after balancing total alkalinity, pH, and calcium hardness, but before adding cyanuric acid. Then let free chlorine settle to 1 to 3 ppm for ongoing maintenance.
How long should I run the filter after filling a pool?
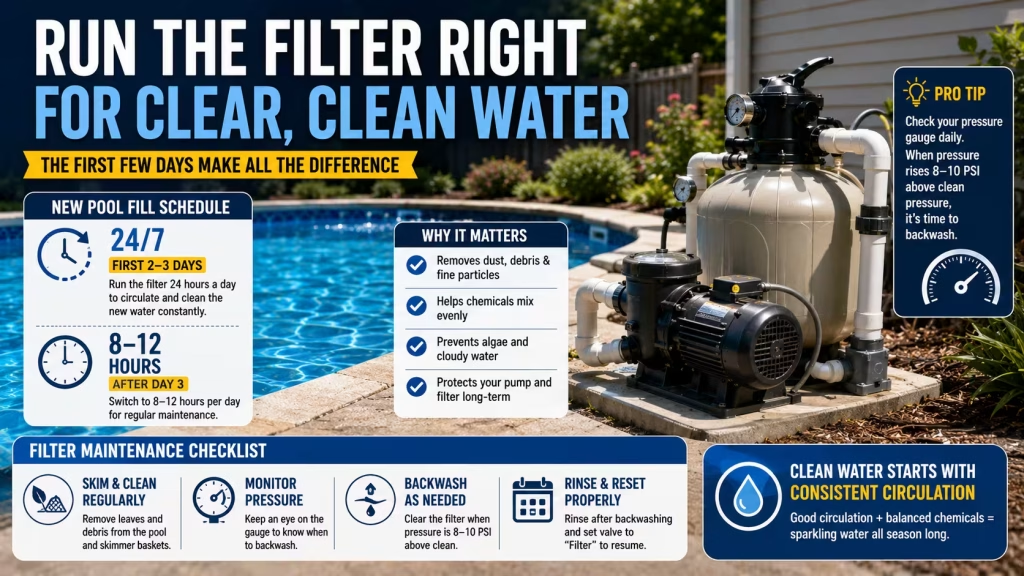
Run the filter 24 hours a day for the first 2 to 3 days. Continuous circulation lets chemicals distribute evenly and gives any suspended debris or plaster dust a chance to clear. After that initial period, 8 to 12 hours per day is the normal maintenance target. Check your filter pressure gauge daily in the first week. A rise above your normal baseline PSI means the filter needs backwashing or cleaning.
Can I fill my pool with well water?
Yes, but test the well water first. Check for iron, copper, and total dissolved solids (TDS) before any of it goes in. Well water with iron above 0.3 ppm will turn brown on contact with chlorine because of oxidation. Add metal sequestrant before shocking, not after. High TDS or elevated water hardness in well water also affects your calcium hardness targets, so adjust your chemical dosing once you know what you’re starting with.