How to Remove a Car Battery Safely: Step-by-Step DIY Guide Without Sparks or Computer Reset

Removing a car battery seems simple until a wrench slips against bare metal. A corroded bolt can also snap off without warning. Knowing how to remove a car battery safely prevents electrical sparks, acid burns, and memory loss. Modern vehicles carry sensitive onboard chips that require a strict disconnect order.
A standard car battery holds twelve volts and hundreds of cold cranking amps. Check your vehicle group in our searchable car battery size database before you start work. This confirms your correct replacement fitment.
The Negative-First Ground Rule: Disconnect Negative to Stop Short Circuits
To remove a car battery safely, you must disconnect the black negative (-) terminal first. This breaks the electrical circuit between the battery and the vehicle frame. Removing the negative cable first stops short circuits if your wrench touches metal while loosening the positive clamp.
Every modern vehicle uses the steel chassis as the ground return path. A heavy black cable bolts from the negative post to the engine block, so the entire car body shares this negative ground. Touching a tool between the negative post and bare metal produces zero voltage difference and zero sparks.
Electrical Loop Physics: What Happens When Tools Touch Bare Metal
Accidents happen when you loosen the red positive clamp while the negative cable stays connected. Any contact between the steel wrench and bare engine metal creates a dead short circuit. Six hundred amps surge through the tool in a split second.
This heavy current surge can weld the steel wrench to the chassis instantly. The discharge boils battery acid, vents hydrogen gas, and ruins your main fuse block. Taking off the negative cable first eliminates the ground path. Once the negative clamp comes off the post, positive tool contact causes no damage.
Why 12 Volts Cannot Shock Human Skin
Many new mechanics fear touching car battery posts with bare hands. Twelve volts of direct current cannot penetrate the natural electrical resistance of dry human skin. That high resistance keeps current flow below one milliamp. This makes a direct shock impossible at twelve volts.
However, metal conducts electric current with zero resistance. Gold rings, steel watches, and chains bridge contacts quickly in tight bays. A metal ring touching a live positive post heats red-hot in two seconds. Always take off all rings and metal watches before touching battery posts.
Essential Tools and Safety Gear Before You Unbolt Cables
Removing a car battery requires eye protection, nitrile gloves, a 10mm wrench, and a socket set with an extension. You also need a two-jaw terminal puller for stuck clamps, plus a wire brush and baking soda solution to clean corroded posts.
Safety gear shields your eyes and skin from chemical burns. Lead-acid car batteries hold liquid electrolyte made of sulfuric acid. Engine heat pushes acid vapors through case vents. This leaves white sulfate crust on metal clamps. Wear safety glasses with side shields to stop flying debris while turning tight bolts.
Standard 10mm Top Posts vs GM 5/16-Inch Side Bolts
Car makers use distinct terminal styles that require exact wrench sizes. Most passenger cars use standard top posts with a 10mm clamping nut. Loosening top post hardware requires a metric 10mm box wrench or socket.
Many GM trucks use side-terminal batteries with internal threads, and these side bolts require an 8mm or 5/16-inch hex socket. Using a loose 10mm socket on a side bolt strips the soft lead head. Check your vehicle layout, like the side bolts on a Chevy Silverado 1500 battery setup, before grabbing tools.
| Terminal Architecture | Socket or Wrench Size | Disconnect Sequence | Torque Limit | Critical Mechanical Risk |
|---|---|---|---|---|
| Standard SAE Top-Post | 10 mm Metric | Negative first, then positive | 50 to 70 in-lbs (6 to 8 Nm) | Prying clamp fractures internal lead plate weld |
| GM Side-Terminal | 5/16 inch (8 mm) | Negative first, then positive | 70 to 90 in-lbs (8 to 10 Nm) | Stripping female threads inside soft battery lead |
| European DIN Recessed | 10 mm Deep Socket | Negative first, then positive | 50 to 60 in-lbs (6 to 7 Nm) | Tool contact with adjacent metal hold-down bar |
| Base Hold-Down Wedge | 13 mm or 1/2 inch Socket | Remove after cables detached | 40 to 60 in-lbs (5 to 7 Nm) | Dropping bolt into engine under-tray crevices |
The $7 Terminal Puller That Saves Battery Casings
A two-jaw battery terminal puller is a valuable low-cost tool for your kit. When a copper clamp seizes to a lead post through corrosion, hand force rarely works. Novice drivers often slide a flathead screwdriver under the clamp to pry upward.
Upward prying force exerts strong leverage against the fragile plastic lid. Upward prying cracks the case, snaps internal lead welds, and spills acid into the tray. A dedicated two-jaw puller hooks under the clamp arms and drives a center bolt down against the post top. This tool lifts frozen clamps with zero strain on internal battery plates.
Protect Vehicle Electronics: Plug In an OBD-II Memory Saver
A 12-volt OBD-II memory saver preserves digital computer settings when you disconnect the vehicle battery. The device plugs into your diagnostic port under the dash. It feeds clean backup current from a jump pack. This power keeps electronic throttle idle points, radio security codes, and clock settings intact.
Modern vehicles store operating data inside engine control memory. When system voltage drops to zero during battery swaps, computers lose fuel trim tables and throttle position memory. You can also review how to reset a car computer without disconnecting the battery if you only need system diagnostics.
Wait 10 Minutes for Engine Control Modules to Enter Sleep Mode
Do not unbolt battery cables right after shutting off the engine. Modern cars run diagnostic checks for several minutes after key-off. Body controllers and smart key receivers run routine checks during this shutdown window.
Wait ten full minutes with the vehicle keys outside the car before unbolting cables. This pause lets onboard controllers write operational data to flash memory and enter sleep mode. Pulling cables while chips stay active can spike bus voltage and set false codes. If erratic voltage triggers trouble codes, look up fix steps in our OBD2 repair cost database.
Preserve Throttle Body Idle and Radio Anti-Theft Codes
Abrupt power loss forces engine computers back to factory baseline maps. When you start the car with a fresh battery, the throttle plate cannot balance carbon buildup. The engine may idle roughly, hesitate during acceleration, or stall out at stop lights. The module must run a relearn cycle.
Factory sound systems also enter anti-theft lockout mode when internal capacitors lose power. Restoring radio use requires entering a five-digit code that many car owners misplace. A simple OBD-II memory saver prevents these headaches. It supplies steady twelve-volt power through diagnostic pin sixteen.
Step-by-Step Battery Removal: Safe Cable and Bracket Extraction
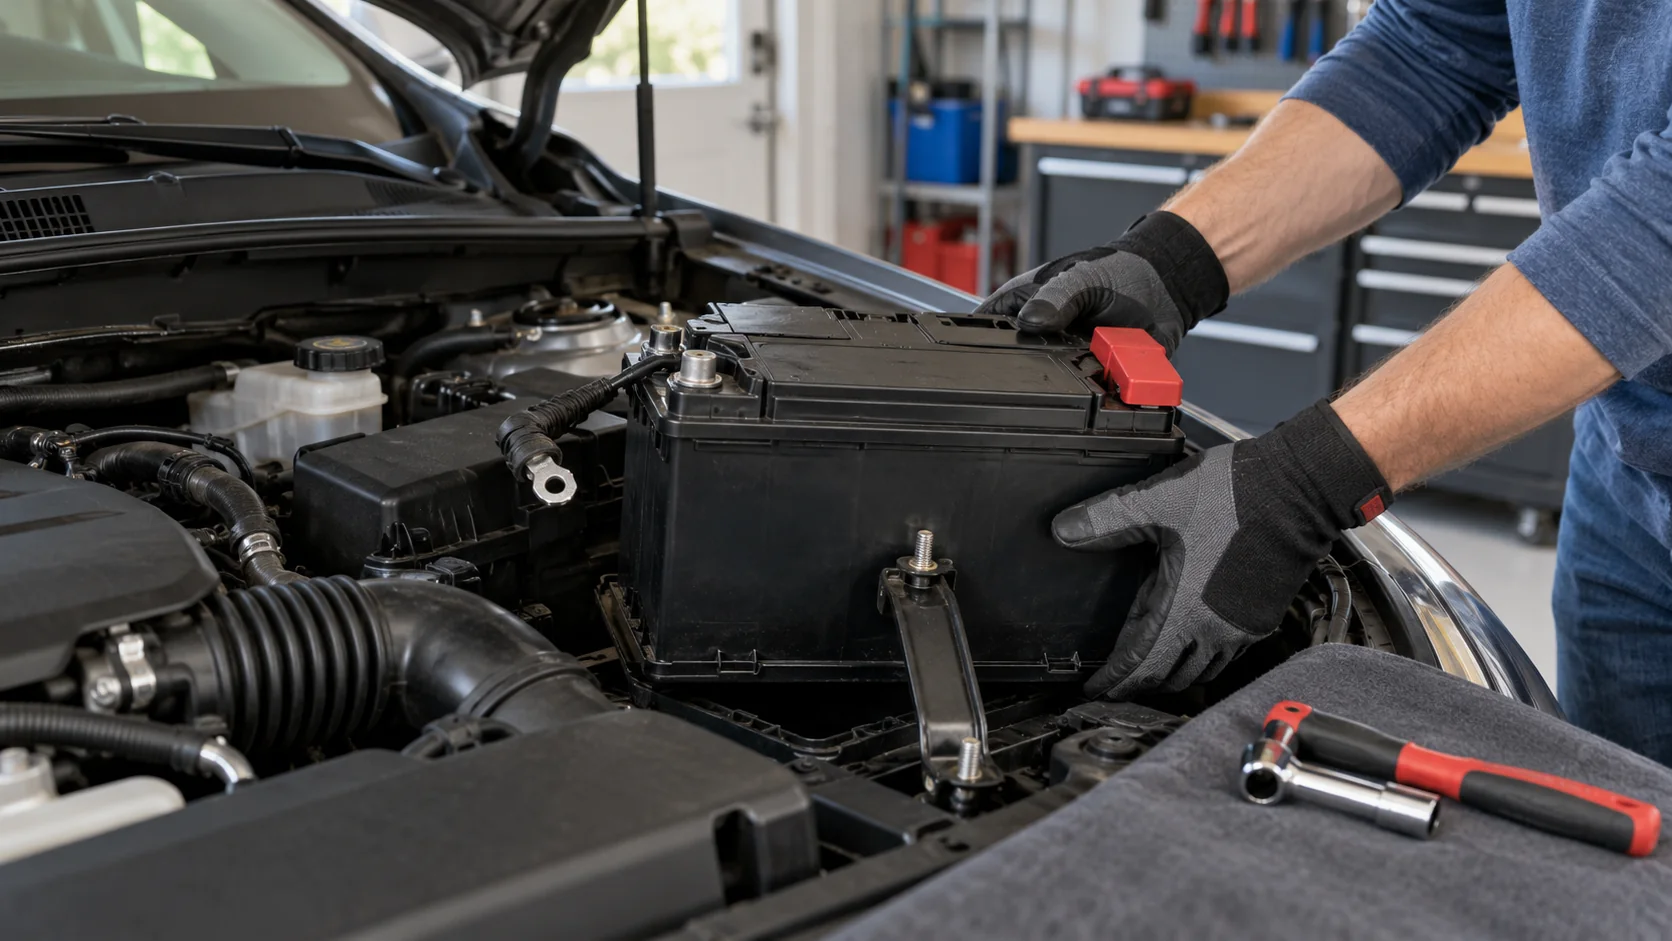
Removing a car battery requires five steps. Park on level ground with the engine off. Disconnect the negative cable first and the positive cable second. Unbolt the hold-down bracket. Lift the heavy battery straight up using two hands to avoid spills.
Put the vehicle transmission in park and set the parking brake firmly. Put on your safety glasses and nitrile gloves before lifting the car hood. Set the hood prop rod into its marked slot to prevent accidental hood drops while you work.
Step 1: Loosen and Isolate the Black Negative Cable
Find the negative terminal post marked with a minus sign (-) or black plastic cover. Place your 10mm wrench on the clamp pinch bolt nut. Turn the nut counterclockwise to loosen the clamp grip. You only need to loosen the nut two or three turns.
Grasp the cable clamp with gloved hands and twist it to break the surface bond before lifting it off the post. Push the detached negative cable away from the battery tray, and wrap the bare clamp in a dry shop rag. This stops the cable from springing back against the lead post.
Step 2: Detach and Wrap the Red Positive Terminal
Flip open the red plastic cover protecting the positive terminal post marked with a plus sign (+). Place your 10mm wrench on the positive clamp nut and turn counterclockwise. Because the negative ground circuit is broken, your wrench will not spark if it touches metal.
Twist the positive clamp and lift it clear of the post. Cover the entire metal clamp assembly with a thick dry shop rag or heavy glove. Wrapping the positive clamp blocks stray discharge. It also keeps the lead clamp clean from road dirt.
Step 3: Unbolt the Base Hold-Down Clamp
Car batteries sit secured in steel trays to withstand rough road vibrations. Many models use a metal crossbar across the top lid, held by two J-bolts with 10mm nuts. Other vehicles use a plastic wedge clamped against the lower flange, held by a single 13mm bolt, like the wedge on a Ford F-150 battery bracket.
Use a deep socket and long ratchet extension to reach lower hold-down bolts. Turn the bolts counterclockwise. Keep your free hand ready to catch loose hardware. Lift off the hold-down bracket and place all nuts safely inside a magnetic parts dish.
Step 4: Lift 40 Pounds Safely Out of the Engine Bay
Lead-acid car batteries weigh between thirty-five and fifty-five pounds due to solid lead plates. If your battery has a built-in plastic handle, flip it up and check the hinges for cracks. If the case lacks a strap, grip the lower corners of the plastic body with both hands.
Keep your feet flat on the ground, bend your knees, and lift straight up with your legs. Keep the battery level during the entire lift. This prevents liquid acid from leaking through vent caps. Set the old battery down on a flat board or cardboard sheet outside the work area. Heavy AGM batteries need equal care, as noted in our guide on AGM vs lead-acid car batteries.
How to Free Stuck or Corroded Terminals Without Cracking the Case
To free a stuck or corroded car battery terminal, neutralize crusty lead sulfate deposits with a baking soda wash. Unthread the pinch nut and spray the post with penetrating oil. Use a mechanical terminal puller to pop the clamp off cleanly without cracking the plastic lid.
Corrosion creates a stubborn chemical bond between lead posts and copper clamps. Sulfuric acid vapors seep through worn seals and react with metal to form rock-hard sulfate crystals. Hammering or twisting frozen clamps snaps the internal lead straps inside the battery.
Neutralize Acid Crust With Baking Soda Solution
A baking soda wash dissolves corrosive crust safely without scraping metal posts. Mix one tablespoon of common baking soda into one cup of warm water. Stir the liquid until the white powder dissolves into a mild cleaning solution.
Pour the mixture over the corroded terminal clamp using an old spoon. The solution fizzes as it reacts with acidic sulfate deposits. It converts acid into water and harmless carbon dioxide gas. Scrub the softened crust away with a stiff nylon brush, rinse the metal with fresh water, and dry it with a rag.
Never Pry Clamps Upward With a Flathead Screwdriver
When a clamp stays stuck after cleaning, many drivers jam a flathead screwdriver under the clamp as a wedge. Forcing a steel screwdriver blade against the top lid applies sharp focal stress to the plastic case.
The plastic top cover cracks under vertical leverage. This snaps the internal post and leaks acid onto the car chassis. If you lack a puller, expand the clamp gap with a terminal spreader tool. Spreading the clamp arms frees the grip safely and avoids upward force against the battery case.
Trunk-Mounted Batteries and Vent Tube Protocols
Trunk-mounted batteries require detaching an external vent tube before lifting the case out of the vehicle. This plastic hose directs hydrogen fumes safely outside the vehicle cabin. You must always reattach this vent elbow when installing the replacement battery.
Car makers often mount batteries in the rear trunk to improve vehicle weight balance. Enclosed passenger cabins lack the open airflow of an engine bay. Normal charging creates hydrogen gas, which poses a fire hazard in closed compartments.
Locate the small white plastic elbow inserted into the side vent hole of the case. Pull the barbed fitting straight out before unbolting the hold-down bracket. Check the rubber vent line for kinks, and make sure the discharge port under the spare tire tub stays open.
Frequently Asked Questions About Car Battery Removal
What happens if you accidentally disconnect the positive terminal first?
Loosening the positive clamp first creates a short circuit if your wrench touches bare metal. This causes intense sparks, melted tools, and battery explosion risks.
Can you touch both car battery terminals at the same time with bare hands?
Yes, you can touch both terminals at once with bare skin without getting shocked. Dry skin has high electrical resistance that twelve volts cannot overcome. However, metal rings and conductive tools must never bridge the posts, as metal carries high current instantly.
Is an OBD-II memory saver strictly necessary when removing a battery?
An OBD-II memory saver is not required to pull the battery, but skipping it wipes learned idle points, radio security codes, and clock settings. Using a memory keeper stops rough idle problems and system resets after battery installation.
What size wrench do I need to disconnect car battery terminals?
Most vehicles use a standard 10mm metric wrench or socket for top-post battery clamps. General Motors side-terminal batteries need an 8mm or 5/16-inch hex socket, while base hold-down brackets generally use 10mm or 13mm hardware.
How do you remove a battery terminal that is seized?
Clean heavy crust with a baking soda wash. Apply penetrating oil around the post seam, and lift the clamp with a two-jaw terminal puller. Avoid prying with flathead screwdrivers to protect the plastic case from cracking.
Next Steps: Test, Install, and Collect Core Return Refunds
After removing your old car battery, take the spent unit to an auto parts shop to collect your ten to twenty-two dollar core deposit refund. Clean the empty battery tray. Then follow our complete guide to install your replacement battery correctly.
Before buying a new battery, verify that battery failure caused your starting problems. Review common warning signs with our guide on signs a car battery is dying, or check internal health using our guide to test a car battery with a multimeter. If your battery drained while parked, inspect common parasitic loads in our guide on what causes a car battery to drain overnight.
When you have your fresh battery ready, follow our guide on how to install a car battery with proper torque specs.