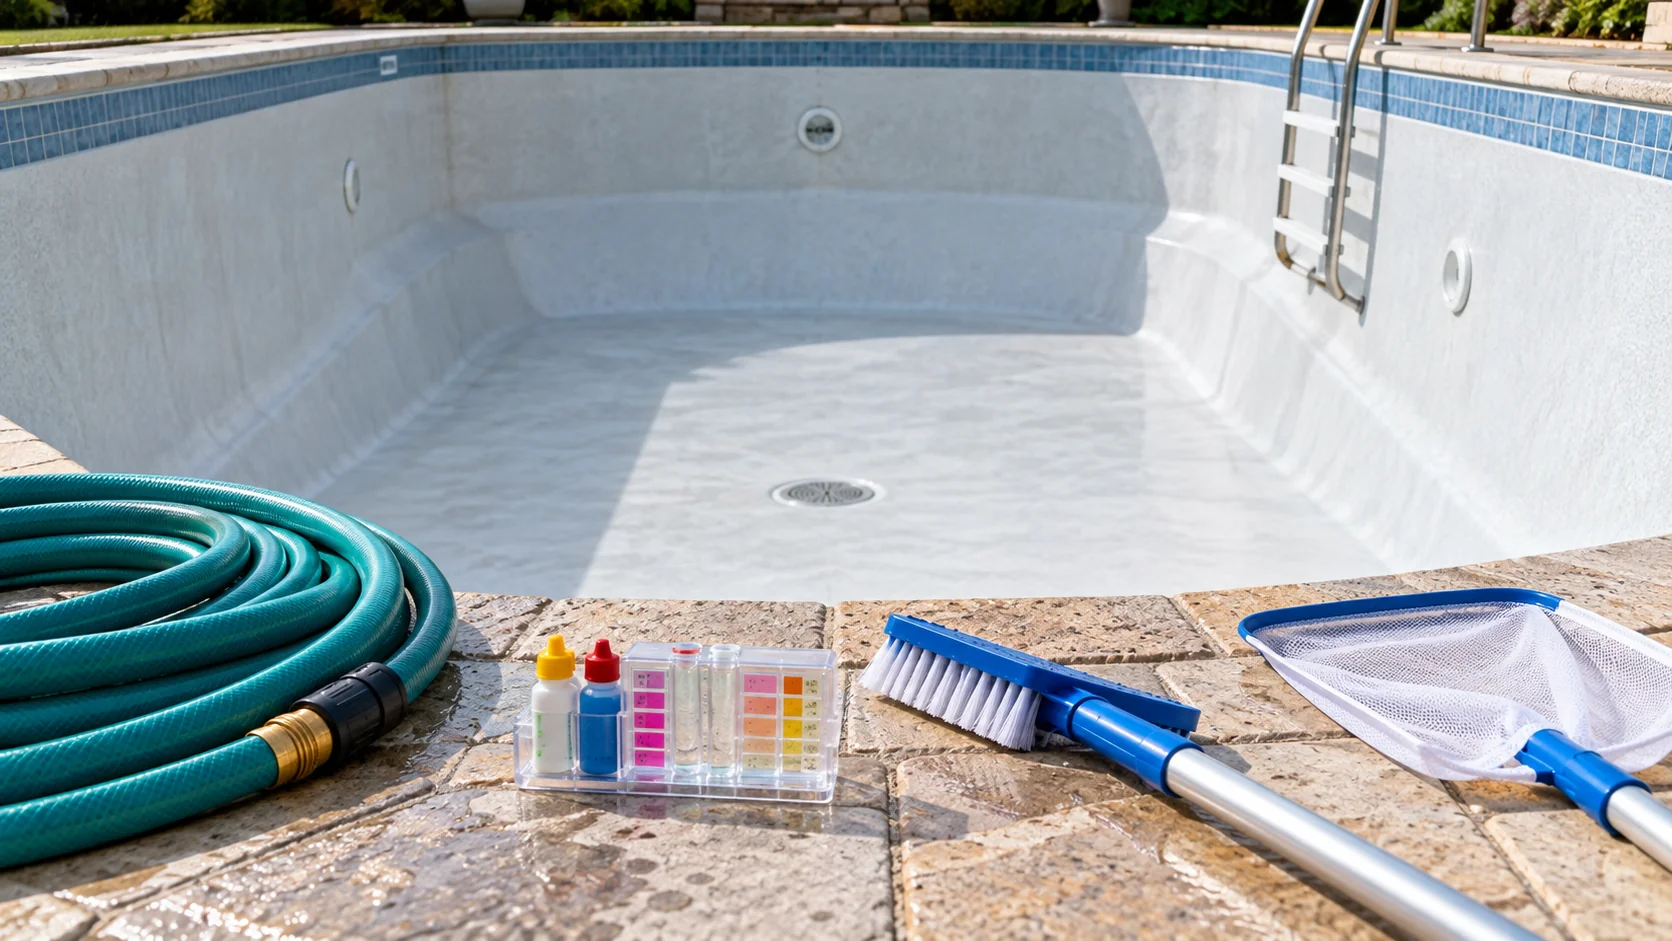
The Ultimate Guide: How to Prepare Your Pool for a Refill

Last spring, I looked out at my pool and knew it was time. The water had become tired, my chemical bills kept climbing, and a stubborn algae bloom just wouldn’t quit. I kept asking myself: should I drain my pool to get rid of algae? A simple shock wasn’t going to cut it. I was staring down the big one: a complete drain and refill.
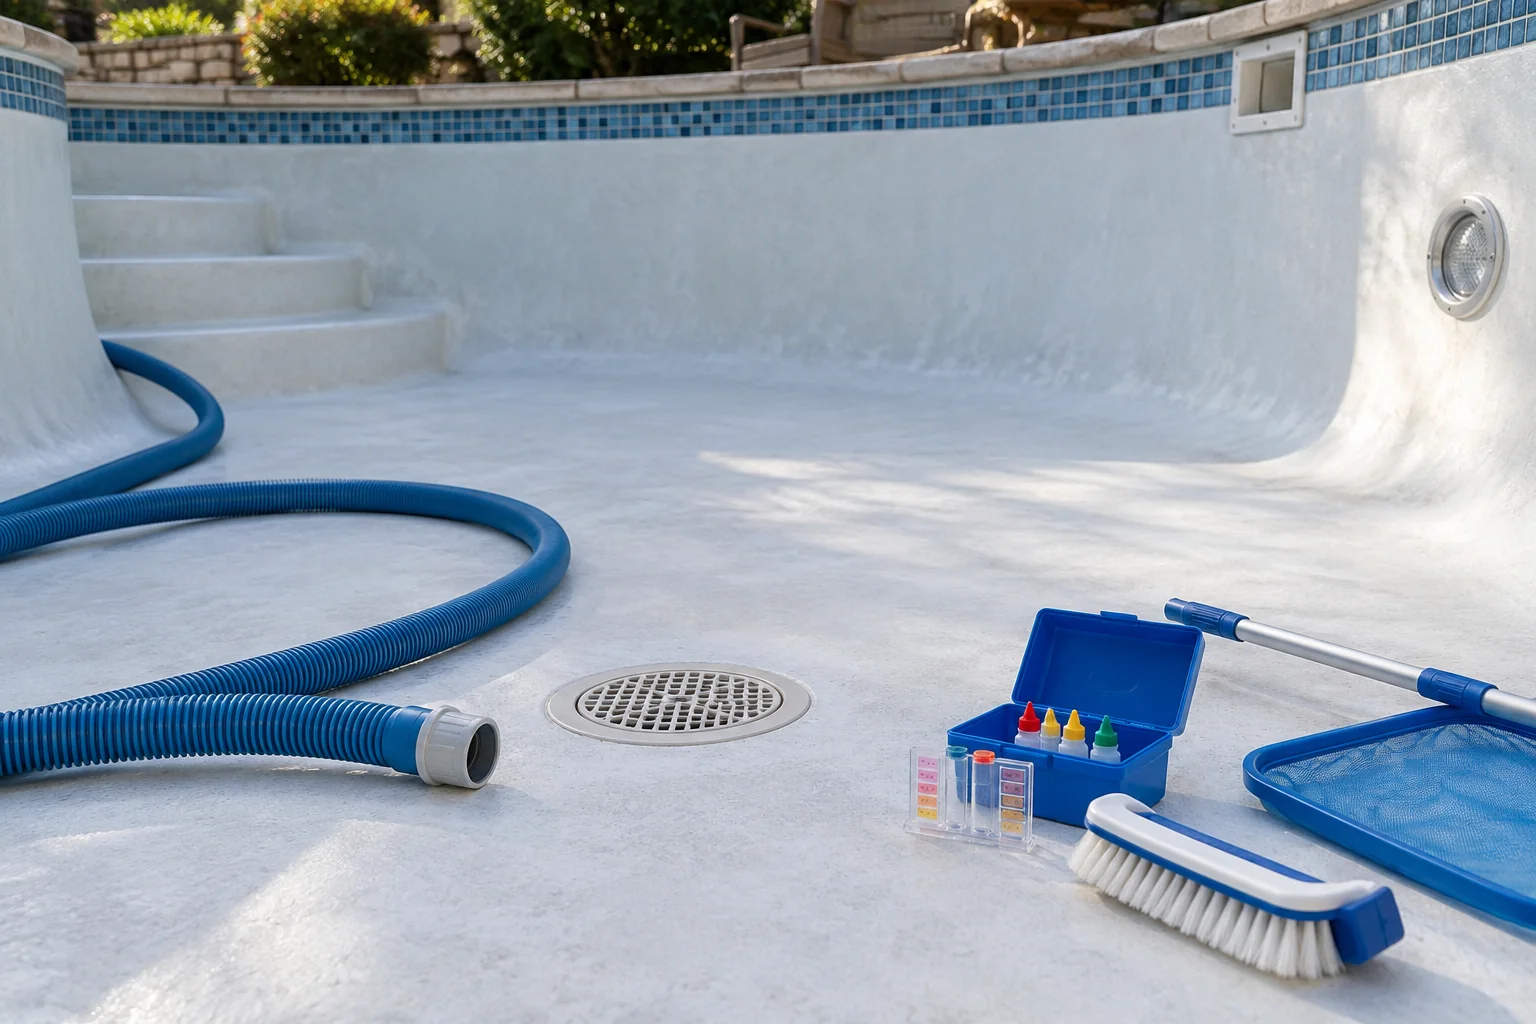
It felt like a daunting task, but I decided to tackle it myself. What follows is exactly how I did it, the mistakes I almost made, and the step-by-step process I followed. This is the complete guide on how to prepare your pool for a refill, turning a major chore into a project that will give you the best water you’ve had in years.
Key Takeaways
- Decide if it’s necessary: Only drain when TDS tops 2,500 ppm, CYA exceeds 100 ppm, you need major repairs, or algae is truly unbeatable chemically.
- Drain safely: A submersible pump in the deep end is the only method that gives you full control. Turn your filter OFF before you start.
- Clean and inspect: An empty pool is a rare opportunity. Scrub every surface and check for cracks, tears, or calcium scale.
- Refill without stopping: On plaster pools, keep the hose running continuously once you start. Pausing mid-fill leaves a permanent waterline ring.
- Balance in order: Always go alkalinity, then pH, then calcium hardness, then chlorine, and finally stabilizer. Wrong order means weeks of cloudy water.
When Should You Drain and Refill Your Pool?
For most pools, a full drain is only necessary every 5 to 7 years. But when TDS climbs past 2,500 ppm or CYA exceeds 100 ppm, no amount of chemicals will fix the water. Here’s how to know when you’ve crossed that line.
My own tipping point came after the pool store tested my water and reported TDS above 3,000 ppm. At that level, every dollar spent on chemicals is fighting a losing battle. There’s no recovering water like that without starting fresh.
Consider a drain and refill if you’re dealing with any of these:
- High Total Dissolved Solids (TDS): Every chemical, piece of dust, and organic compound you add dissolves permanently in the water. Once TDS crosses 2,500 to 3,000 ppm, the water turns cloudy and nearly impossible to manage. Fresh water is the only reset (Pool & Hot Tub Alliance, guidelines).
- High Cyanuric Acid (CYA): CYA protects chlorine from UV degradation, but it never evaporates. Once CYA tops 100 ppm, your chlorine works so slowly it can’t adequately protect swimmers. Worth noting: if CYA is your only problem, a partial drain (replacing 30 to 50% of the water) is often enough to bring it back into range. A full drain isn’t always necessary.
- Severe Algae Infestations: Black algae or a genuine swamp situation where you can’t see the bottom sometimes means starting over is cheaper and faster than a costly multi-week chemical battle.
- Major Repairs: Resurfacing, acid washing, or fixing a liner tear all require a dry shell. This is the right time for a full pool preparation with fresh water.
The best time for this project is a dry, mild stretch in spring or fall, when the water table tends to be lower. That matters for inground pools because a high water table raises the hydrostatic pressure risk against an empty shell.
How Do You Safely Drain a Pool?

Use a submersible pump placed in the deep end. It gives you full control over the flow rate, lets you stop the moment you need to, and unlike your pool’s main pump, won’t burn itself out if it sucks a little air. Here’s how each method stacks up.
This part made me nervous, to be honest. Hydrostatic pressure, which is groundwater pushing upward against an empty shell, can literally lift an inground pool right out of the ground. It’s not common, but when it happens it’s expensive.
CRITICAL SAFETY WARNING: Never leave an inground gunite or fiberglass pool empty for an extended period. The shell is designed to be held in place by the weight of the water inside it. If you live in a high water table area or if it’s rained recently, talk to a pool technician before draining. It’s not worth the structural risk.
With that in mind, I checked the forecast for a clear, dry week and got to work.
Method A: Using a Submersible Pump (Recommended)
This is what I used, and what I’d recommend to any pool owner. A submersible (sump) pump is an independent electric pump you drop into the deep end. It handles the job without putting any stress on your pool’s installed equipment.
- Rent or buy a pump: I rented one from a local hardware store. Get a model with a solid flow rate and a discharge hose long enough to reach your drainage area.
- Check local regulations: Many municipalities prohibit draining chlorinated water into storm drains. Phoenix’s guide on pool draining recommends the sanitary sewer cleanout, which is what I used.
- Pump it out: Drop the pump in the deep end, run the hose to the drainage point, and switch it on. Stay close as the water level drops.
- Turn your filter system OFF before you start draining, and keep it off until the water level is back above the skimmer during refill. Running the filter pump with low water burns out the motor in minutes.
Method B: Draining Using the Pool Pump (Partial Drains Only)
You can use your main pool pump with the multiport filter valve set to “Waste.” This bypasses the filter and sends water out the backwash port. Connect a backwash hose and run it to your drainage area.
CRITICAL: Watch this closely. The moment the water drops below the skimmer, the pump starts sucking air and can destroy itself within minutes. This method is only safe for partial drains. Switch to a submersible pump for the final foot or two.
Method C: Siphoning (Small Above-Ground Pools)
For small above-ground pools without a pump, gravity works. Fill a garden hose completely with water, seal one end, place it in the pool, then lower the free end below the pool’s water level and let gravity do the rest. It works, but it’s slow. For anything larger than a small above-ground pool, rent a submersible pump and save yourself the wait.
How Do You Clean a Pool After You’ve Drained It?
Start with debris removal, then scrub every surface while it’s still accessible. You likely haven’t seen these walls in years. Work through the deep end first, then the walls, then inspect every inch before you even think about running the hose.
With the pool empty, it looked enormous and a bit eerie. But this is genuinely the best part of the whole project. Surfaces that have been underwater for years are right there in front of you.
- Clear out debris: Remove leaves, acorns, and sediment from the deep end first.
- Scrub the surface: Use a pool brush and a cleaning solution safe for your surface type. For plaster walls with stubborn calcium scale or staining, diluted muriatic acid (1 part acid to 10 parts water) applied carefully is the standard approach. For a full acid wash, hire a professional. Always wear gloves and eye protection when working with muriatic acid.
- Inspect for damage: Walk every inch. Look for cracks in the plaster, check seals around lights and drains, and if you have a vinyl liner, look for any small tears that can be patched now rather than discovered under water.
According to the Arkansas Department of Health pool operator guidelines, thorough surface inspection during a drain cycle is one of the most important steps in residential pool maintenance, and one of the most commonly skipped.
What Is the Best Way to Refill Your Pool?
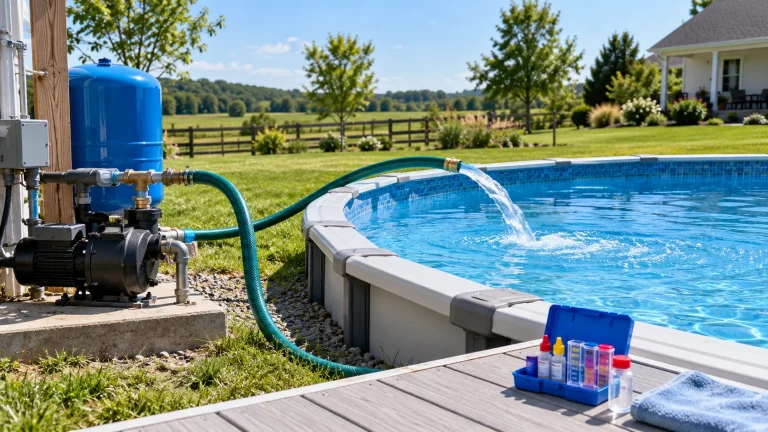
The best refill method is a standard garden hose with the end cushioned by a sock or cloth diffuser placed in the deep end. It protects the surface, costs nothing, and lets you control the flow. If time is short or your tap water is mineral-heavy, a water delivery truck is a faster and sometimes cheaper alternative once you factor in startup chemicals.
One rule that catches people off guard: if you have a plaster pool, once you start filling, don’t stop. Pausing mid-fill creates a waterline ring on fresh or newly cleaned plaster that’s almost impossible to remove later. Keep the hose running until you reach the midpoint of the skimmer.
Garden Hose vs. Water Truck: Which Should You Use?
- Garden Hose: The most common and cheapest option. Depending on your pool size and water pressure, expect 12 to 48 hours. For a full breakdown, see our guide on how long to fill a pool with a hose.
- Water Truck: Fills your pool in hours, not days, and the water is often pre-treated. It costs more upfront, but if your tap water is high in metals or minerals, it can save money on startup chemicals. For a side-by-side cost breakdown of hose vs. truck, see our guide on the average cost to fill a pool with a garden hose. For other options beyond those two, see our alternatives to filling a pool with a garden hose.
The sock-on-the-hose tip saved my plaster. Draping a clean, thick sock over the end of the hose diffuses the high-pressure stream so it doesn’t dig a trench into the surface or damage a vinyl liner. Simple and free. The hose itself matters too: flow rate and diameter directly affect how long the fill takes, so check our buyer’s guide to the best hose for filling a pool if your current one is old or narrow.
What Chemicals Do You Add After Refilling a Pool?

Add them in this exact order: alkalinity first, then pH, then calcium hardness, then chlorine, and finally cyanuric acid (stabilizer). Skipping the sequence or jumping ahead causes cascading imbalances that can take weeks to sort out.
Once the water level hit the mid-skimmer mark, I turned the pump on immediately to start circulation. Here is the correct startup order, per the Arkansas Department of Health pool operations manual and Pool & Hot Tub Alliance (PHTA) standards:Add chemicals in this exact order. Each step affects the one after it. Get alkalinity wrong and your pH will never hold.
- Get a baseline test: Before adding anything, test the fill water for pH, alkalinity, and calcium hardness. A liquid reagent test kit like the Taylor K-2006 is far more accurate than test strips for startup chemistry. Strips are fine for maintenance checks, but not for this.
- Add a stain and scale preventative: If you use well water or live in a hard water area, this step isn’t optional. A sequestering agent binds to metals like iron and copper before they can stain the surface you just scrubbed clean.
- Adjust total alkalinity: Target 80 to 120 ppm. Alkalinity is the pH buffer. Get it right first and your pH will hold. Get it wrong and you’ll be chasing pH swings all season while wondering what you’re doing wrong.
- Adjust pH: Once alkalinity is stable, bring pH to 7.4 to 7.6. This is where chlorine works best and where the water feels comfortable to swim in.
- Adjust calcium hardness: For plaster pools, aim for 200 to 400 ppm. Too low and the water gets aggressive, slowly etching the plaster. Too high and you’ll see scale building up on surfaces and inside equipment.
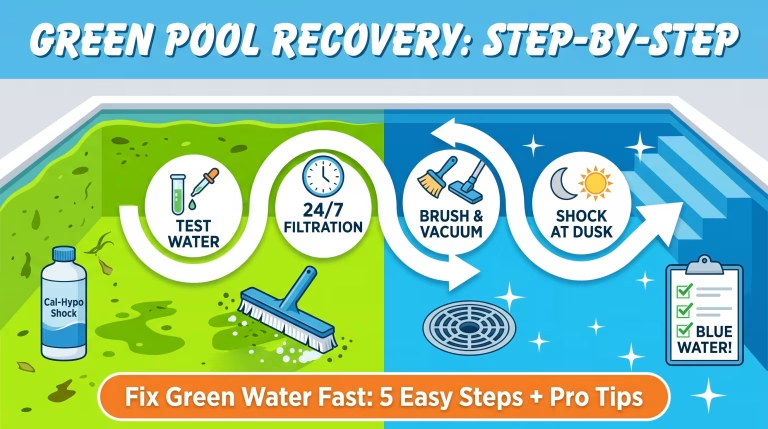
- Add chlorine: I shocked the pool with a double dose of calcium hypochlorite (Cal-Hypo), which is the granular shock most pool stores stock. If you’re using stabilized chlorine tablets (Trichlor), skip this step and add them to your floater once startup is complete. Target 1 to 3 ppm of free chlorine, which is the active sanitizing form. If combined chlorine, which is the spent, odor-causing form, rises above 0.5 ppm, shock again.
- Add cyanuric acid (stabilizer): Once chlorine levels are stable, add stabilizer to protect it from UV degradation, targeting 30 to 50 ppm. This matters most for outdoor pools in sunny climates where chlorine burns off quickly without it.
If the water is still cloudy 24 hours after startup, add a pool clarifier or flocculant. If you’ve dealt with algae before this drain, treat with a phosphate remover before adding chlorine. Phosphates are algae’s primary food source, and killing them first makes the chlorine work harder.
You’ll need your pool’s volume in gallons for accurate dosing. If you don’t know it, our pool volume calculator guide walks through the formulas for every pool shape.
Pool Refill: Common Questions Answered
How often should a pool be drained and refilled?
For most pools, every 5 to 7 years is the baseline. The main drivers are TDS creeping above 2,500 ppm and CYA levels that dilution alone can no longer fix. Testing monthly helps you catch both trends before they force your hand.
How long does it take to refill a pool?
With a standard garden hose, plan for 12 to 48 hours depending on pool size and water pressure. A 20,000-gallon pool at 10 gallons per minute takes roughly 33 hours. A water delivery truck fills the same pool in a few hours, at higher cost.
What chemicals do I need after refilling?
A sequestering agent for metals, alkalinity increaser, pH increaser or decreaser, calcium hardness increaser, chlorine shock (Cal-Hypo granular for startup), and cyanuric acid stabilizer. Add them in that order. Changing the sequence creates problems that take time to unwind.
How do I prevent damage during draining?
The main risk for inground pools is hydrostatic pressure. Avoid draining after heavy rain and don’t leave the pool empty for more than a day or two. When refilling, cushion the hose end to protect the surface.
Is it safe to refill with a garden hose?
Yes. Municipal tap water is safe for pools. Just test it before adding chemicals, since mineral content varies significantly by region. What’s fine in one city can throw off your calcium hardness somewhere else.
Can I use well water to refill my pool?
I used well water myself. It works, but it often contains high iron and copper levels. Add a metal sequestering agent as the very first step, before anything else touches the water, or you’ll spend weeks scrubbing orange stains off your freshly cleaned walls.
Does draining and refilling work the same for a saltwater pool?
Almost, but not quite. After refilling a saltwater pool, balance pH, alkalinity, and calcium hardness first using the same order above. Then restore salt levels to 2,700 to 3,400 ppm (your salt cell manufacturer will have the exact target) before restarting the chlorine generator. Running the generator before salt levels are right can damage the cell.
Was It Worth It?
Draining and refilling my pool was one of the biggest projects I’ve taken on as a homeowner. Worth every bit of it. The water is clearer and softer than it’s been in years and takes almost no effort to keep balanced.
Follow a safe draining procedure. Clean the shell properly while you have the chance. Then balance the new water in the right order. Do those three things and you’ve given your pool a genuine reset, one that pays off all summer with water that practically takes care of itself.