How to Deep Clean Vinyl Floors Without Damaging Them

To deep clean vinyl floors, sweep or vacuum first, mop with a damp microfiber mop and a pH neutral cleaner, scrub textured areas with a soft brush, rinse away residue, and dry the floor right away. Skip steam mops, bleach, ammonia, wax, abrasive pads, and standing water.
Vinyl is one of the easiest floors to live with and one of the easiest to ruin with the wrong cleaner. The wear layer on top is thin, and the seams between planks are the weak point. Most floors that look dull, sticky, or permanently dirty are not worn out. They just have grime sitting in the texture and old cleaner residue on the surface. Here is how to fix both.
What You’ll Need to Deep Clean Vinyl Floors
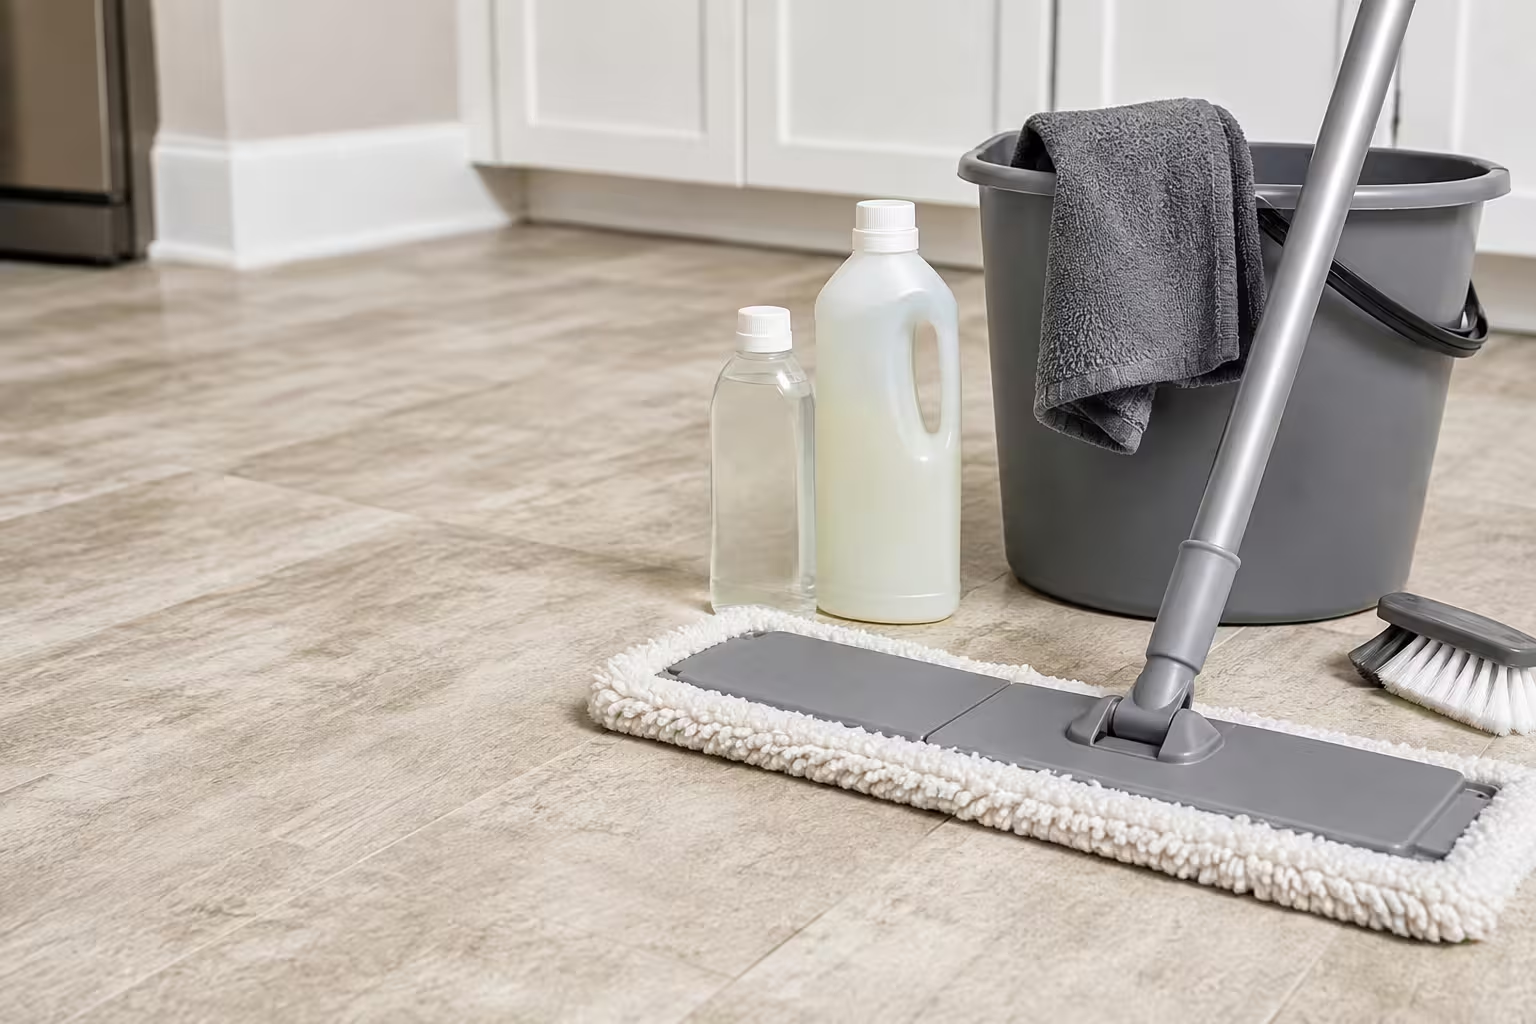
You need a soft broom or a vacuum with a hard floor setting, a microfiber mop, a bucket, warm water, and a pH neutral vinyl floor cleaner. Add a soft bristle brush, a few microfiber towels, baking soda for scuffs, and mild dish soap for grease. Nothing abrasive.
- Soft broom or vacuum with the beater bar switched off
- Microfiber mop (better than a string mop because it holds far less water)
- Two buckets if you have them, one for cleaner and one for rinse water
- pH neutral vinyl floor cleaner
- Warm water
- Soft bristle brush or an old toothbrush for corners and grooves
- Several microfiber towels for drying
- Baking soda for scuff marks
- Mild dish soap for grease
- Optional: a wet/dry vacuum if the floor is badly neglected
A wet/dry vacuum is worth borrowing for a first deep clean. It pulls dirty water off the floor instead of pushing it around, which is the single biggest reason people end up with a streaky finish.
Step-by-Step: How to Deep Clean Vinyl Floors
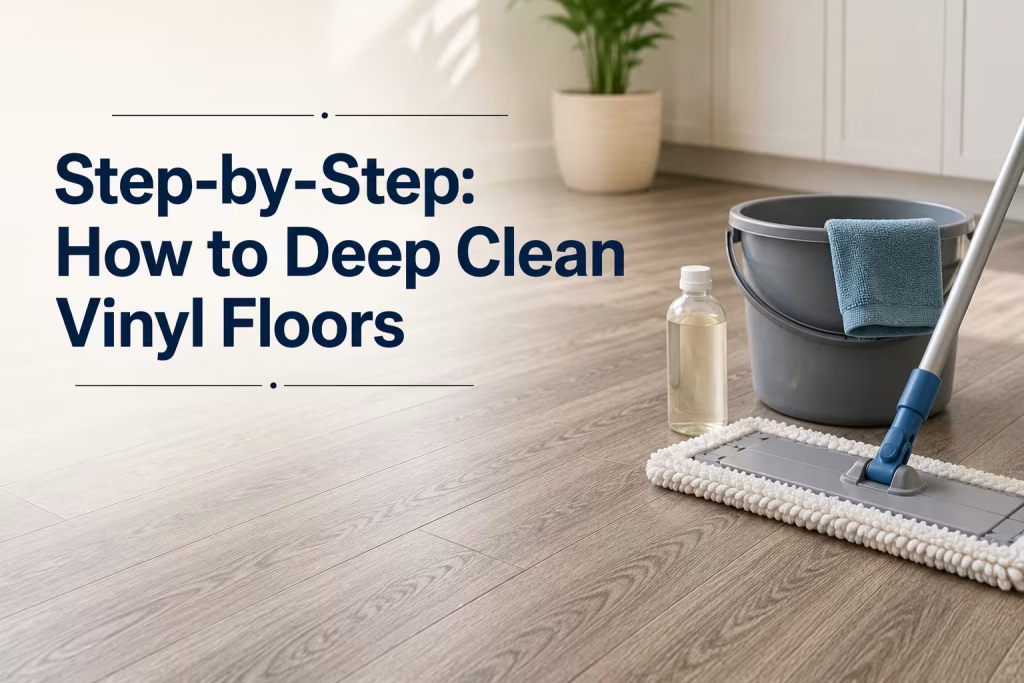
Clear the room, vacuum thoroughly, mix a pH neutral cleaner with warm water, then mop in small sections with a damp mop. Scrub textured spots with a soft brush, rinse with clean water to remove residue, and dry the floor completely with microfiber before you walk on it.
Step 1: Remove Rugs, Furniture, and Loose Items
Move chairs, side tables, trash cans, and pet bowls out of the room. Roll up rugs and shake them out separately. The edges and corners under furniture collect the most grime, and they are the areas people skip most often. If a piece is too heavy to move, clean around it now and shift it next time.
Step 2: Sweep or Vacuum the Floor Thoroughly
Grit is what scratches vinyl, not mopping. Sand, kitty litter, and dried food get dragged across the wear layer by the mop head and leave fine scratches that later hold dirt. Use a vacuum on its hard floor setting with the rotating brush turned off, and run it along the edges, corners, and seams where debris settles.
Step 3: Mix a Vinyl-Safe Cleaning Solution
A pH neutral vinyl floor cleaner mixed to the label directions is the safest choice. If you do not have one, a few drops of mild dish soap in a bucket of warm water works for routine grime. For a vinegar mix, use about 1 cup of white vinegar per gallon of warm water. Never use vinegar straight from the bottle. Undiluted acid can dull the finish over time, and the effect is gradual enough that most people do not connect it to the cleaner.
Step 4: Mop in Small Sections
Work in sections of roughly 4 by 4 or 6 by 6 feet. Wring the mop until it is damp, not dripping. You want the floor to look slightly wet and be dry within a minute or two. Change the water as soon as it turns gray, because a dirty bucket just spreads a thin film of grime across everything you clean next. Do not let cleaning solution sit and dry on the surface.
Step 5: Scrub Textured or Grimy Areas Gently
This is the step most people skip, and it is why floors still look dirty after mopping. Let the cleaner sit on the section for 30 to 60 seconds so it can loosen what is stuck in the texture. Then work a soft bristle brush over the area in small circles. You will see the water turn brown. Wipe that slurry up with a microfiber cloth right away instead of letting it settle back into the grooves. Avoid stiff brushes, green scrub pads, and anything labeled heavy duty.
Step 6: Rinse With Clean Water
If you used dish soap or any cleaner that foams, go back over the floor with a clean, damp microfiber mop and plain water. Soap residue is invisible while it is wet and shows up as a dull, slightly tacky film once the floor dries. Rinsing takes two minutes and prevents the most common complaint people have after cleaning.
Step 7: Dry the Floor Completely
Run a dry microfiber towel or a clean dry mop head over the whole floor, paying extra attention to seams and edges. Air drying is what causes water spots and streaks, especially with hard water. Let the floor dry fully before you put rugs back down, because trapped moisture under a rug is a real cause of discoloration.
How to Deep Clean Textured Vinyl or Wood-Look Vinyl Floors
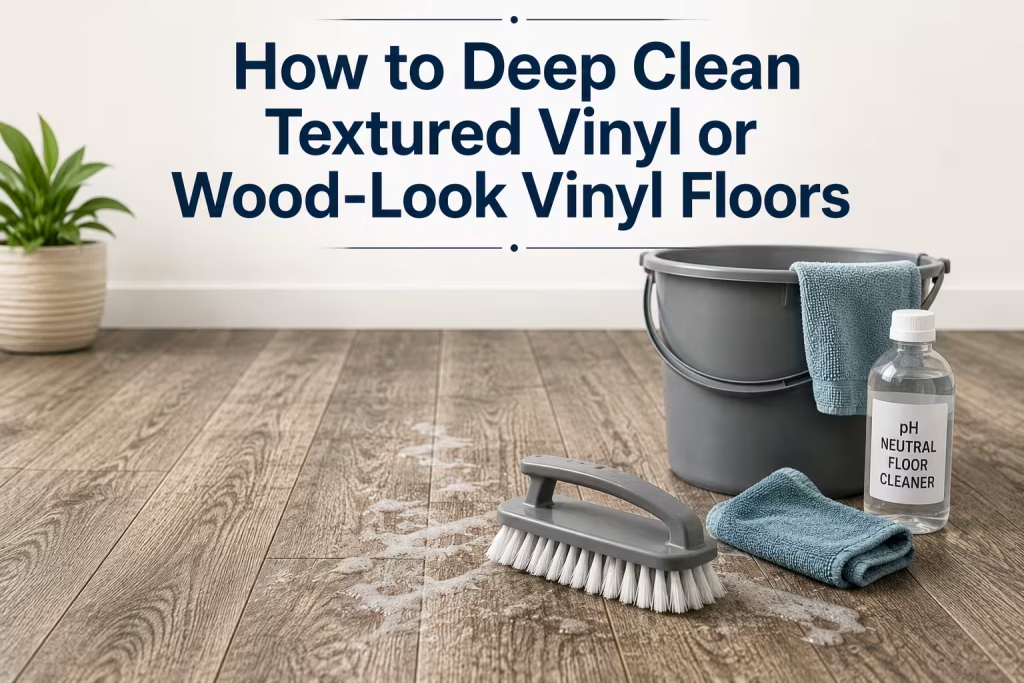
Textured vinyl traps dirt inside the embossed wood grain, so a flat mop glides over the top and never reaches it. Apply a pH neutral cleaner, let it dwell for a minute, scrub the grain with a soft brush, and wipe the loosened dirt away with a microfiber cloth before it dries.
Here is the quick test. Scrub a small patch with a brush and a bit of cleaner, then compare it to the floor around it. If that patch comes up noticeably lighter, your floor is not stained or worn out. The grime is sitting in the texture and mopping alone will never lift it.
A few things that make this easier:
- Work in small sections so the cleaner does not dry before you wipe
- Scrub in a couple of directions, since the grain runs one way and dirt packs into one side of the groove
- Blot with a dry microfiber cloth rather than pushing the dirty water around
- Repeat the process a second time instead of switching to a stronger chemical
Two passes with a mild cleaner will always beat one pass with something harsh. Textured vinyl also collects grime faster than smooth vinyl, so plan on deep cleaning it a little more often.
How to Clean Extremely Dirty Vinyl Floors
For a badly neglected floor, vacuum twice, pre-treat sticky and greasy patches, then apply a pH neutral cleaner and let it sit briefly. Scrub gently with a soft brush, lift the dirty water with a microfiber towel or wet vacuum, rinse, dry, and repeat the whole cycle if needed.
The order matters more than the product:
- Vacuum the entire floor, then vacuum it again. Loose grit ruins everything that follows.
- Pre-treat sticky spots and grease with warm water and a drop of dish soap. Give it a few minutes.
- Apply your pH neutral cleaner section by section.
- Let it dwell 60 seconds. Do not let it dry.
- Scrub with a soft brush.
- Remove the dirty water with a microfiber towel or wet/dry vacuum. Do not mop it around.
- Rinse the section with clean water.
- Dry with microfiber.
- Repeat on anything that still looks dark.
The temptation with a really dirty floor is to reach for bleach, ammonia, a steam mop, or a scrubbing pad. All four can permanently damage the wear layer, and once that top layer is scratched or clouded, no cleaner brings it back. Repetition is slower but it is the only method that is reversible.
Best Cleaners for Vinyl Floors
A pH neutral vinyl floor cleaner is the best all around choice because it lifts grime without attacking the wear layer. Warm water handles light dirt, mild dish soap cuts grease, diluted white vinegar removes film, and a baking soda paste takes off scuff marks. Everything else needs a spot test.
| Cleaner | Safe for vinyl? | Best for | Notes |
|---|---|---|---|
| pH neutral vinyl cleaner | Yes | Deep cleaning | Best overall choice |
| Warm water | Yes | Light dirt | Fine for routine cleaning |
| Mild dish soap | Yes, sparingly | Grease | Rinse after use or it leaves film |
| Diluted white vinegar | Usually | Residue and streaks | About 1 cup per gallon, never undiluted |
| Baking soda paste | With caution | Scuff marks | Apply gently, rinse the spot after |
| Rubbing alcohol | With caution | Sticky adhesive spots | Spot test in a hidden area first |
Whatever you pick, less is more. Most vinyl cleaning problems come from too much product, not too little.
What Not to Use on Vinyl Floors
Avoid steam mops, bleach, ammonia, abrasive powders, steel wool, harsh scrub pads, undiluted vinegar, and any wax or polish your manufacturer has not approved. Also avoid standing water and rubber backed mats. Most of this damage is permanent, unlike dirt, which is always fixable with another pass.
| Product or tool | Why avoid it |
|---|---|
| Steam mop | Heat plus moisture can loosen seams and adhesive |
| Bleach | Can discolor the surface and strip the finish |
| Ammonia | Dulls the wear layer over time |
| Abrasive powders and steel wool | Scratch the wear layer permanently |
| Wax or polish | Builds up into a cloudy film that is hard to remove |
| Undiluted vinegar | Too acidic for repeated use |
| Standing water | Seeps into seams and under planks |
| Rubber backed mats | Can react with vinyl and cause yellow staining |
Steam mops deserve a specific warning because they are marketed as safe for hard floors and plenty of people use them on vinyl for years without an obvious problem. The damage shows up as lifted plank edges and soft spots near seams, usually long after you would connect it to the mop.
How to Remove Stains, Scuffs, and Sticky Residue from Vinyl Floors
Match the treatment to the mess. Baking soda paste lifts scuff marks, warm soapy water and a plastic scraper handle sticky residue, dish soap cuts grease, and a damp cloth catches wet paint. Always start with the gentlest option and spot test anything stronger in a hidden corner.
Scuff Marks
Rub the mark with a dry microfiber cloth first, since many scuffs are just transferred rubber sitting on the surface. If it stays, make a paste of baking soda and a little water, rub gently with a cloth, then rinse the spot. A clean tennis ball works surprisingly well on black heel marks. A melamine sponge will work too, but it is mildly abrasive, so test it somewhere hidden before using it on a visible area.
Sticky Residue
Soak the spot with warm water and a drop of dish soap for a few minutes to soften it. Lift the softened residue with a plastic scraper or the edge of an old credit card. Never use a metal blade. For stubborn adhesive from tape or stickers, rubbing alcohol on a cloth usually works, but spot test first because some finishes react to it.
Grease or Oil
Blot up what you can with a dry towel before adding any liquid. Then use warm water with mild dish soap, work from the outside of the spot inward so you do not spread it, rinse with clean water, and dry. Grease left on vinyl attracts dust and turns into a dark patch that looks like a stain.
Paint Stains
Wipe water based paint with a damp cloth while it is still wet and it comes off easily. Dried paint needs a plastic scraper and patience, working at a low angle so you do not gouge the surface. Oil based paint is the difficult one. Check your flooring manufacturer’s care guide before reaching for any solvent, because most paint thinners will damage the wear layer.
Dog or Cat Urine
Blot immediately with paper towels, pressing down rather than wiping, then clean the area with an enzyme cleaner labeled safe for vinyl. Enzymes break down the odor compounds that plain soap leaves behind. Keep liquid away from seams and dry the area thoroughly afterward.
If a smell lingers after the surface is clean, the urine has likely reached the subfloor through a seam, and no amount of surface cleaning will fix it. For households owning a dog, accidents and muddy paw prints are worth cleaning within minutes rather than hours, because that is the difference between a wipe and a subfloor problem.
Yellowing or Discoloration
Yellowing is usually not dirt. The common causes are rubber backed mats reacting with the vinyl, direct sunlight over months, harsh cleaners breaking down the finish, moisture trapped under the floor, and old wax buildup going amber. Swap rubber backed rugs for felt or woven ones, use blinds on sun exposed rooms, and strip old wax before assuming the floor itself is stained.
Why Does My Vinyl Floor Look Dull After Mopping?
Dullness after mopping is almost always residue, not damage. Too much soap, dirty mop water, hard water minerals, or old wax buildup leaves a thin film that scatters light. Rinse the floor with clean water, dry it with microfiber, and switch to a pH neutral cleaner used sparingly.
Work through the causes in this order:
- Too much cleaner. Halve the amount you are using. Most people double the label dose.
- Dirty mop water. If the bucket is gray, you are painting the floor with grime.
- No rinse step. Any soap or detergent needs a clean water pass afterward.
- Air drying. Hard water leaves mineral spots. Dry with microfiber instead.
- Wax or polish buildup. Layers of shine product go cloudy over time and need stripping with a manufacturer approved product.
- A scratched wear layer. If cleaning changes nothing, fine scratches from grit are diffusing the light, and that is not reversible with cleaning.
Try a full rinse and dry before you buy any restorer product. It solves the problem more often than not.
Vinyl Sheet vs LVP vs LVT: Does Cleaning Change?
The cleaning products are the same but the water tolerance is not. Sheet vinyl has almost no seams and handles a damper mop. Luxury vinyl plank and tile have seams around every piece, so they need a barely damp mop and immediate drying to keep water out of the joints.
Sheet Vinyl
One continuous piece with seams only at the walls and the occasional join. It handles mopping better than any other vinyl format, though standing water at the edges can still work its way underneath. Large open areas go quickly.
Luxury Vinyl Plank (LVP)
The most seam sensitive of the three because every plank edge is a potential entry point. Use a mop wrung out until it is barely damp and dry the floor as you go. Like most household materials, vinyl wears faster when moisture and friction are working on it at the same time, a pattern that shows up in moisture and material wear across plenty of everyday items.
Luxury Vinyl Tile (LVT)
Treat it like LVP. The one extra consideration is that many LVT products have a heavier stone or ceramic texture, which traps more grime and needs the soft brush step more often than smooth vinyl does.
Vinyl vs Linoleum
These are different materials and people mix them up constantly. Linoleum is made from linseed oil and is more sensitive to alkaline cleaners, while vinyl is a synthetic PVC product. Advice written for one is not automatically safe for the other, so identify your floor before following any cleaning guide, including this one.
How Often Should You Deep Clean Vinyl Floors?
Sweep or vacuum high traffic areas daily, damp mop weekly, and deep clean once a month in most homes. Clean spills and pet accidents immediately regardless of schedule. Kitchens, entryways, and homes with pets or kids usually need deep cleaning every two to three weeks instead.
| Frequency | Task |
|---|---|
| Daily | Sweep or vacuum entryways, kitchen, and other high traffic paths |
| Weekly | Damp mop the whole floor with a pH neutral cleaner |
| Monthly | Full deep clean including the soft brush pass on textured areas |
| Immediately | Wipe spills, grease, and pet accidents |
| Every few months | Check felt pads, replace rubber backed mats, inspect seams for lifting |
Sticking to the daily sweep is what reduces the deep cleaning workload. Grit removed today is grit that never gets ground into the finish.
How to Keep Vinyl Floors Clean Longer
Stop dirt at the door and protect the surface from grit and pressure. Use doormats inside and out, take shoes off indoors, put felt pads under furniture legs, clean spills quickly, skip rubber backed rugs, trim pet nails, and lift furniture instead of dragging it across the floor.
- Doormats at every entrance. A mat inside and outside each door catches most of the grit that would otherwise reach your floor.
- Shoes off indoors. The single most effective habit for any hard floor.
- Felt pads on furniture legs. Check them a couple of times a year, since they wear down and collect grit underneath.
- Choose the right rugs. Woven or felt backed only. Rubber and latex backings can leave yellow marks on vinyl.
- Manage sunlight. Blinds or curtains on south facing rooms slow down UV yellowing and fading.
- Trim pet nails. Long nails leave fine scratches that trap dirt and dull the finish over time.
- Lift, do not drag. Get a second pair of hands rather than sliding a heavy piece across the room.
Frequently Asked Questions
Can you use vinegar to deep clean vinyl floors?
Yes, diluted vinegar is fine on most vinyl floors. Mix roughly 1 cup of white vinegar into a gallon of warm water, apply with a damp microfiber mop, and dry the floor afterward. Do not use it undiluted, and avoid using it as your only cleaner every single week on LVP.
Can you use a steam mop on vinyl floors?
No. Steam mops are not recommended for most vinyl floors. The combination of heat and moisture can loosen the adhesive, work into the seams, and cause planks to lift or warp. Many manufacturers void their warranty if a steam cleaner has been used, so check your care guide.
What is the best cleaner for vinyl floors?
A pH neutral vinyl floor cleaner is the safest and most effective option. It removes grime without attacking the wear layer or leaving residue. For lighter cleaning, warm water with a few drops of mild dish soap works well, as long as you rinse the floor afterward.
How do you deep clean vinyl floors with ground-in dirt?
Vacuum thoroughly, apply a vinyl safe cleaner, and let it sit for about a minute. Scrub the area with a soft bristle brush, wipe up the dirty water with a microfiber cloth before it dries, rinse with clean water, and dry. Repeat the cycle rather than switching to a harsher product.
Can you use baking soda on vinyl floors?
Yes, but only as a gentle paste on specific spots like scuff marks. Mix it with a small amount of water, rub lightly with a soft cloth, and rinse the area afterward. Do not scrub hard or use dry baking soda across the whole floor, since it is mildly abrasive.
Why are my vinyl floors sticky after mopping?
Sticky floors come from cleaner residue, usually too much soap or a dirty mop bucket. The film stays behind after the water evaporates and attracts more dirt. Go over the floor with clean water and a fresh mop head, dry with microfiber, and use less product next time.
Can you use Pine-Sol on vinyl floors?
Only if the label lists vinyl as a safe surface and you dilute it as directed. Some formulas are fine, others are too alkaline for repeated use. For regular deep cleaning, a pH neutral vinyl cleaner is a safer default and less likely to leave a film.
How do you restore shine to vinyl floors?
Start by removing residue, since most dull floors are covered in film rather than worn out. Rinse with clean water, dry with microfiber, and use a pH neutral cleaner going forward. Only use a polish or restorer if your flooring manufacturer specifically approves one for your product.