How to Install Vinyl Plank Flooring: A Step-by-Step DIY Guide
Key Takeaways
- Proper subfloor preparation is the single most important factor for success. An unclean or uneven floor is the #1 cause of planks separating or breaking over time.
- Always let your new flooring acclimate in the room for at least 48 hours before installation. This prevents the planks from buckling or gapping after they are laid.
- You must leave a 1/4-inch expansion gap around the entire perimeter of the room. Vinyl expands and contracts with temperature changes, and this gap gives it space to move.
- Invest in a few specific tools like a tapping block and a pull bar. These inexpensive items are critical for ensuring tight seams and preventing damage to the planks’ locking mechanisms.
Installing vinyl plank flooring can dramatically transform a room in a single weekend. While it’s one of the most DIY-friendly flooring projects, success lies in the details. This guide will walk you through every step, from choosing the right material to navigating those tricky cuts, ensuring you get a professional-looking result that lasts.
Understanding Your Options: Types of Vinyl Plank Flooring
Before you buy, it’s crucial to understand what you’re looking at. Not all vinyl plank is created equal, and finding the right fit is similar to weighing the best flooring ideas for Florida homes versus a colder climate.
LVP vs. SPC vs. WPC: Which is Right for You?
You’ll often see the acronyms LVP, SPC, and WPC. These refer to the plank’s core material, which dictates its rigidity, durability, and feel.
- LVP (Luxury Vinyl Plank): This is the original, flexible vinyl plank. It’s comfortable underfoot but is less forgiving of subfloor imperfections.
- WPC (Wood Plastic Composite): A WPC core includes a wood-pulp-based foaming agent, making it thicker, quieter, and more comfortable than LVP. It’s a great choice for living areas and bedrooms.
- SPC (Stone Plastic Composite): An SPC core is made from a limestone composite, making it incredibly rigid and durable. It is the best option for high-traffic areas, homes with active pets, or laying over a subfloor with minor imperfections. Its density also makes it more resistant to dents from heavy furniture.
Installation Methods: Floating Floor vs. Glue-Down
- Floating Floor (Interlocking): This is the most common DIY method. The planks connect to each other with a tongue-and-groove locking mechanism and “float” over the subfloor without adhesive. This is the method we will focus on in this guide.
- Glue-Down: This method involves applying a special adhesive to the subfloor before laying each plank. It’s more common in large commercial spaces and provides maximum stability, but it’s a more complex and permanent installation.
Essential Tools and Materials for a Professional Finish
Gathering everything you need before you start prevents frustrating trips to the store mid-project. Your success depends as much on the right tools as the right technique.
The Must-Have Tool List
- Safety Glasses & Knee Pads
- Tape Measure
- Pencil
- Utility Knife with extra blades
- Speed Square or Combination Square
- Flooring Installation Kit (includes a Tapping Block, Pull Bar, and Spacers)
- Rubber Mallet
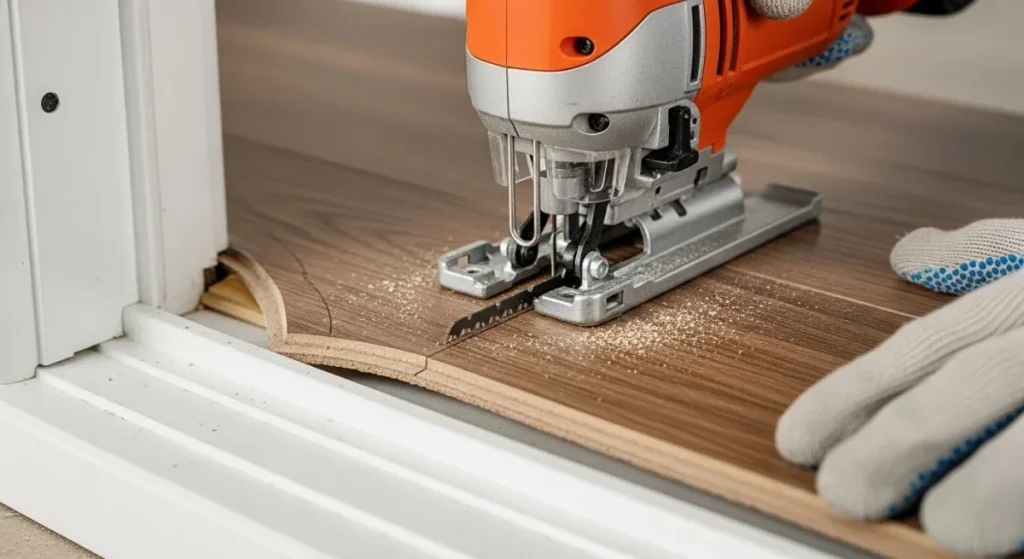
- Jigsaw (for complex cuts around trim and vents)
- Miter Saw or Vinyl Plank Cutter (highly recommended for clean, fast, and straight cuts)
Materials Checklist
- Vinyl Plank Flooring (buy 10-15% extra for cuts and mistakes)
- Underlayment (if not pre-attached to your planks)
- 6-mil Polyethylene Sheeting (as a moisture barrier for concrete subfloors)
- Quarter Round Molding or Shoe Molding (to cover the expansion gap)
- T-Molding or other transition strips
Step 1: The Most Important Step—Subfloor Preparation
From my experience, skipping proper prep is the costliest mistake you can make. Bouncy floors, broken plank locks, and unsightly gaps are almost always caused by an imperfect subfloor.
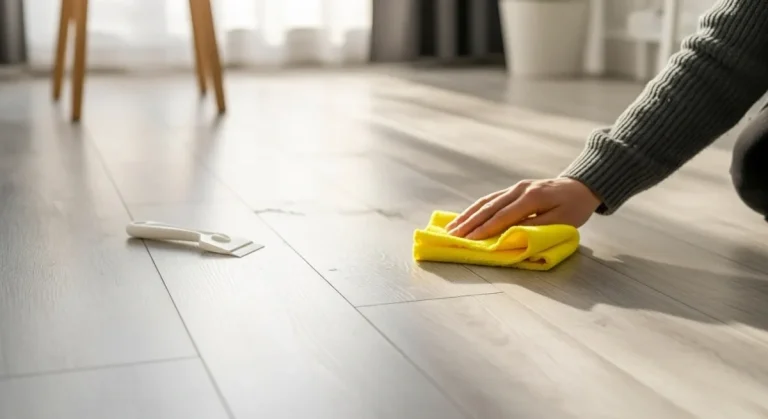
Cleaning and Clearing the Area
First, remove all furniture from the room. Carefully pry off and remove any baseboards, shoe molding, or transition strips. Sweep and vacuum the subfloor meticulously to remove all dust and debris.
Ensuring a Flat, Level Surface
Your subfloor needs to be flat. Use a long level or a straight 2×4 to check for high or low spots across the floor. Most manufacturers require the floor to be flat within 3/16 of an inch over a 10-foot span.
- For high spots on a wood subfloor, use a belt sander. For concrete, you may need a concrete grinder.
- For low spots, use a subfloor leveling compound. Follow the manufacturer’s instructions to mix and apply it, feathering the edges smoothly.
Do You Need an Underlayment?
Many vinyl planks now come with a pre-attached underlayment pad. If yours doesn’t, you may need one for sound dampening and comfort.
- On a Concrete Subfloor: Even with an attached pad, you must lay a 6-mil moisture barrier first. Overlap the seams by 6-8 inches and tape them with a waterproof tape.
- Over Linoleum or Tile: If the existing floor is flat, clean, and well-adhered, you can often install right over it. Check your flooring’s specific guidelines.
Step 2: Acclimation and Game Plan
Why You Can’t Skip Acclimation
This is a simple but critical step. Lay the unopened boxes of flooring flat in the room where they will be installed for at least 48 hours. This allows the material to adjust to the room’s specific temperature and humidity, preventing future buckling or gapping.
Planning Your Layout and First Row
Measure the width of the room and divide by the width of a single plank. This tells you how wide your last row will be. If the last row will be less than one-third the width of a plank, you should rip (cut lengthwise) your first row down to avoid a tiny, awkward-looking final row.
Always leave a 1/4-inch expansion gap between the first row of planks and the wall. Use the spacers from your installation kit to maintain this gap.
Step 3: Laying the Planks
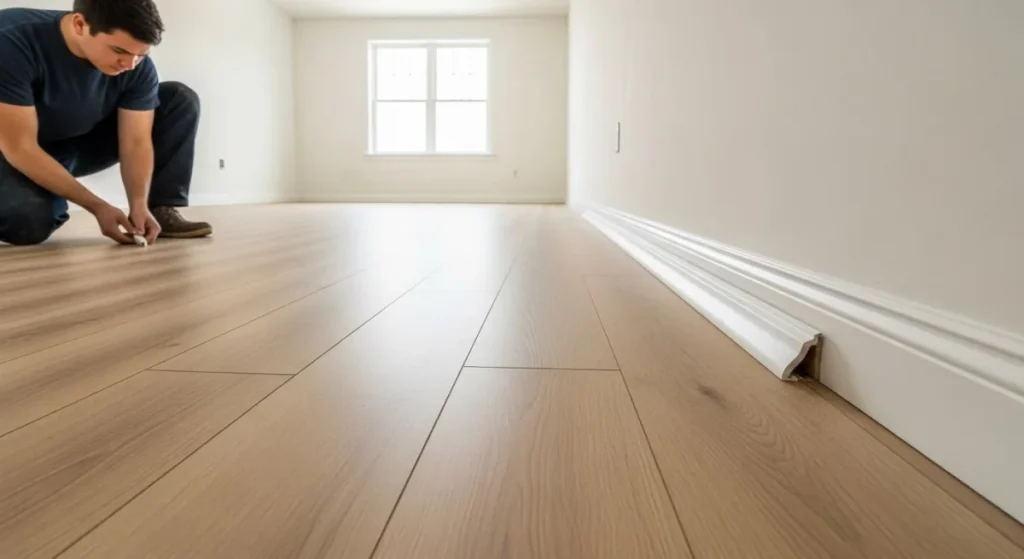
Installing the First Row
Start in a corner, typically the one with the longest, most visible wall. Place your first plank with the tongue side facing the wall, ensuring your 1/4-inch spacers are in place.
Connect the next plank on its short end. Use your tapping block and rubber mallet to gently tap the joint until it’s perfectly tight with no gap.
Cutting and Connecting Subsequent Rows
For a natural look, you must stagger your seams. Never align the short-end seams from one row to the next. A good rule is to ensure the seams are at least 6-8 inches apart.
- Start a new row with the piece you cut off from the end of the previous row (if it’s longer than 8 inches).
- Insert the long, tongue side of the new plank into the groove of the previous row at a slight angle.
- Lower the plank flat to the floor. You should feel or hear it click into place.
- Gently tap the long seam with your tapping block to ensure it’s fully locked.
Step 4: Tackling Tricky Areas
Floors are rarely perfect rectangles. This is where patience and a jigsaw puzzle become your best friends.
How to Install Vinyl Plank Flooring Around a Toilet
Don’t try to cut a perfect circle. The easiest way is to remove the toilet completely, which also gives you a great opportunity to install a new, more efficient model. If you can’t, create a template from paper or cardboard that fits around the base, trace it onto your plank, and cut it with a jigsaw.
How to Install on Stairs
Installing on stairs requires a specific method. You must use the glue-down method for safety and stability, even with click-lock planks. You will also need to use a special stair-nosing trim piece for a clean, safe edge.
Cutting Around Doorjambs and Cabinets
The most professional way to handle a doorjamb is to undercut it. Place a scrap piece of flooring and underlayment next to the jamb and use an oscillating multi-tool or handsaw to cut the bottom of the jamb away. The new plank will then slide cleanly underneath.
Step 5: The Finishing Touches
Reinstalling Baseboards and Moldings
Once all the planks are laid, you can remove the spacers from around the perimeter. Reinstall your original baseboards or install new quarter round molding to cover the expansion gap. Nail the molding to the wall/baseboard, never down into the floating floor.
Use T-molding in doorways or to transition between the vinyl and another flooring type of similar height.
Common Mistakes to Avoid (And How to Fix Them)
- Mistake 1: Not Staggering Seams. This creates a weak, unnatural-looking “H-pattern.” Always ensure seams are offset by at least 6 inches.
- Mistake 2: Forgetting the Expansion Gap. When the floor expands in warmer weather, it will have nowhere to go and will buckle up in the middle of the room. Always use spacers.
- Mistake 3: Damaging the Locking Mechanism. Never hammer directly on the plank. Always use a tapping block to distribute the force and protect the delicate tongue and groove.
After installation, regular maintenance is simple, but accidents happen. It’s wise to know how to fix scratches on luxury vinyl flooring to keep your investment looking pristine.
Frequently Asked Questions (FAQ)
How much does it cost to install vinyl plank flooring?
The flooring itself typically costs between $2 to $7 per square foot. If you install it yourself, your only other costs are for tools and materials like underlayment and molding. Professional installation can add another $2 to $5 per square foot.
Can you install vinyl plank flooring directly over tile or linoleum?
Yes, in most cases. The key requirement is that the existing floor must be flat, clean, and in good condition. If you’re installing over ceramic tile, you may need to fill in the grout lines with a leveling compound to create a smooth surface.
What is the hardest part of installing vinyl plank flooring?
For most DIYers, the hardest parts are the subfloor preparation and making complex cuts around obstacles like doorjambs or vents. Taking your time on these two steps is essential for a good result.
Do you need to leave an expansion gap for vinyl plank flooring?
Yes, absolutely. A 1/4-inch expansion gap around the entire perimeter is non-negotiable. It allows the floating floor to expand and contract with temperature changes without buckling.