12 Easy Xmas Decorations to Make at Home: Step-by-Step Holiday Crafts

Make 12 easy Christmas decorations at home with flour, oranges, paper, pinecones, jars, and a few pantry staples. Start with cinnamon bundles or folded book trees if you want a craft with no oven time. For a larger display, pair a dried orange garland with a few frosted jar lights.
| Project | Where to display it | Main task |
|---|---|---|
| 1. Salt dough Christmas ornaments | Tree branches | Low oven |
| 2. Dried orange garland | Shelf or wall | Low oven |
| 3. Frosted pinecone ornaments | Tree branches | Glue dry |
| 4. Folded kraft paper stars | Wall or window | Glue dry |
| 5. Folded book-page trees | Dry shelf | Fold only |
| 6. Frosted glass jar luminaries | Dining table | Glue dry |
| 7. Cinnamon stick bundles | Tree or shelf | Tie only |
| 8. Star anise wood slice ornaments | Tree branches | Glue cure |
| 9. Toilet roll snowflakes | Wall | Glue dry |
| 10. Dried fruit wreath for the kitchen | Dry kitchen wall | Tie dried fruit |
| 11. Popcorn and cranberry garland | Tree branches | Thread only |
| 12. Beeswax pinecones for a bowl display | Sideboard | Rub solid wax |

1. Salt dough Christmas ornaments
Make salt dough ornaments with flour, fine salt, and water. Roll the dough to an even thickness so the edges and centers dry at about the same pace. Punch the hanging holes before baking, and let the shapes cool all the way before you add string or paint.

What you need
2 cups all-purpose flour, 1 cup fine table salt, about ¾ cup water, parchment, a straw, cookie cutters, and cotton twine.
- Mix the flour and salt. Add water a little at a time and knead until the dough holds together. If it sticks to your hands, dust it with flour. If it breaks apart when pressed, add water a teaspoon at a time.
- Roll the dough to about ¼ inch. Cut out stars, trees, or hearts. Use the straw to make a hole near the top of each shape. Leave a solid band of dough between the hole and the edge.
- Set the shapes on a lined tray. Start at 200°F and check them after two hours. Thicker pieces may need longer. Let a test piece cool and check that both sides feel dry and firm before you finish the batch.
- Thread cooled shapes with twine. If you paint them, follow the label and let the paint dry before tying the loops.
Keep salt dough away from pets, even after it dries. Salt dough is for display only. Read the ASPCA holiday craft safety guide. See plastic-free Christmas tree ideas.
2. Dried orange garland
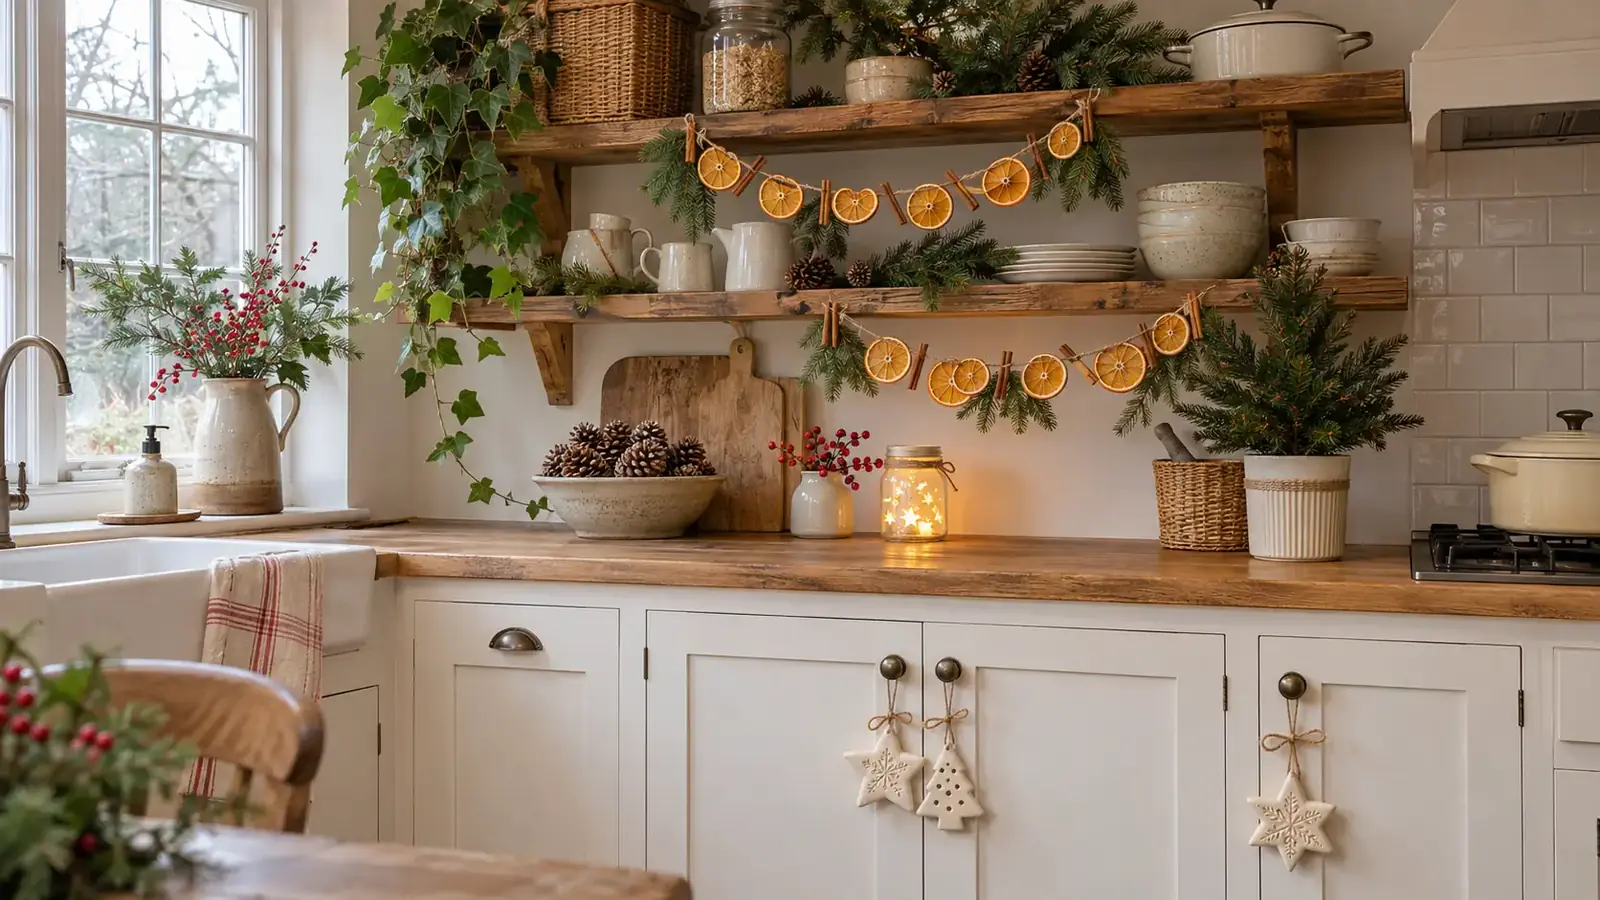
Make a dried orange garland by cutting the fruit into thin rounds, drying them in a low oven, and threading them onto cotton twine. Slice the oranges as evenly as you can. Check the fruit after it cools, since a round that looks dry may still feel sticky in the center.
What you need
Oranges, a sharp knife, paper towels, parchment, a baking tray, cotton twine, and a blunt yarn needle.
- Cut the oranges into rounds about ¼ inch thick. Pat both sides dry and spread the slices in one layer on the lined tray. Leave a little space between them.
- Start at 200°F. Flip the rounds as they dry and check the thinner pieces first. If the edges darken before the centers dry, lower the heat. The time depends on the fruit and the oven.
- Cool the rounds on a rack. Put tacky slices back in the oven and check again after they cool. Use a blunt needle to pass twine through two spots near the rind of each dry slice.
- Lay out the garland on the floor before hanging it. Leave enough bare twine at both ends to tie it to the hooks.
A short strand is easier to hang straight. Use a separate strand for each shelf. See more handmade holiday projects.
3. Frosted pinecone ornaments
Make frosted pinecone ornaments by brushing a little craft glue onto dry cone tips and adding a light coat of coarse Epsom salt. Leave some brown scales bare so the frost shows up. Tie each cone with twine after the glue dries and shake off loose crystals before you hang them.

What you need
Clean dry pinecones, a small brush, white craft glue, coarse Epsom salt, scrap paper, and twine.
- Choose clean craft cones or check dry cones outdoors for dirt and insects. Skip damp, moldy, or heavily infested cones. Brush loose bits off before you bring them inside.
- Set the cones on scrap paper. Brush glue onto a few tips at a time. Sprinkle salt over the wet spots and tap the cone lightly over the paper.
- Let the glue dry as directed. Loop twine around a firm scale near the broad end and tug to check the knot. Use a bowl for cones that do not hold a loop.
Place shedding cones away from food and out of reach of children and pets. See natural Christmas decor ideas.
4. Folded kraft paper stars
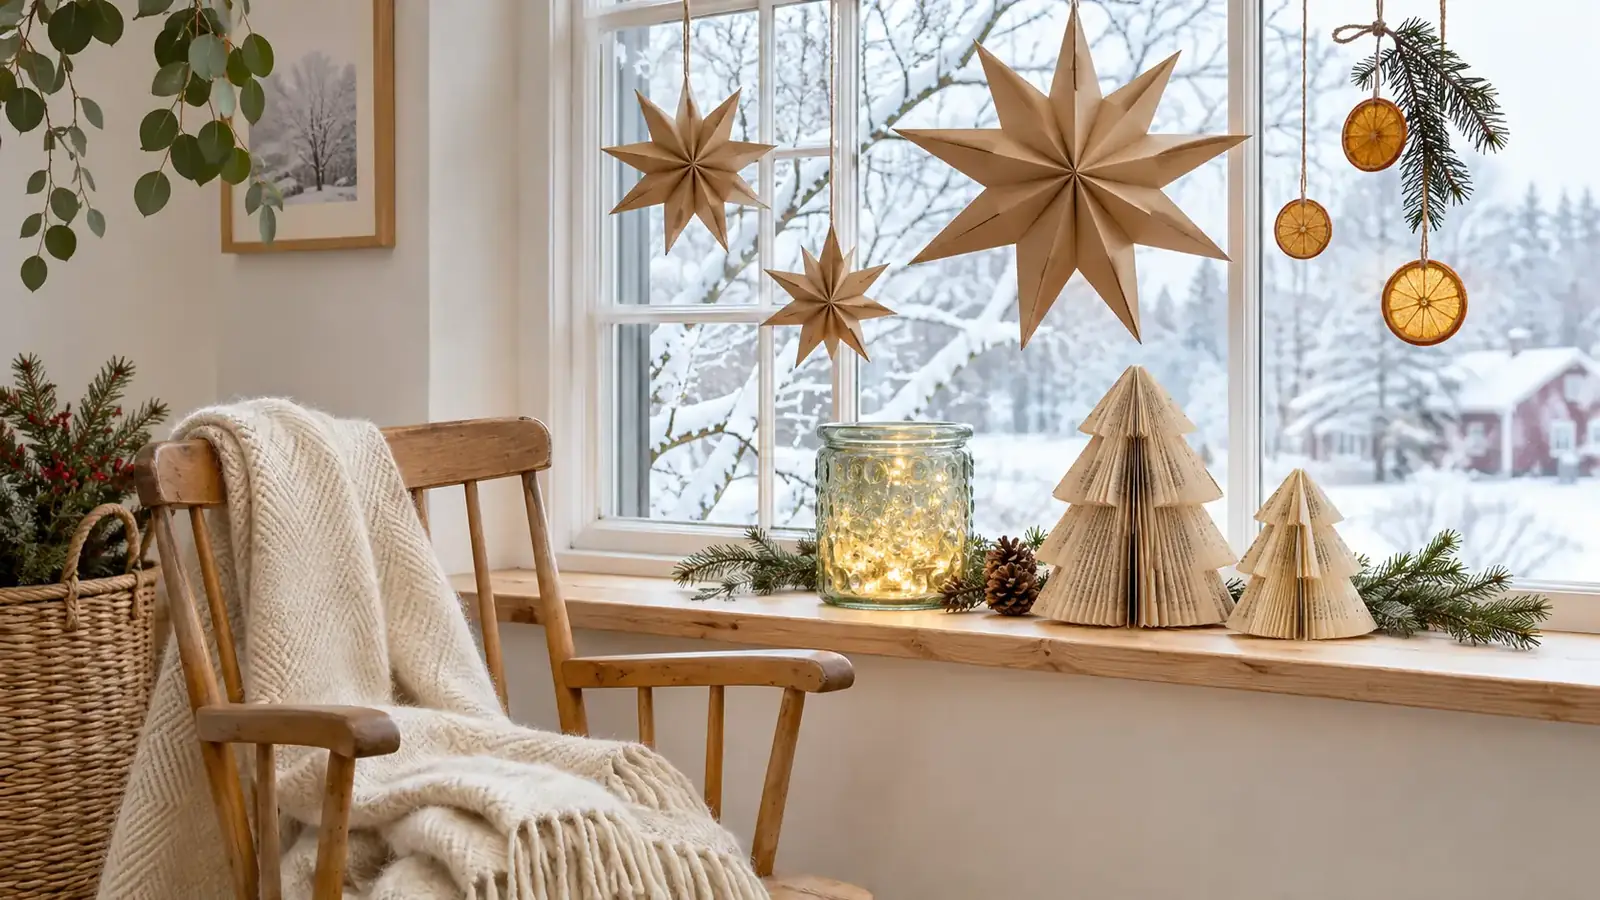
Fold six kraft paper squares to make a light star for a wall or window. Each square forms one point. Cut the same slits in each piece and join the points only after they match. Try the first square on scrap paper before you cut the rest of the set.
What you need
Six 4-inch kraft paper squares, scissors, a glue stick, and thread.
- Fold one square in half across the corners, then fold it in half again. Cut three parallel slits from the folded edge toward the opposite fold. Stop short so the strips stay joined.
- Open the square. Bring the inner strip tips together and glue them into a loop. Turn the paper over and join the next pair. Flip the sheet each time you move to a new pair.
- Make five more points the same way. Lay them in a circle and glue their ends at the center. Join the sides where each pair of points meets if the star needs more support.
- Let the joints dry flat. Tie on a thread loop and hang the star from a hook away from heat.
Thin kraft paper folds more easily than stiff card. Make a smaller test star if the folds keep springing open. See more holiday ideas for small apartments.
5. Folded book-page trees
Turn a damaged paperback into a small tree by folding each page toward the spine. Tuck the lower corners up so the tree has a flat base. The first few pages show whether the shape will stand upright, so test the base before you fold the whole book.
What you need
A worn paperback, a ruler for sharp folds, and a paper clip if the tree needs help holding its shape.
- Remove the outer cover and leave the pages joined at the spine. Fold the upper corner of one page down to the spine. Fold the new sloped edge toward the spine again.
- Tuck the bit that sticks past the bottom edge up into the fold. Set the book down to see whether the page sits flat. Use that page as a guide for the next one.
- Repeat the folds on each page. Fan the pages around the spine. If the tree springs shut, clip the first and last folded pages together at the back.
- Set the finished tree on a shelf. Group two trees of different heights if the shelf has room.
Keep paper trees clear of heaters, stove tops, and candles.
6. Frosted glass jar luminaries
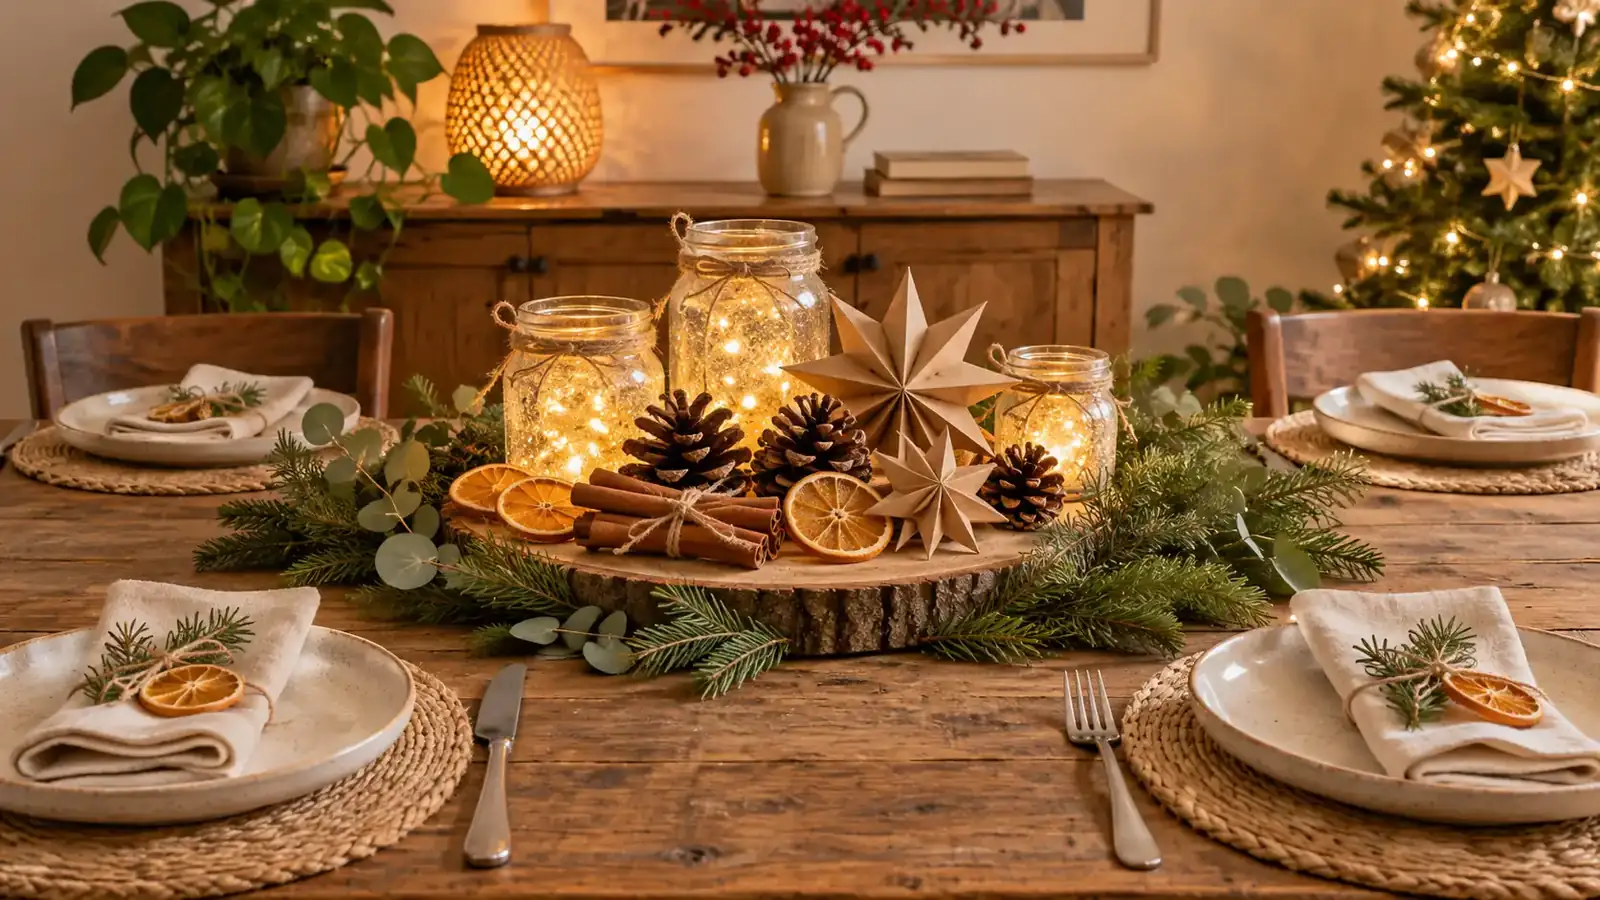
Make a frosted jar luminary by coating the outside of a clean jar with craft glue and Epsom salt. Keep the rim clear and let the coat dry before you add a battery LED. The clear patches in the glass help the light shine through the frosted finish.
What you need
An intact glass jar, dish soap, white craft glue, a brush, coarse Epsom salt, and a battery LED light.
- Wash the jar, peel off the label, and dry the glass. Check the rim and base for cracks or chips. Use another jar if you find damage.
- Brush glue on the outside and leave the bottom bare so the jar sits flat. Sprinkle salt on the glue over a tray. Leave gaps where you want more light to show.
- Follow the glue label for dry time. Tap off loose salt over the tray and set the jar on a stable surface. Add a battery LED and keep the switch easy to reach.
Use a battery light and keep the jar dry. See the U.S. Fire Administration’s holiday fire safety tips. See more Christmas table ideas.
7. Cinnamon stick bundles
Tie three cinnamon sticks into a small bundle for a tree, shelf, or napkin display. Cross the twine around the middle so the sticks stay put when you lift them. Leave one end a little longer than the others if you like a loose, hand tied look.

What you need
Whole cinnamon sticks, cotton twine, and scissors. Set aside clean sticks if you plan to use them in the kitchen later.
- Set two sticks side by side. Rest a third on top in the groove between them. Slide the ends until they sit where you want them.
- Wrap twine twice around the middle. Cross the ends, make a snug knot, and pull on each stick to test it. If one slips, loop the twine around that stick before you tie it again.
- Tie the spare ends into a hanging loop or trim them for a shelf display. Hang the bundle from a branch that can hold its weight.
Build one bundle first so you can judge its size from across the room. Use shorter sticks on a small tree.
8. Star anise wood slice ornaments
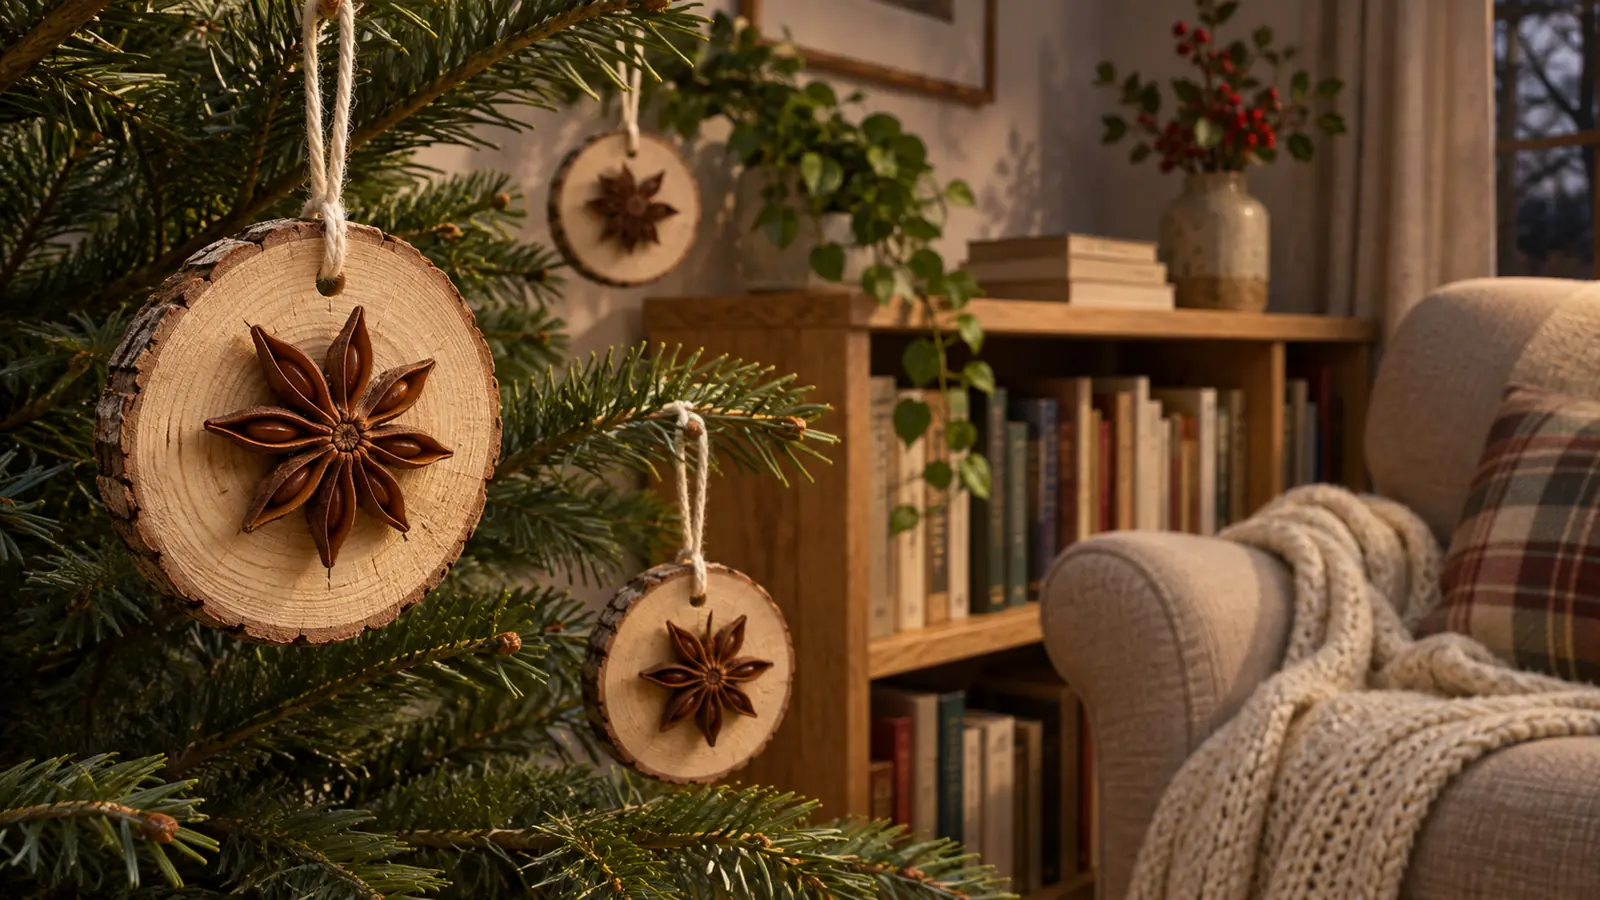
Glue a whole star anise pod to a thin wood slice to make a small tree ornament. Choose a slice with a smooth face and a hole near the top. Leave a band of bare wood around the spice so you can see both the star shape and the grain.
What you need
Pre-drilled craft wood slices, whole star anise pods, craft glue made for wood, and cotton cord.
- Wipe dust from the wood with a dry cloth. Set one whole pod on the slice and turn it until the points sit where you want them.
- Put a small amount of glue under the center of the pod. Press it down and lay the slice flat until the glue cures. If the pod rocks, swap it for one with a flatter base.
- Thread cord through the hole and tie a loop. Hold the ornament over a table and tilt it to check that the pod stays put. Hang it where it has room to turn.
Keep the finished pieces away from food and out of reach of pets and young children.
9. Toilet roll snowflakes
Cut a clean toilet paper tube into rings and pinch each ring into a point. Join six rings to make a flat snowflake you can hang on a wall. The points look more even when the rings all have the same width, so mark the cuts before you start.
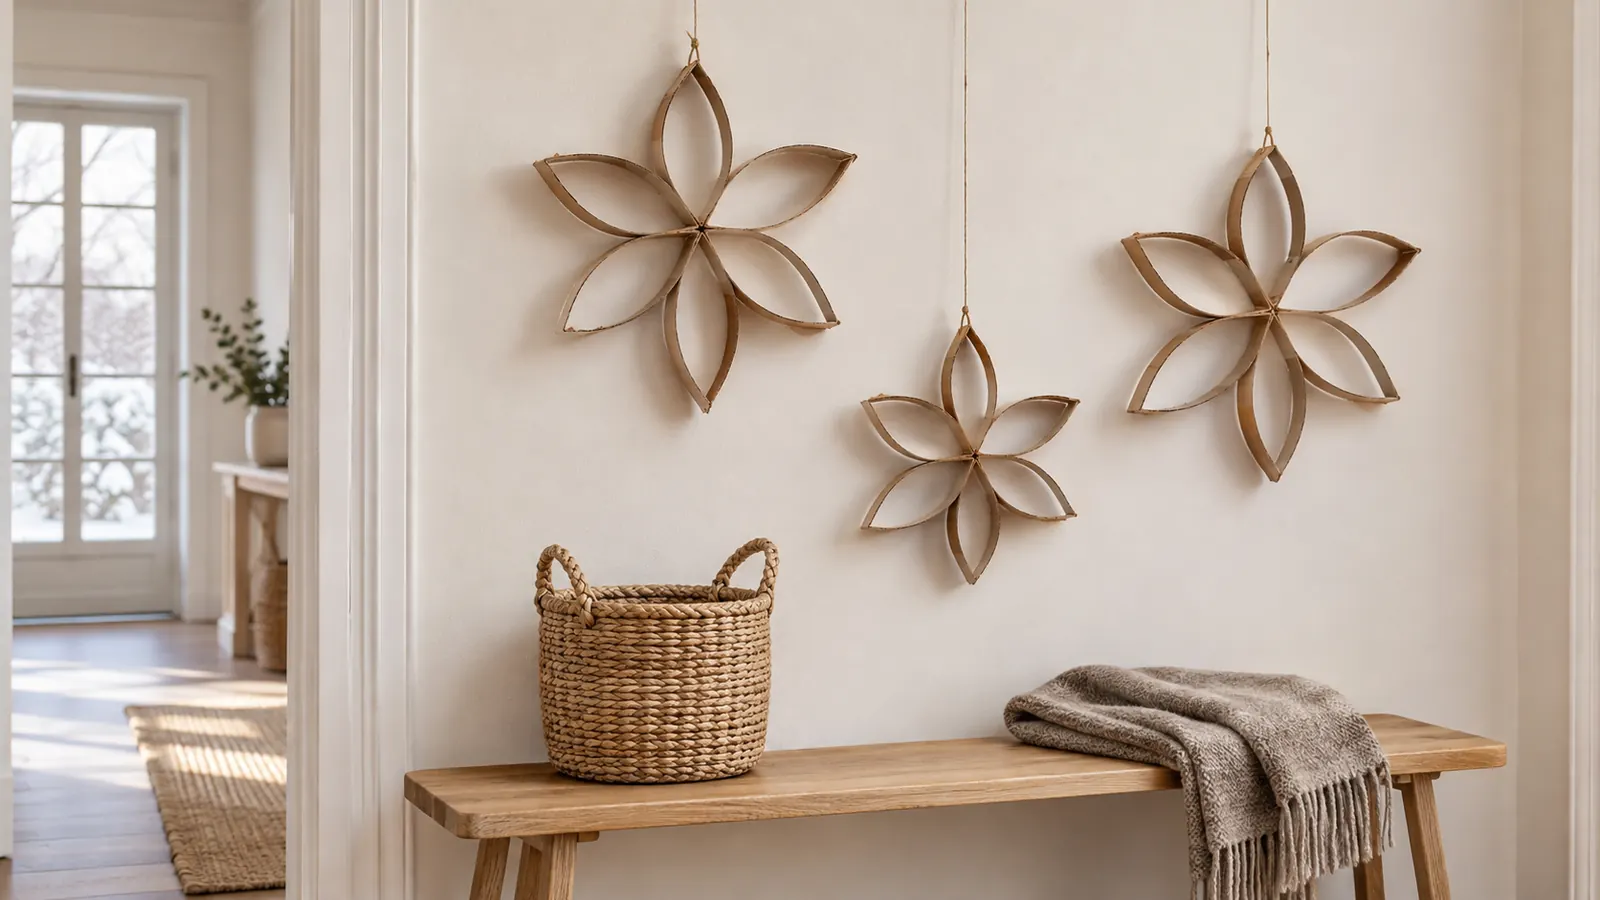
What you need
A clean dry toilet paper tube, ruler, pencil, scissors, white craft glue, and thread.
- Press the tube flat. Mark six bands about ½ inch wide and cut across the tube at each mark. Open each band just enough to make a pointed oval.
- Lay six ovals flat with one tip of each at the center. Add glue where the sides touch near the middle. Hold each joint for a moment and leave the shape flat to dry.
- Tie thread around one point after the glue sets. If you want more detail, fold spare rings in half and glue them into the gaps. Let those joints dry before hanging.
Try a plain brown flake first. If you paint one, use thin coats so the card keeps its shape.
10. Dried fruit wreath for the kitchen
Make a kitchen wreath from a light wreath ring and fully dried apple and orange slices. Tie the fruit on in small groups so you can swap out a slice if it softens. Hang the wreath on a dry wall with space away from the sink, stove, and food prep.
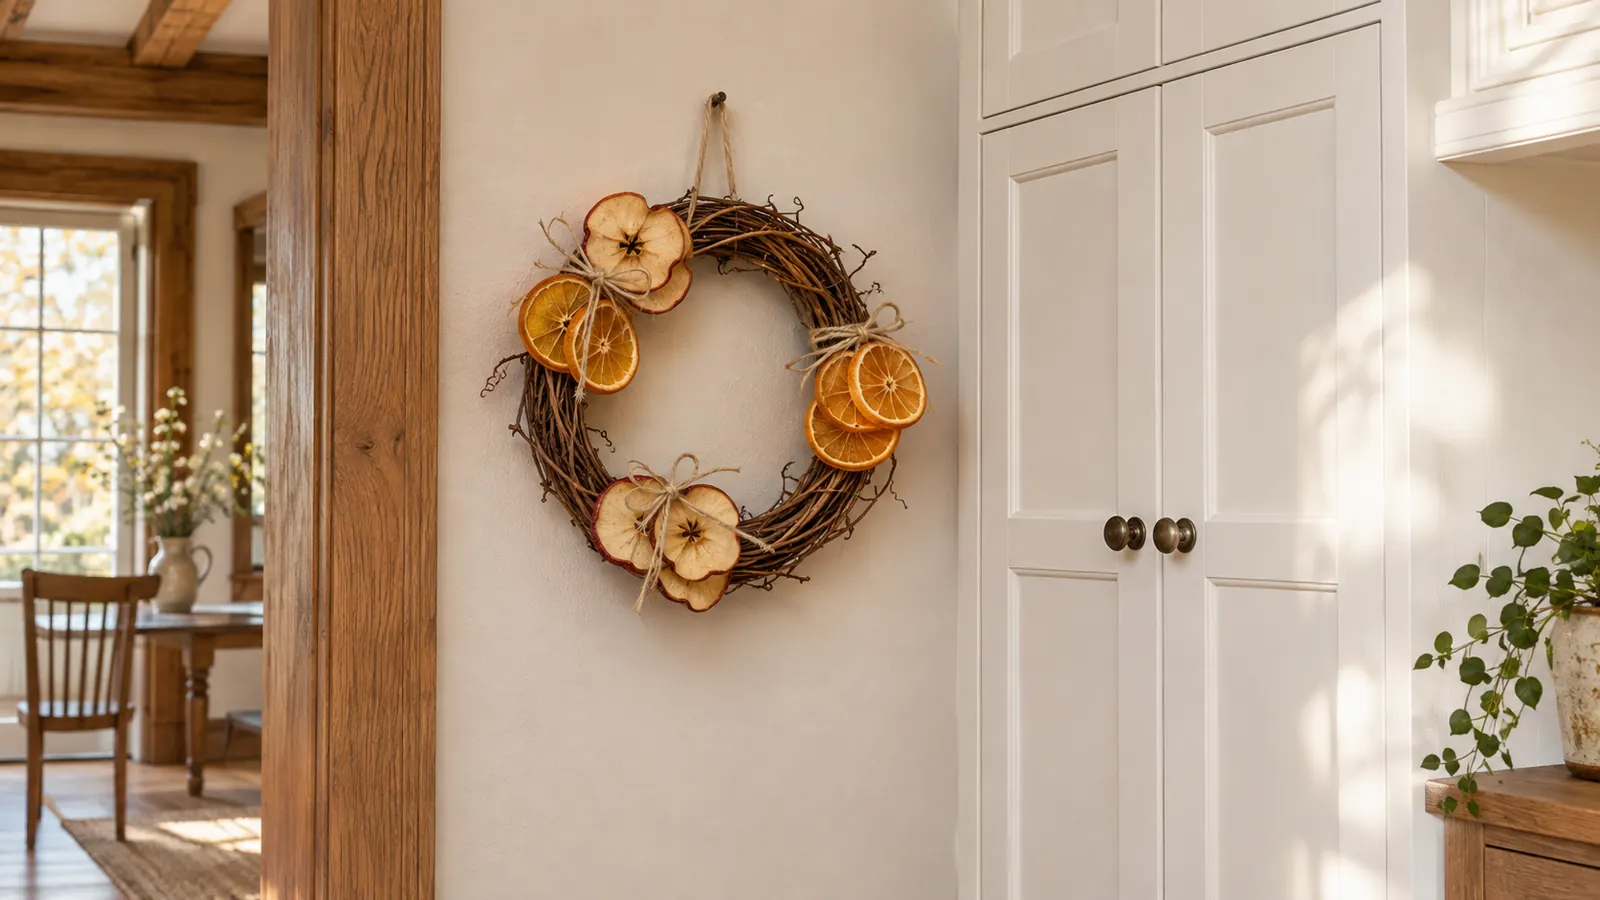
What you need
A small grapevine wreath ring, dry apple and orange slices, cotton twine, and optional cinnamon sticks.
- Lay the ring flat and place the fruit around it before you tie anything. Keep the slices in one loose layer so the ring can still show through.
- Pass short lengths of twine through the fruit near the rind or firm edge. Tie each group to the ring. If an apple slice tears, support it from behind with a loop around the slice.
- Add a loop at the top and hold the ring up to check its balance. Shift a group if one side hangs lower. Leave a gap between the wreath and any door that swings against it.
Use fruit that feels dry after cooling. Take down slices that feel damp or show mold.
11. Popcorn and cranberry garland
Thread plain popcorn and fresh cranberries onto short lengths of cotton thread to make a red and white garland. Use a sturdy needle and push it through the thick part of each piece. Make short strands so you can move them without snapping the popcorn or pulling the berries loose.
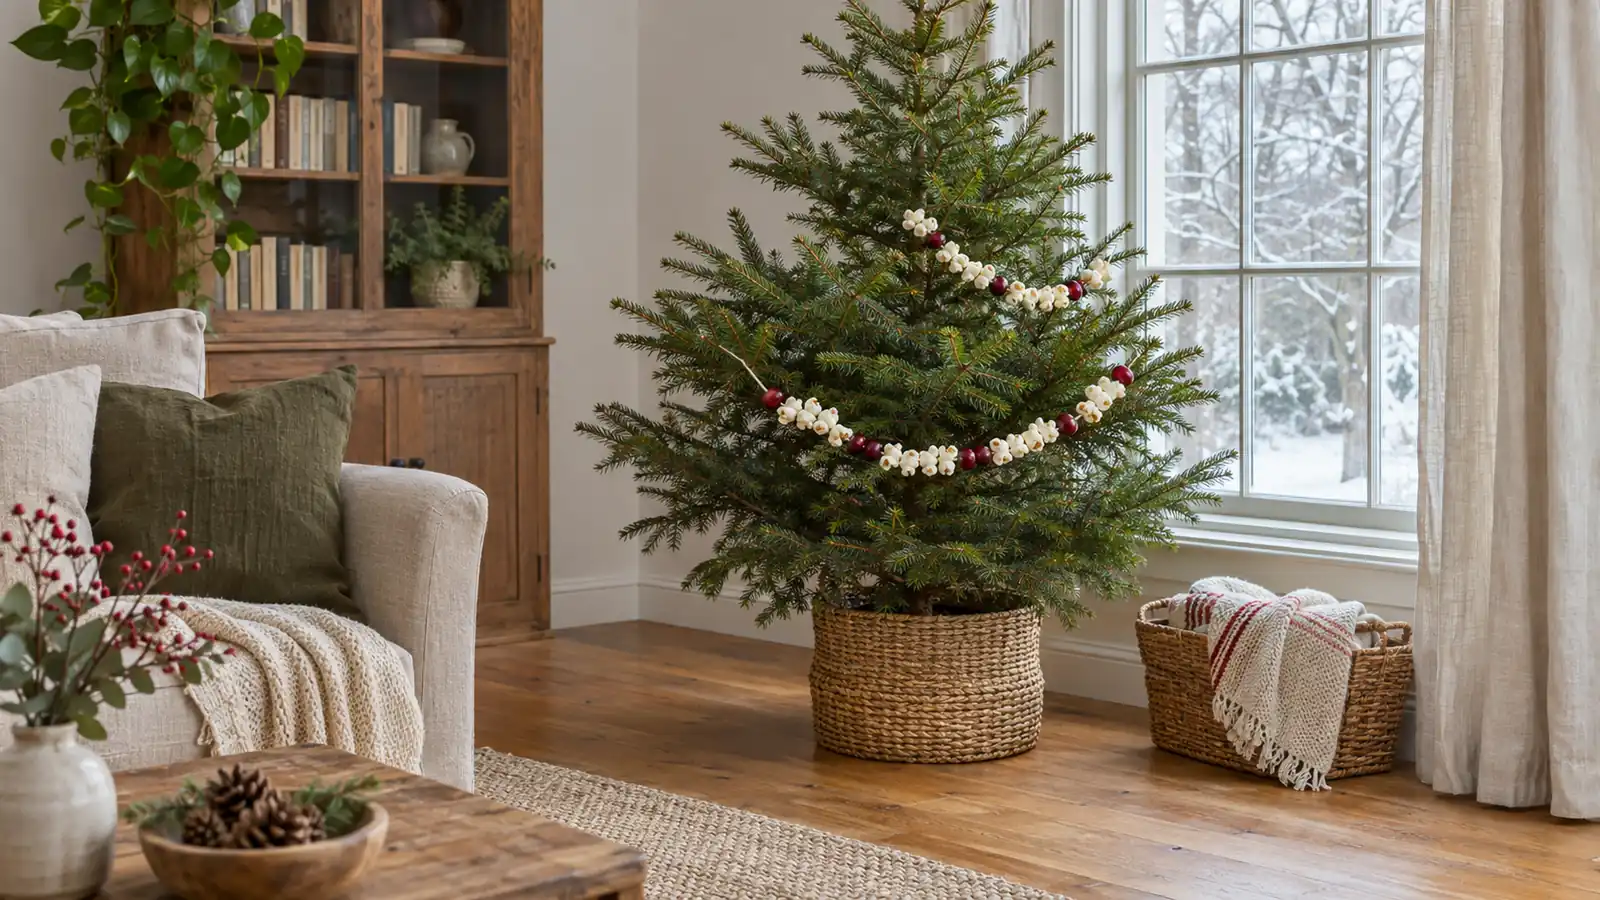
What you need
Plain popped popcorn, firm fresh cranberries, strong cotton thread, and a sewing needle.
- Let the popcorn cool. Pick out large popped pieces and set aside any kernels that did not pop. Sort out soft or split berries.
- Thread the needle and tie a stop knot at one end. Push the needle through the thick part of each popcorn piece and through the center of each berry. Try four pieces of popcorn for every berry.
- Leave spare thread at both ends and tie loops. Hang each strand on its own set of branches. Use a shallow tray under your work to catch broken bits.
An adult should handle the needle. Treat the garland as a short term display and discard it if berries leak, soften, or show mold.
12. Beeswax pinecones for a bowl display
Rub a block of solid beeswax over the raised tips of dry pinecones for a soft wax finish. A thin coat lets the brown scales show through. Set the cones in a shallow ceramic bowl on a sideboard where the light can catch the tips from the side.
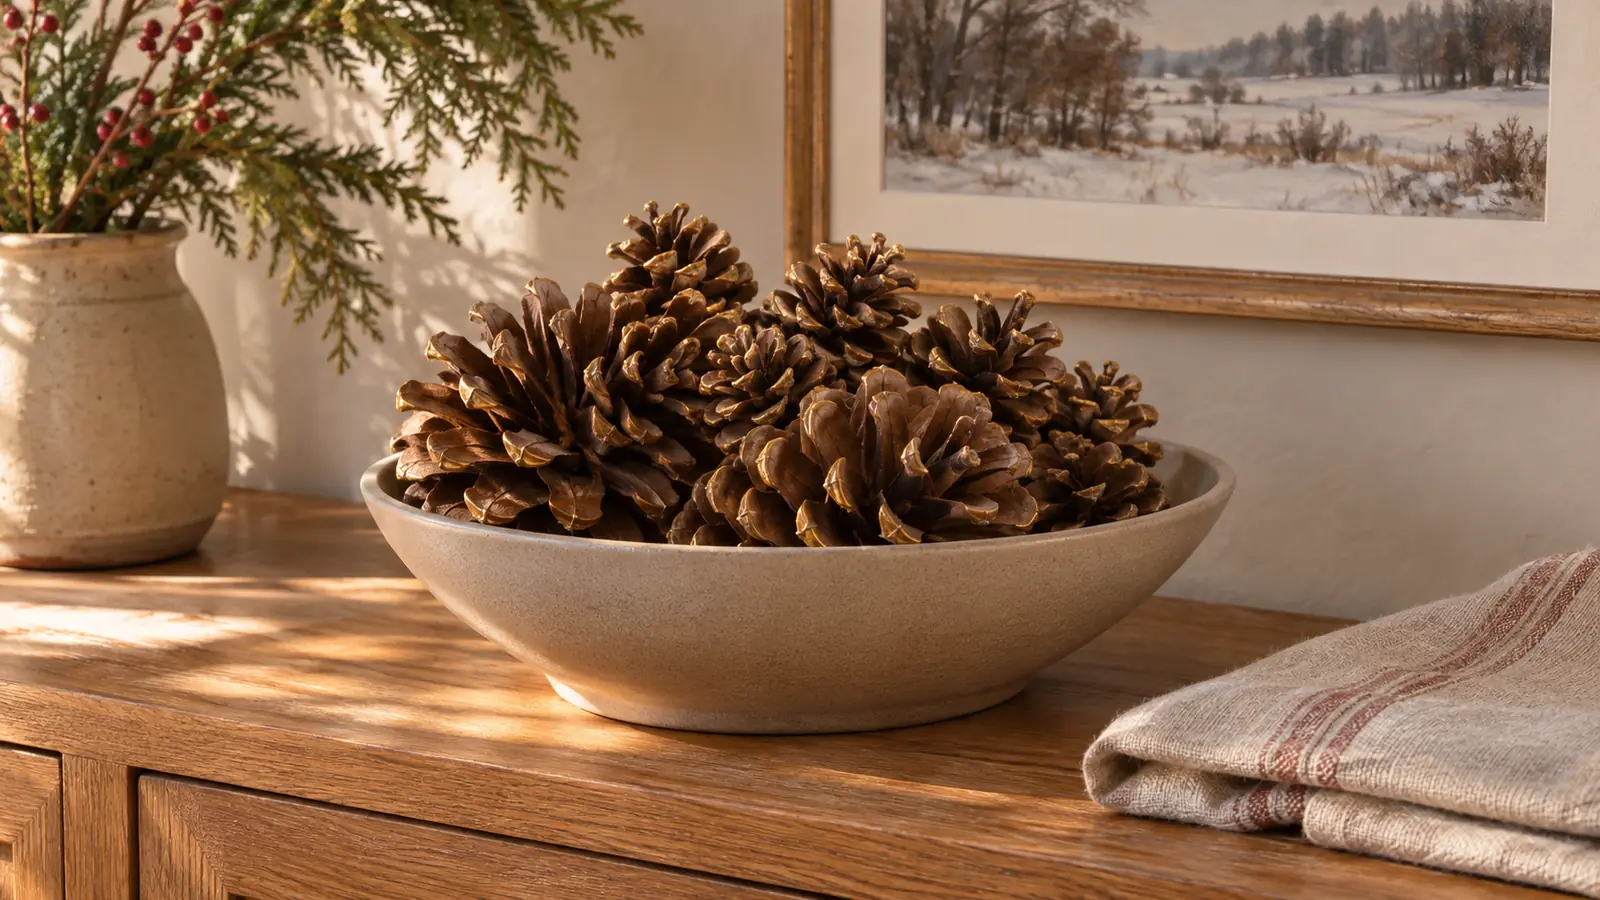
What you need
Clean dry craft pinecones, a block of plain beeswax, scrap paper, and a shallow ceramic bowl.
- Set the cones on scrap paper and brush off loose dirt. Pick cones that sit flat in the bowl so the top tips will show.
- Rub a corner of the wax block across the outer tips. Turn the cone as you work and use light pressure. Brush off loose wax crumbs and repeat only on tips that need more color.
- Put the larger cones in the bowl first. Fill the gaps with small cones and turn a few so their waxed tips catch the light. Lift the bowl to check that nothing rolls out.
Use solid wax at room temperature. Keep the display away from heat and flames. See ways to style natural home decor.
How do you store handmade Christmas decorations?
Pack clean, dry crafts in a rigid box once the glue, paint, and fruit have dried. Wrap glass and salt dough on their own, and lay paper stars flat in a box with a lid. Keep the box in a dry room and check the contents before you put them back on display.
Use a second box for dry fruit and other items that may draw pests. Throw away anything damp, soft, or moldy. Remove batteries before you pack the jar lights. See more reusable holiday decor ideas.
Questions about homemade Christmas decorations
Choose paper stars or cinnamon bundles if you need decor today. If you have more time, dry orange slices or salt dough in small batches so you can check each piece. Use battery lights for jar decor and keep food based garlands separate from the items you plan to store.
Can you air dry salt dough ornaments?
Yes. Lay thin shapes on a rack in a dry room and turn them as they firm up. Drying can take several days. Check both sides and wait until each piece feels firm before you add string.
How do you stop dried oranges from going brown?
Start with even slices and use low heat. Check thin rounds first and take them out once they dry. A little color change is normal. Lower the heat if the edges darken while the centers still feel wet.