How to Make Sustainable Christmas Decorations: 5 Step-by-Step DIY Projects
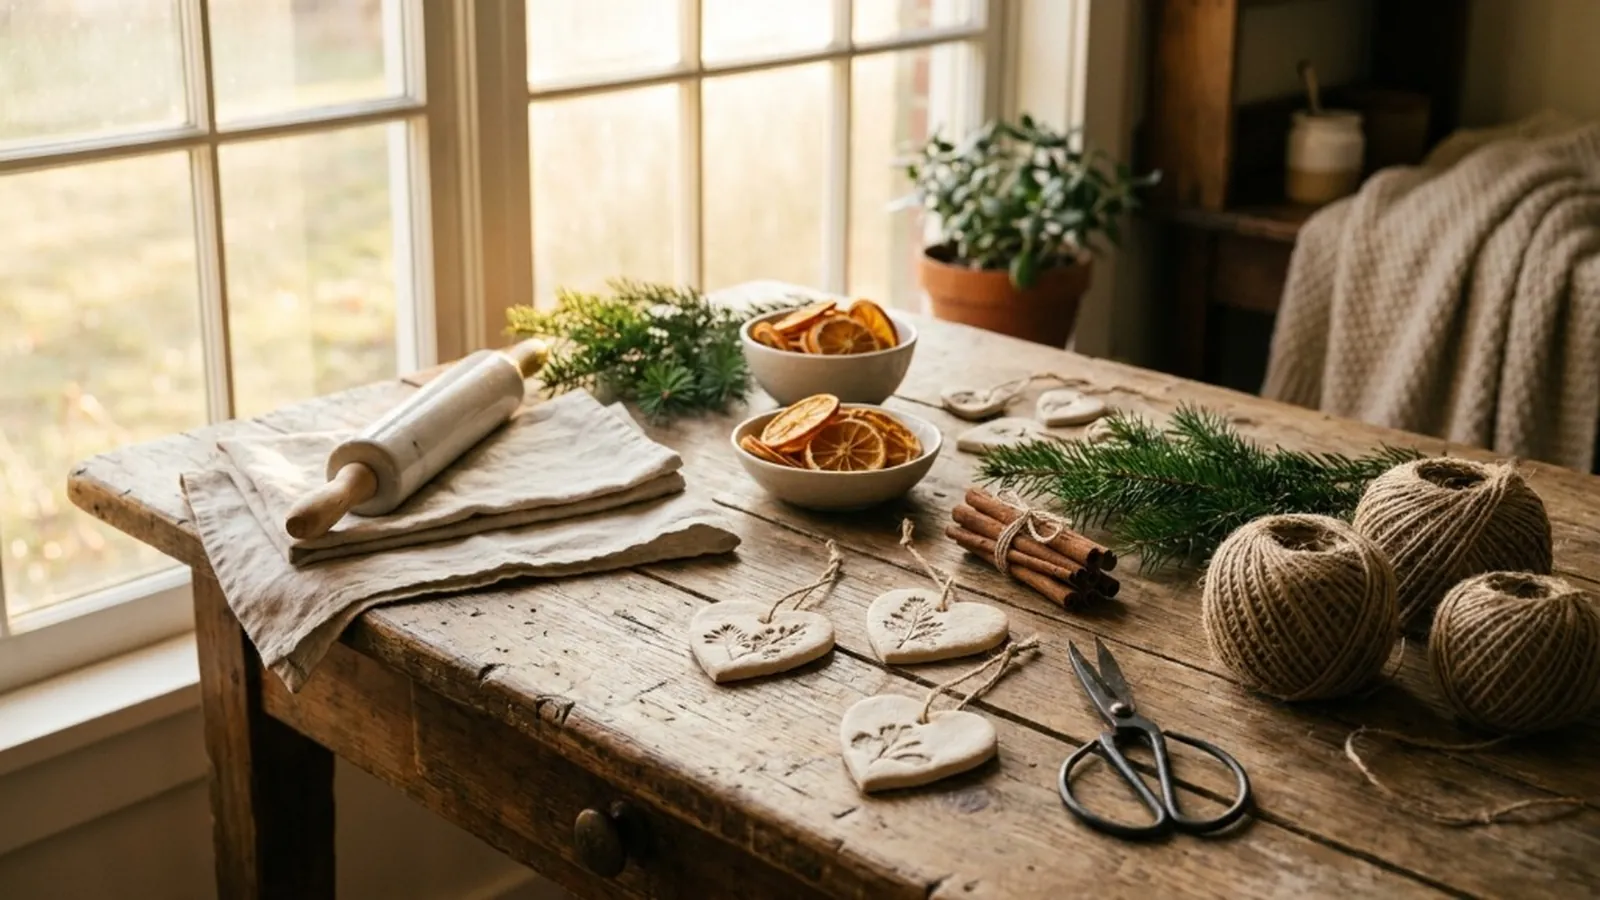
You can make sustainable Christmas decorations with pantry items, fallen plants, and saved paper. These projects add warm holiday detail without plastic. Salt dough, dried citrus, paper stars, waxed pinecones, and twig snowflakes can replace glittery plastic decor. They also cost very little.
Stores sell many plastic balls and ribbons that can shed small bits onto rugs. Making your own decor gives the tree a simple Scandinavian look. It also brings natural winter texture indoors. Use the right drying heat, salt ratio, paste, and storage method. Your ornaments will stay dry and last longer.
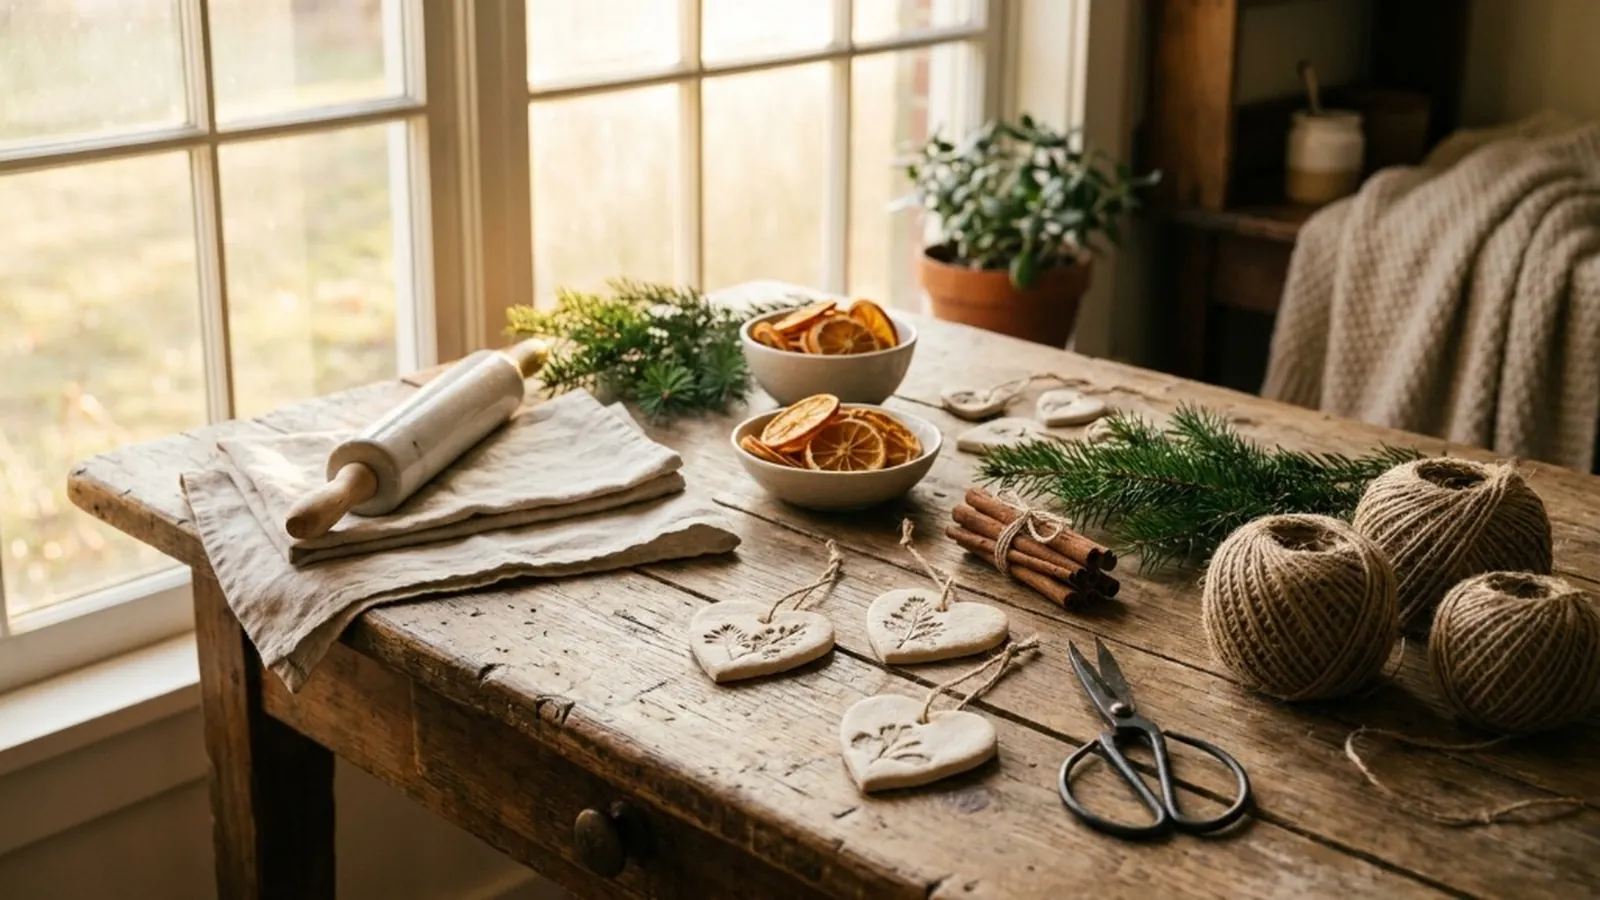
Tools and Natural Materials for DIY Sustainable Christmas Decorations
Good materials make these DIY sustainable Christmas decorations safer and easier to finish. Use kitchen staples and natural fibers instead of plastic glue, glitter spray, and plastic ribbon. More of the project can then compost.
Commercial craft kits often market synthetic foam cores and chemical sealants under misleading eco-friendly labels. Set out these supplies before you start:
Project 1: How to Make Eco Friendly Christmas Decorations at Home with Botanical Salt Dough
Learning how to make eco friendly Christmas decorations at home with salt dough yields durable, ceramic-like ornaments using simple pantry ingredients. Mix two parts plain flour with one part fine salt and one part warm water. The soft dough can hold clear herb prints.
Recipe and Proportions
- 2 cups unbleached all-purpose white flour (do not use self-rising flour, which causes blistering).
- 1 cup fine table salt (fine salt dissolves evenly and prevents grainy surface fissures).
- 1 cup warm filtered tap water.
- Fresh botanical cuttings (flat-leaf cedar sprigs, woody rosemary tips, or small cypress leaves).
Step-by-Step Salt Dough Crafting Steps
- Mix the Dough: Stir the flour and salt together in a large ceramic mixing bowl. Pour in warm water gradually and mix with a wooden spoon until a shaggy dough forms.
- Knead Thoroughly: Turn the dough onto a lightly floured wooden board. Knead with your palms for eight minutes. Stop when the dough feels smooth and firm.
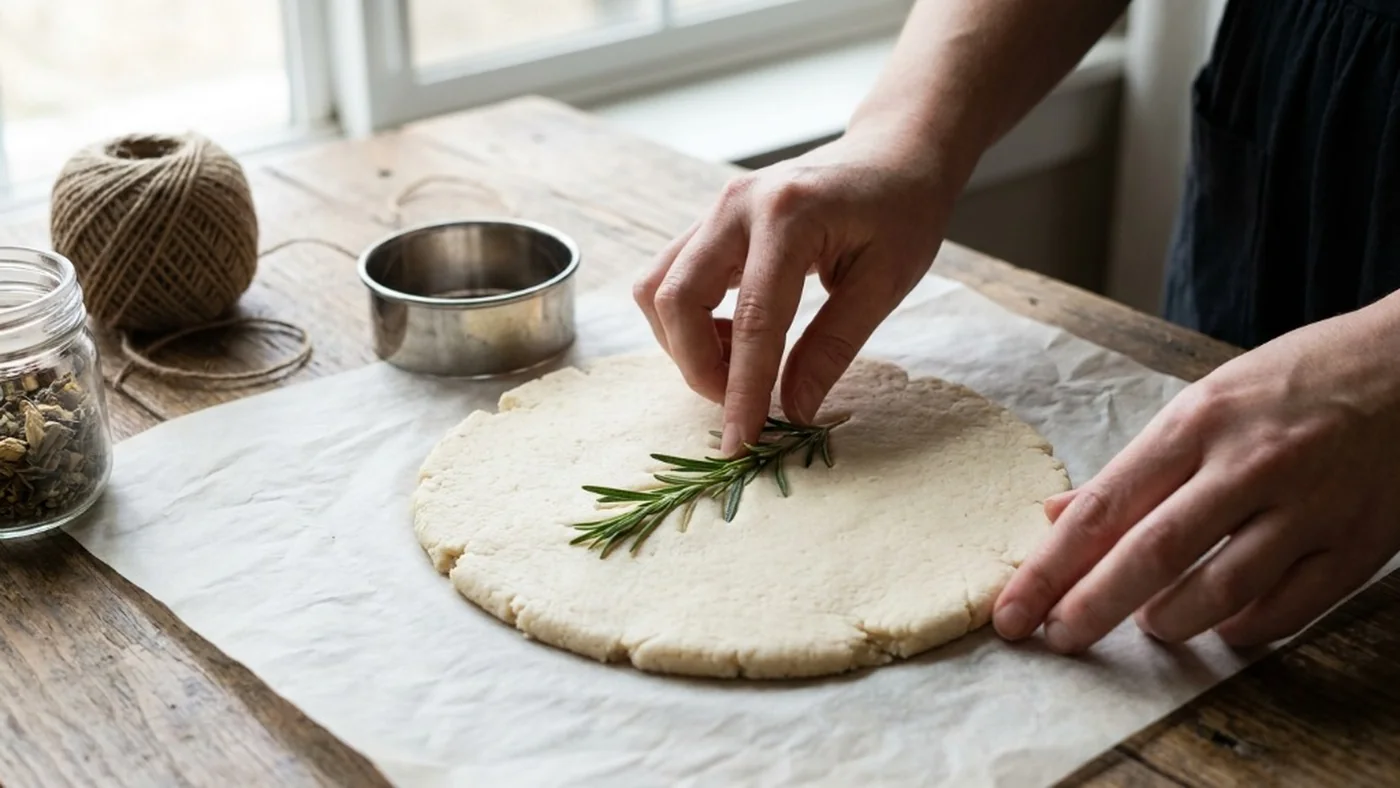
- Roll and Emboss: Roll the dough evenly between two sheets of parchment paper to an exact three-sixteenths inch thickness. Lay fresh rosemary or cedar sprigs across the dough. Roll over them once with light pressure to press crisp botanical veins into the surface.
- Cut Shapes and Punch Hanging Holes: Peel green sprigs away to reveal the leaf impression. Cut circular medallions using a three-inch biscuit cutter or water glass. Punch a clean hanging hole a quarter-inch from the top edge using a stainless steel drinking straw.
- Bake Low and Slow: Transfer the parchment sheet onto a flat baking tray. Bake at 200°F (93°C) for three and a half hours. Flip the medallions at the two-hour mark. The ornaments must sound hollow and ceramic-hard when tapped with a fingernail. Any trapped internal moisture causes dough to soften and grow mold over time.
- Thread and Seal: Thread eight-inch loops of raw jute twine through each hole. Rub a thin film of cold-pressed walnut oil across the face to enhance botanical relief and protect against seasonal humidity.
Project 2: Crafting Natural Homemade Christmas Decorations with Dried Citrus and Spices
Crafting natural homemade Christmas decorations using dehydrated citrus fruits and whole winter spices infuses your living room with rich festive aromatics without chemical room sprays. Thin orange and grapefruit slices dry into bright pendants. Warm fairy lights shine through them.
Materials and Ingredients
- 4 large navel oranges, blood oranges, or lemons.
- 20 whole dried Turkish bay leaves.
- 15 whole star anise pods.
- 10 three-inch Ceylon cinnamon sticks.
- 20 unfinished three-quarter-inch birch wood beads.
- 1 spool of unbleached cotton baker twine and a blunt yarn needle.
Step-by-Step Garland Assembly Steps
- Slice the Citrus Evenly: Cut citrus fruits crosswise into precise quarter-inch rounds using a sharp chef knife or kitchen mandoline. Discard end rinds. Uniform slice thickness guarantees that every piece dehydrates evenly without scorching.
- Blot Surface Juices: Place the fruit rounds between clean cotton kitchen towels. Press firmly with both hands to draw out excess juice before loading the baking sheets.
- Dehydrate Low and Slow: Arrange the slices on wire cooling racks placed over rimmed baking sheets. Dehydrate in an oven set to 175°F (80°C) for four hours. Turn the slices over every sixty minutes. Fully cured fruit centers feel firm and look translucent, with zero sticky pulp.
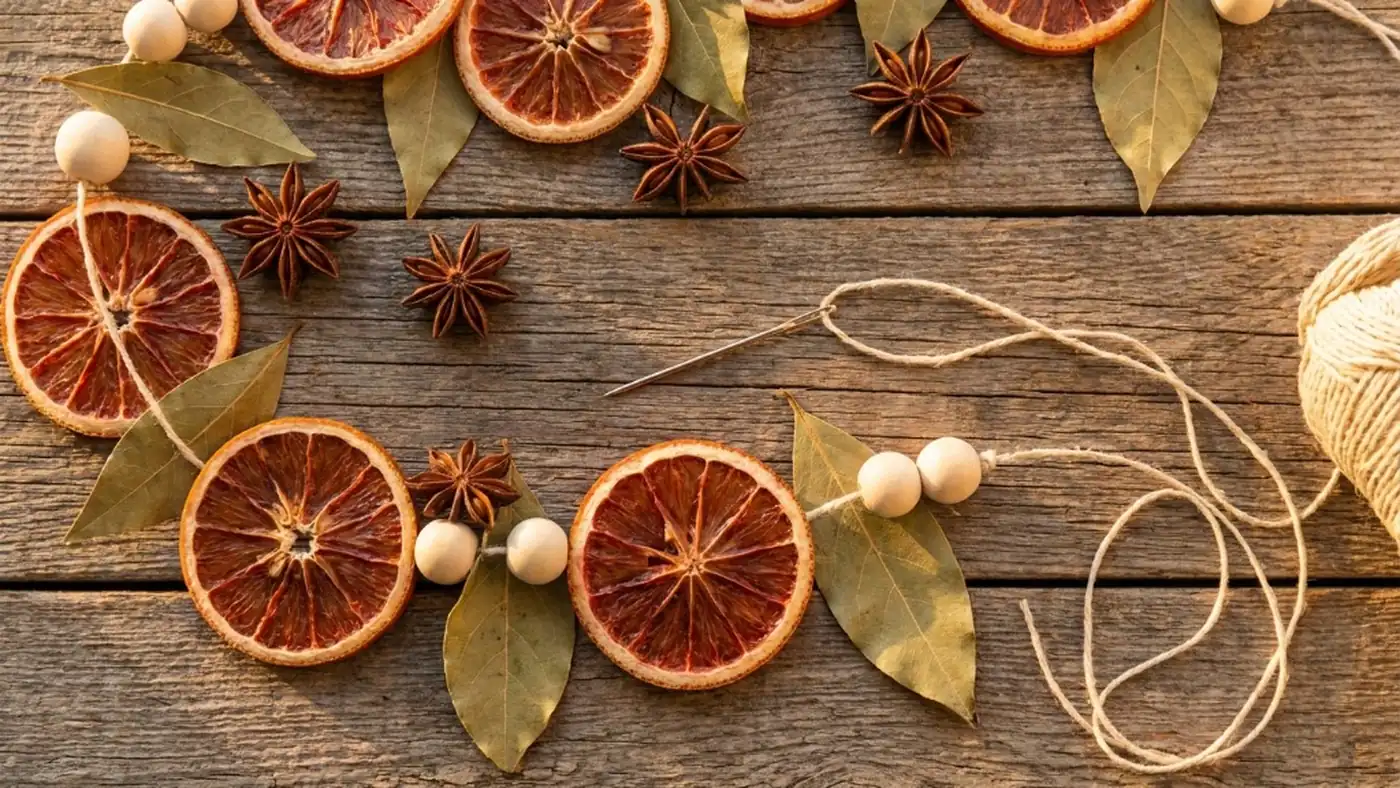
- String the Garland: Thread four feet of baker twine through your yarn needle. Push the needle through each side of the citrus center. This helps every slice hang flat.
- Add Botanical Spacers: Alternate each citrus slice with an unfinished birch bead, a dried bay leaf, and a horizontal cinnamon stick. Knot the twine at both ends with three-inch hanging loops. Drape the garland across your mantelpiece or wind it through evergreen tree branches.
Project 3: Upcycled Christmas Decorations DIY Using Kraft Paper Stars
Designing upcycled Christmas decorations DIY from discarded brown kraft paper bags and vintage paperback book pages adds sculptural Nordic warmth to your holiday tree. These three-dimensional folding stars fold flat for easy storage and require zero petroleum-based plastic tapes.
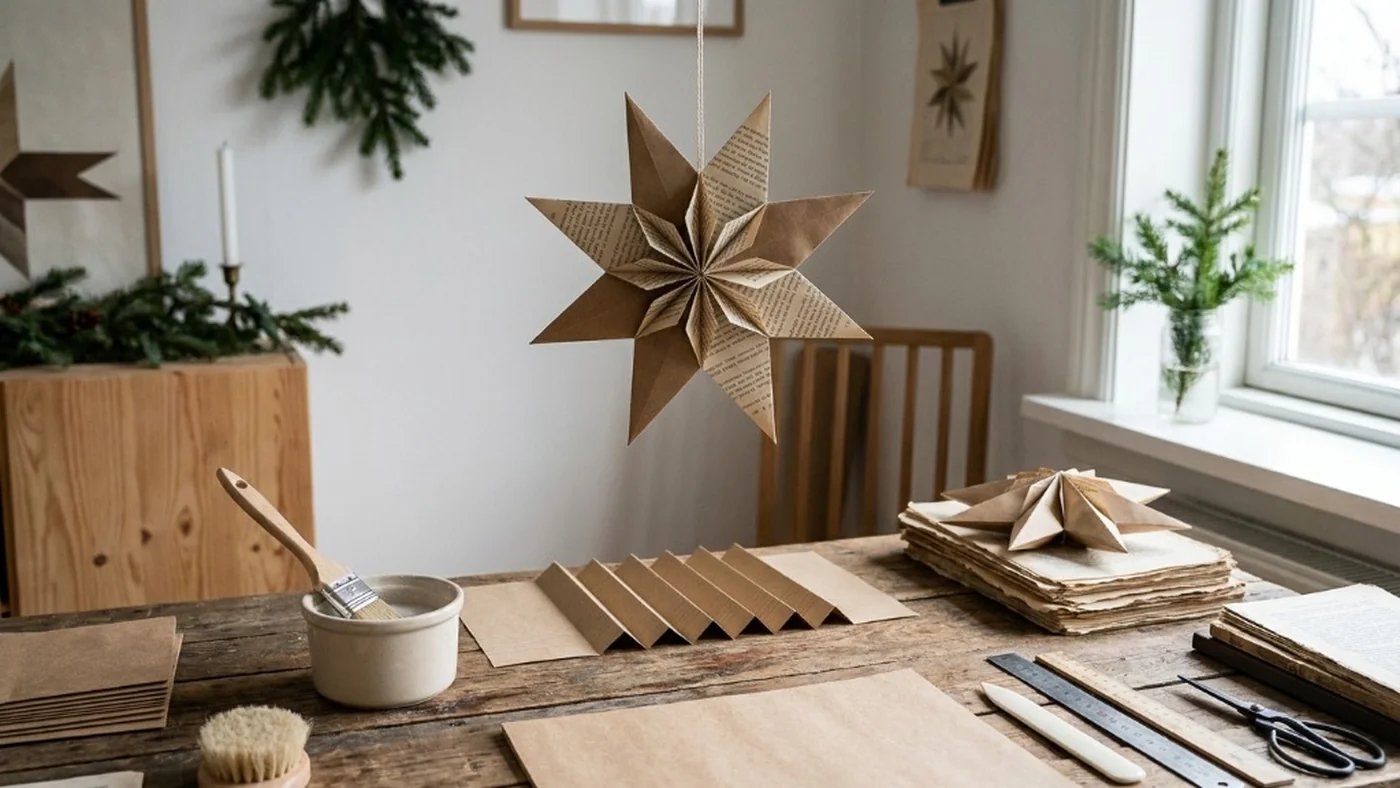
Materials and Tools
- Clean brown kraft paper bags or discarded book pages.
- Bone folder or the back edge of a metal butter knife.
- Stainless steel craft scissors.
- Cooked cornstarch wheat paste (mix 1 tablespoon cornstarch with 4 tablespoons water; simmer for two minutes until clear and sticky).
- Small natural-bristle glue brush.
Step-by-Step Paper Star Folding Steps
- Cut Paper Strips: Cut seven paper strips measuring three inches wide by ten inches long.
- Accordion Fold the Strips: Fold each paper strip back and forth like an accordion at half-inch intervals. Crease each fold firmly using your bone folder to produce crisp, sharp structural edges.
- Snip the Outer Points: Pinch the folded accordion strip tightly together. Snip both end corners off at a forty-five-degree angle with scissors to shape pointed star tips.
- Join the Center: Bind the center of the folded stack with a four-inch loop of cotton thread. Pull the knot snug to fan the pleats outward like a bow tie.
- Paste the Fan Edges: Brush a thin layer of cooked cornstarch paste onto the outer pleated edges. Press adjacent folds together for sixty seconds until the starch bonds. Open the opposite side and repeat to form a complete eight-inch circular geometric star. Hang using waxed cotton cord.
Project 4: Zero Waste DIY Christmas Ornaments with Pure Beeswax Pinecones
Pinecones and beeswax make zero waste DIY Christmas ornaments with a mild winter scent. Warm beeswax on pinecone tips looks like soft frost. It also adds a light honey scent.
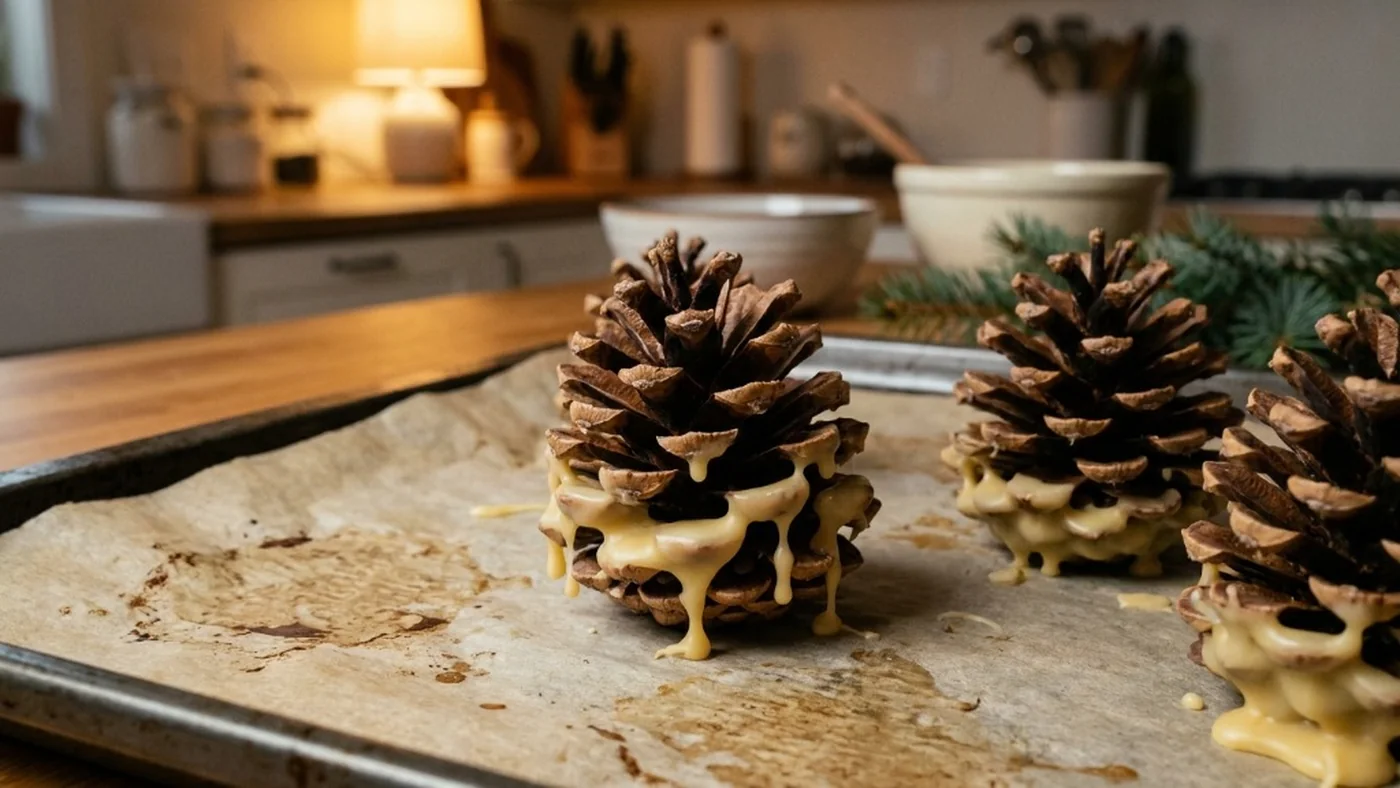
Preparing Foraged Pinecones (Bug & Sap Elimination)
Never bring raw foraged pinecones directly into your living room. Backyard pinecones harbor dormant wood-boring larvae, spiders, and sticky resin.
- Spread collected pinecones across an aluminum foil-lined baking sheet.
- Bake at 200°F (93°C) for thirty minutes.
- Gentle oven heat melts sticky resin into the wood scales and neutralizes hidden larvae. Scales spread wide into open, symmetrical cones.
Dipping and Finishing Steps
- Melt the Beeswax: Place eight ounces of 100 percent pure local yellow beeswax pastilles into a clean glass mason jar. Set the jar inside a small saucepan filled with two inches of simmering water to create a safe double boiler. Melt until golden and liquid (approximately 145°F / 63°C).
- Tie Hanging Loops: Tie an eight-inch length of thin jute twine under the top row of scales with a firm square knot.
- Dip the Lower Scales: Hold the pinecone by its twine loop. Lower the bottom half of the cone into warm melted wax for three seconds. Lift the cone and hold it over the jar for five seconds to let excess wax drain.
- Cool on Parchment: Place the dipped cone base-down on parchment paper. The beeswax turns from translucent amber to a frosted creamy yellow within two minutes. Hang these ornaments directly on pine branches or group three cones together on your front door.
Project 5: Minimalist Twig and Unspun Wool Snowflake Stars
Twig and wool snowflake stars pair fallen branches with soft carded sheep fleece. This project needs no special supplies. It adds warm, rustic texture to evergreen branches.
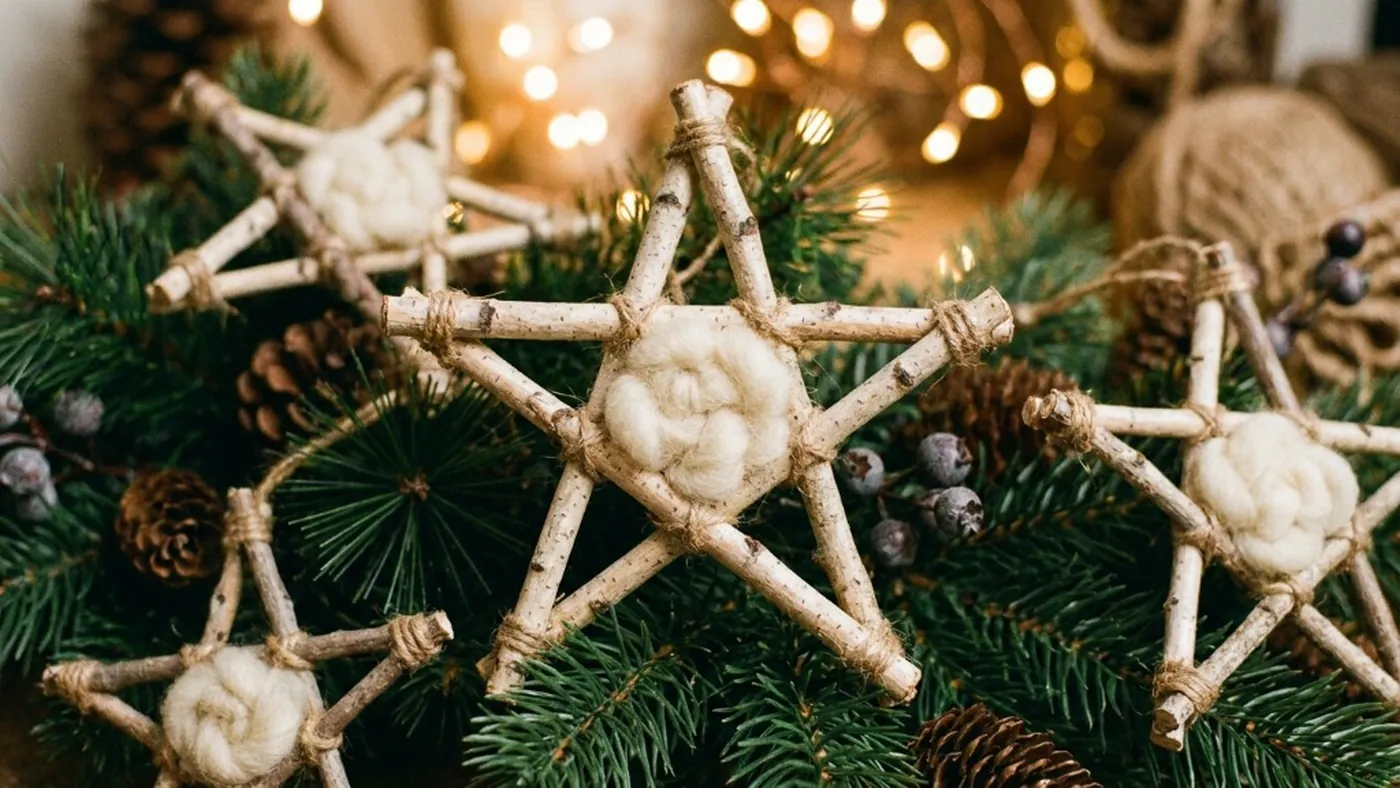
Materials and Sourcing
- 5 slender straight birch, hazel, or willow twigs (approximately five inches long and pencil-thick).
- 1 ball of thin brown jute twine or waxed linen thread.
- Small handful of unspun cream sheep wool roving or carded wool batting.
- Garden hand pruners.
Step-by-Step Twig Star Assembly Steps
- Trim Twigs Uniformly: Prune five fallen twigs to exactly five inches in length with garden pruners to create clean, flat ends.
- Form the Pentagram Star: Arrange five twigs into a classic overlapping five-pointed star frame on a flat table.
- Lash the Joints: Cut eight-inch lengths of thin jute twine. Wrap each intersecting point with a figure-eight lashing and tie a square knot at the back. Trim loose ends with scissors.
- Tuck the Wool Core: Take a two-inch tuft of unspun cream wool roving. Roll the tuft between your palms to form a loose cloud. Then tuck the wool into the open center pentagon. Raw bark texture holds the wool fibers firmly without glue.
- Attach Hanging Loop: Fasten a six-inch loop of jute twine to the uppermost point. These lightweight ornaments rest on delicate spruce tips without bending outer branch growth.
DIY Holiday Decor Material Comparison Matrix
Compare material costs, drying requirements, assembly times, and compost disposal across all five handmade projects:
| DIY Project | Primary Material | Drying / Prep Time | Cost to Make | Disposal / End-of-Life |
|---|---|---|---|---|
| Botanical Salt Dough Medallions | Flour, salt, fresh garden herbs | 3.5 hours at 200°F | Under $2 per dozen | 100% Backyard Compostable |
| Dehydrated Orange & Spice Garland | Citrus fruits, cinnamon, bay leaves | 4 hours at 175°F | Under $5 per 6-foot strand | 100% Food Scrap Compost |
| Upcycled Kraft Paper Stars | Brown grocery bags, starch paste | 30 minutes assembly | $0 (Upcycled household scrap) | 100% Curbside Paper Recycling |
| Beeswax Dipped Pinecones | Foraged pinecones, pure beeswax | 30 min bake + 5 min dip | Under $3 for 6 large cones | Natural Firestarter / Compost |
| Rustic Twig & Wool Stars | Fallen twigs, raw wool roving, twine | 15 minutes assembly | $0 (Backyard foraged) | 100% Garden Biodegradable |
To explore tree-specific plastic-free trimming ideas that match these handmade accents, review our guide to Sustainable Christmas Tree Decorations Without Plastic. For broad holiday styling advice across mantels and dining tables, read our pillar on Sustainable Christmas Decorations: 25 Low-Waste Ideas. If you want to balance your handcrafted textiles, wood, and dried botanicals evenly, test your design with our free Texture Mixing Calculator.
Troubleshooting and Preserving Homemade Eco Friendly Christmas Decorations
Homemade eco friendly Christmas decorations last longer when storage stays dry and pest-free. Four seasonal care routines keep these creations in pristine shape for years:
1. Preventing Salt Dough Moisture Softening and Mold
If salt dough ornaments feel rubbery after baking. they contain residual water that will foster black mold. Return them to a 200°F oven for sixty minutes until bone-dry. In humid places, store finished ornaments in airtight tins with dry rice or food-safe silica packets. They absorb extra moisture.
2. Guarding Dehydrated Citrus Against Insects
Properly cured citrus slices contain concentrated sugars that crystallize during oven drying, leaving surfaces crisp and dry. Pack dry garlands in sealed glass jars with whole cloves and cedar shavings. Keep the jars in a cool dry place.
3. Pet Safety Precautions Around Salt Dough
Salt dough contains very high sodium concentrations that prove dangerous if chewed or ingested by household pets. Pets attracted to the salty scent can suffer sodium toxicosis if they consume dough fragments. Hang salt dough medallions four feet above floor level on upper tree limbs away from curious pets.
4. Protecting Wool and Twig Crafts from Fabric Moths
Natural carded wool roving attracts clothes moths if packed away in dark cardboard cartons. Store your twig and wool ornaments in breathable unbleached muslin bags alongside solid red cedar blocks. The natural aromatic cedar oils repel larvae without synthetic chemical mothballs.
Frequently Asked Questions About Making Sustainable Christmas Decorations
How long do dried orange garlands last?
Dried orange garlands last two to three years when dehydrated completely and kept away from direct humidity. Store dry garlands in sealed tins or glass jars with bay leaves. Keep them out of summer heat and pests.
Can you air-dry salt dough ornaments without an oven?
Yes. you can air-dry salt dough ornaments on wire cooling racks at room temperature. Air-drying requires four to seven days depending on room humidity. Turn the medallions over twice daily to prevent curling. Oven baking at 200°F remains faster and guarantees complete core moisture evaporation.
What is the best natural glue for paper holiday crafts?
Cooked cornstarch wheat paste provides the strongest natural adhesive for paper holiday crafts. Simmer one part cornstarch with four parts water. The clear paste holds paper fibers without strong craft fumes.
Can you compost homemade holiday decorations after Christmas?
Yes, all five featured projects biodegrade safely in standard backyard compost bins. Remove wire and twine before composting citrus, pinecones, twigs, or salt dough. Follow your local compost rules.