Renter-Friendly Kitchen Upgrades: 5 Zero-Trace Hacks
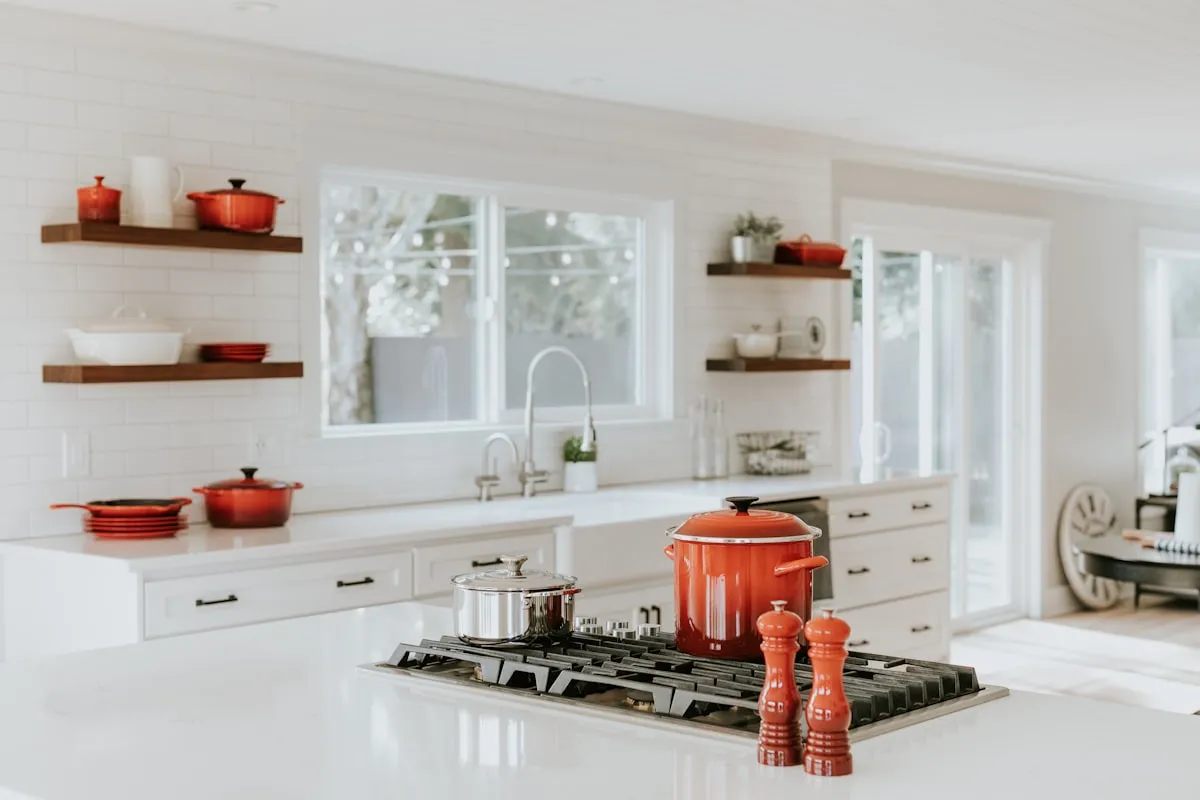
The most effective renter-friendly kitchen upgrades that leave zero trace include swapping cabinet hardware into existing screw holes, applying heat-removable peel-and-stick backsplashes, wrapping worn laminate countertops in architectural vinyl film, installing rechargeable magnetic task lights, and using oversized wooden cutting boards to conceal damaged surfaces. These reversible modifications protect your full security deposit while delivering a modern, personalized cooking space.
Rental kitchens are notorious for dated design choices. Tenants frequently inherit honey-oak cabinets with brass pulls from the 1990s, discolored yellow laminate countertops, and dim fluorescent ceiling boxes that cast harsh shadows over food prep zones. Living with an uninspiring kitchen drains the pleasure from daily cooking, yet permanent renovations risk your security deposit.
You do not need landlord approval or contractor tools to execute high-impact kitchen transformations. By focusing on non-invasive materials engineered for clean removal, you can modernize tired surfaces over a single weekend. Before you purchase adhesive tiles, use our interactive Peel and Stick Backsplash Tile Calculator to compute exact square footage and avoid material waste.
Hack 1: Zero-Trace Cabinet Hardware Swaps with Existing Drill Holes
Swapping cabinet hardware is the fastest zero-trace upgrade in a rental kitchen. By matching the center-to-center hole spacing of existing handles, you replace dated pulls without drilling new holes into landlord cabinetry. Store the original screws and pulls in a labeled container so you can reinstall them effortlessly on move-out day.
Landlords install inexpensive, generic hardware that tarnishes over years of tenant use. Upgrading to matte black bar pulls, knurled brass cylinders, or brushed nickel cup handles instantly shifts the visual era of your cabinetry from 1995 to modern contemporary. Because you reuse original factory holes, your landlord cannot detect that a swap ever took place.
Follow these hardware replacement guidelines to guarantee seamless zero-trace installation:
- Measure Center-to-Center Spacing Accurately: Remove one existing handle and measure the exact distance between the centers of the two screw holes in millimeters. Standard residential drill spreads measure 96mm (3.75 inches), 128mm (5 inches), or 160mm (6.3 inches). Purchasing replacement hardware with identical hole spacing avoids any need for wood putty or drilling.
- Preserve Original Fasteners in Labeled Bags: Place every original knob, pull, and mounting screw into a heavy-duty freezer bag labeled by room zone (upper cabinets vs lower drawers). Store this container in the back of your pantry so you can reinstall the original parts in under an hour when your lease concludes.
- Use Hand Tools Exclusively: Never use a high-torque power drill to tighten screws into rental cabinet doors. Power tools can easily strip pre-drilled pilot holes or crack aged laminate veneers. Tighten each mounting screw firmly using a manual number two Phillips screwdriver.
If your rental kitchen features golden wood cabinetry, explore our styling guide on what wood tones go with honey oak trim to pair matte black or aged bronze hardware seamlessly with amber millwork. For coordinating pulls with appliances and faucets, review our design formulas for mixing metals in the kitchen rules.
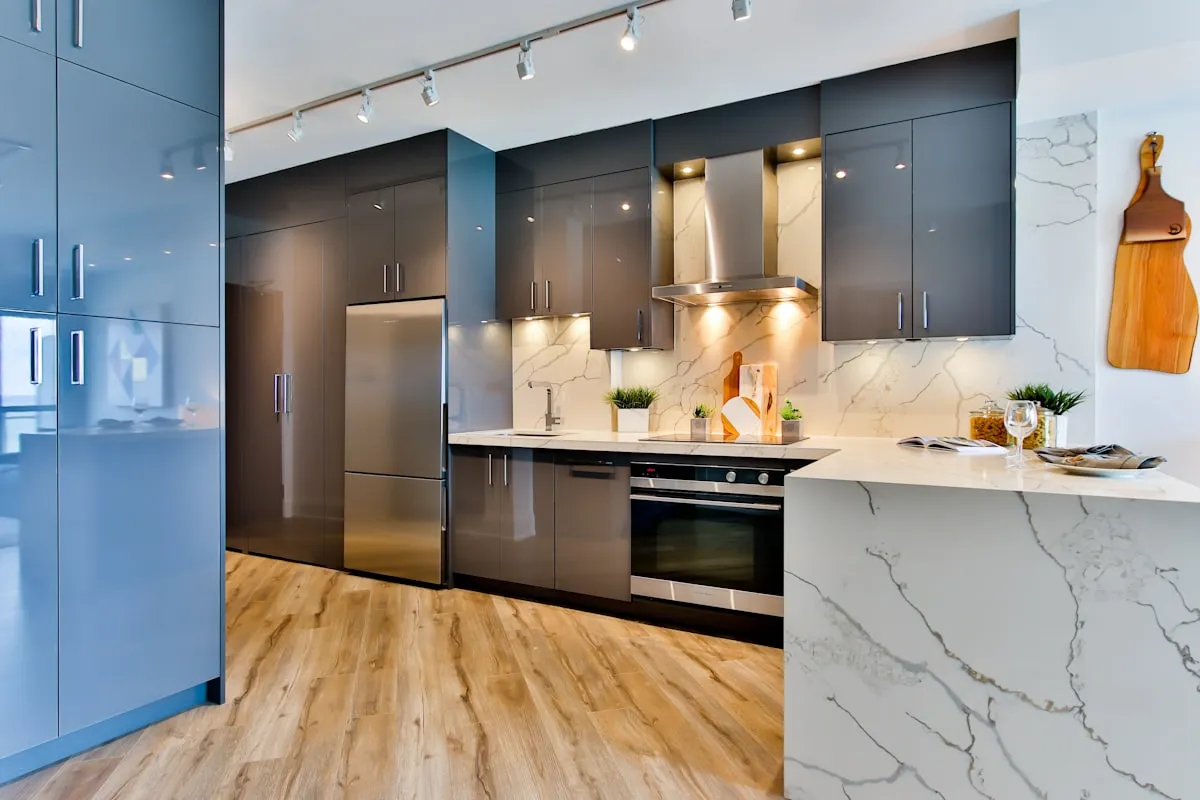
Hack 2: Temporary Peel-and-Stick Backsplash (Gel Tiles vs Vinyl Sheets)
Temporary peel-and-stick backsplashes conceal stained drywall or grease-spattered paint without mortar or permanent adhesive. High-grade gel resin and thick vinyl tiles stick securely over existing tile or drywall. When move-out day arrives, applying gentle hairdryer heat softens the adhesive for clean, zero-trace removal that keeps your deposit safe.
Rental backsplashes often consist of plain white drywall that absorbs cooking stains, or chipped four-inch ceramic squares from decades past. Self-adhesive tile sheets deliver realistic dimensional relief, glossy subway patterns, or marble herringbone looks without wet saws or messy grout buckets. A complete eight-foot kitchen backsplash installs in roughly three to four hours.
Execute your temporary backsplash project with these essential installation guidelines:
- Gel Resin Composite vs Thick Vinyl: Gel tiles feature a flexible three-dimensional polyurethane dome over printed graphics. This design provides the tactile gloss and light reflection of glazed ceramic tile. Rigid vinyl tiles offer superior scratch resistance and crisp grout line definitions. Both materials trim easily using a metal straightedge and sharp utility knife.
- Surface Degreasing Is Mandatory: Cooking grease and airborne oils coat kitchen walls over time. Uncleaned grease prevents temporary adhesives from bonding properly. Clean the existing backsplash thoroughly with a mild dish soap solution or diluted isopropyl alcohol. Allow the wall surface to dry completely for twenty-four hours before applying tiles.
- Maintain Stovetop Heat Clearances: Standard vinyl and gel tiles can soften when exposed to open gas flames or intense heat above 120 degrees Fahrenheit. If your gas range lacks a built-in rear metal splash guard, maintain at least eight inches of clearance between the top burner flame and the lowest edge of your peel-and-stick tiles, or install a temporary aluminum heat shield behind the stove.
When move-out day arrives, never rip peel-and-stick tiles from cold drywall. For step-by-step removal protocols that protect your security deposit, review our detailed guide on peel-and-stick backsplash removal and damage check to remove adhesive residue without peeling paint layers.
Hack 3: Faux-Stone Countertop Resurfacing with Architectural Vinyl
Architectural vinyl film covers scratched laminate countertops in realistic faux-carrara marble, soapstone, or butcher block patterns. High-grade cast vinyl films feature microscopic air-release channels and low-tack acrylic adhesive. The film wraps tightly over existing laminate counters and peels away cleanly when heated. This method leaves original surfaces completely undamaged.
Countertops represent the largest continuous horizontal surface area in your kitchen, so their condition dictates the overall visual tone of the room. Yellowing beige laminate or scratched dark formica makes even clean kitchens look dingy. Wrapping counters in thick architectural vinyl film (rated at five to seven mils) produces a stain-resistant, waterproof surface that withstands daily food preparation.
Apply architectural countertop film with professional precision using these techniques:
- Invest in Cast Film with Air-Release Technology: Avoid thin 1-mil craft shelf contact paper. Craft paper tears easily, forms stubborn air bubbles, and leaves gummy residue upon removal. Professional architectural vinyl films (such as D-C-Fix or VViViD) feature built-in micro-channels that allow trapped air to escape smoothly beneath a felt squeegee.
- The Wet Application Method for Large Slabs: When wrapping long countertop runs, mist the laminate surface lightly with water containing one drop of liquid dish soap. This moisture barrier prevents adhesive from grabbing instantly. You gain twenty minutes to slide, align, and reposition the sheet before squeegeeing the moisture out toward the edges.
- Heat-Forming Rounded Counter Edges: Countertop bullnose curves and ninety-degree edges require heat to conform without creasing. Warm the vinyl edge gently with a hairdryer set on medium heat. The vinyl softens into a pliable state. You can stretch it smoothly around front edges and wrap it underneath the counter lip.
Renter-Friendly Kitchen Upgrades Comparison Matrix: Cost, Time, and Deposit Risk
Every renter-friendly kitchen project involves a distinct balance of investment, installation time, and security deposit risk. Choosing the right upgrades depends on your lease length, budget, and DIY comfort level. Review this comprehensive comparison matrix to plan your kitchen transformation effectively:
| Kitchen Upgrade Project | Average Material Cost | Installation Time | Removal Difficulty | Deposit Risk Level | Visual Impact Rating |
|---|---|---|---|---|---|
| 1. Cabinet Hardware Swap | $25 to $65 | 45 to 60 Minutes | Very Easy (Simple screwdriver) | Zero Risk | High |
| 2. Peel-and-Stick Backsplash | $40 to $110 | 3 to 4 Hours | Moderate (Requires hairdryer heat) | Low Risk | Very High |
| 3. Vinyl Countertop Wrap | $35 to $85 | 2 to 3 Hours | Moderate (Heat peel and alcohol wipe) | Low Risk | Very High |
| 4. Wireless LED Task Lights | $30 to $70 | 20 to 30 Minutes | Very Easy (Magnetic peel tabs) | Zero Risk | High |
| 5. Wooden Riser Stations | $30 to $90 | 10 Minutes | None (Freestanding placement) | Zero Risk | Moderate |
Notice that three out of five projects carry a literal zero deposit risk rating. By prioritizing hardware swaps, magnetic task lighting, and freestanding risers, you can refresh your rental kitchen with complete peace of mind.
Hack 4: Wireless Rechargeable LED Under-Cabinet Task Lighting
Wireless rechargeable LED light bars illuminate dark countertops without cutting into rental walls or running exposed cords. Magnetic adhesive strips secure the fixture base beneath upper cabinets. The light bar snaps magnetically into place. You can detach the unit in one second for convenient USB-C recharging.
Most rental apartments rely on a single harsh central ceiling fixture that casts the tenant shadow directly over the food prep counters. Adding under-cabinet task lighting illuminates dark countertop corners into warm, inviting workspaces. Warm 2700K to 3000K LED bars accentuate subway tile grout lines and add architectural depth to the room.
Select and mount under-cabinet rental lighting using these setup criteria:
- Magnetic Base Plate Mounting: Choose LED bars that include peel-and-stick metal mounting plates. Apply the adhesive plate to the underside of your cabinet box. The light fixture attaches magnetically onto the plates. This design allows you to pull the light down in one second for USB-C recharging.
- Color Temperature Calibration: Select LED light bars featuring adjustable color temperatures. Set the fixture to a warm 2700 Kelvin or 3000 Kelvin setting to produce cozy, appetizing illumination that flatters food prep and complements warm cabinet stains. Avoid cool 5000K daylight settings.
- Motion-Activated Hands-Free Control: Opt for fixtures equipped with passive infrared motion sensors or wave-to-dim sensors. You can turn your task lights on and adjust brightness with wet or flour-dusted hands without touching the fixture.
For detailed fixture spacing formulas and lumen targets for food prep safety, explore our guide on under-cabinet lighting lumens and placement guide. If your kitchen features an open dining nook or breakfast peninsula, you can also consider plug-in pendant lights for apartments to introduce overhead ambience without calling an electrician.
Hack 5: Countertop Preservation with Freestanding Butcher Block Risers
Freestanding butcher block boards and tiered wooden countertop risers add organic warmth while concealing burns, stains, or worn seams on rental laminate counters. These portable wooden pieces require zero adhesive, create dedicated prep stations, and travel with you to your next home when your lease ends.
If your rental kitchen features permanent countertop burns or chips that peel-and-stick vinyl cannot safely cover, freestanding decor provides the ultimate zero-trace solution. Placing an oversized end-grain cutting board over a damaged corner conceals the flaw while creating a professional chef station that enriches your kitchen layout.
Incorporate freestanding wooden elements using these practical methods:
- The Oversized Board Anchor: Purchase an end-grain acacia, maple, or walnut cutting board measuring at least eighteen by twenty-four inches. Position it permanently beside the cooktop. It conceals worn laminate underneath while providing a sanitary prep surface.
- Tiered Bamboo Countertop Shelves: Place a corner two-tier bamboo shelf in awkward counter corners. This vertical organizer maximizes air space and keeps spice jars, honey pots, and olive oil bottles neatly arranged off the main counter surface.
- Silicone Surface Protection Feet: Affix small clear silicone adhesive bumpers to the underside of all cutting boards, stoneware utensil crocks, and decorative trays. These soft bumpers prevent heavy stone or wooden bases from scuffing rental laminate counters.
Consult the Consumer Reports DIY home improvement testing directory for verified product evaluations on kitchen hardware durability and non-toxic household adhesives.
Frequently Asked Questions About Renter-Friendly Kitchen Upgrades
Will peel-and-stick backsplash tiles damage rental drywall upon removal?
Peel-and-stick backsplash tiles will not damage drywall if you heat them with a hairdryer before peeling. Warm air softens the adhesive backing so sheets pull off cleanly without tearing drywall paper or leaving sticky residue.
Can you place hot pans directly on vinyl wrapped countertops?
No, you should never place hot pots or pans directly onto vinyl-wrapped surfaces. Architectural vinyl melts at high temperatures. Always use silicone trivets or large wooden butcher block boards to protect wrapped countertops from thermal damage.
How do you find the right cabinet handle size for a rental?
Measure the center-to-center distance between the two existing screw holes in millimeters. Common standard dimensions include 96mm, 128mm, and 160mm. Purchasing new hardware with identical hole spacing eliminates the need to drill fresh holes into landlord cabinetry.
Is contact paper difficult to remove from rental countertops?
Standard craft contact paper leaves messy adhesive behind, but heavy-duty architectural vinyl releases cleanly. Warming the film with a blow dryer while pulling at a forty-five-degree angle ensures smooth, residue-free removal across laminate counters.
What is the best way to hide ugly rental kitchen floors?
The safest way to conceal dated vinyl sheet or ceramic tile floors is with an oversized indoor-outdoor flatweave runner. Runners with non-slip rubber backings provide durable spill protection without requiring glues that could void your security deposit.
Can I swap a rental kitchen faucet without landlord permission?
You can swap a faucet if you possess basic plumbing skills and retain the original fixture. Reinstall the original faucet before moving out, and inspect all water supply line connections thoroughly for leaks.