Plug-In Pendant Lights for Apartments: 5 Swag Rules
Reader Disclosure: This post contains affiliate links. If you buy through them, we may earn a commission at no extra cost to you. We only recommend items tested for clean craftsmanship and authentic durability.
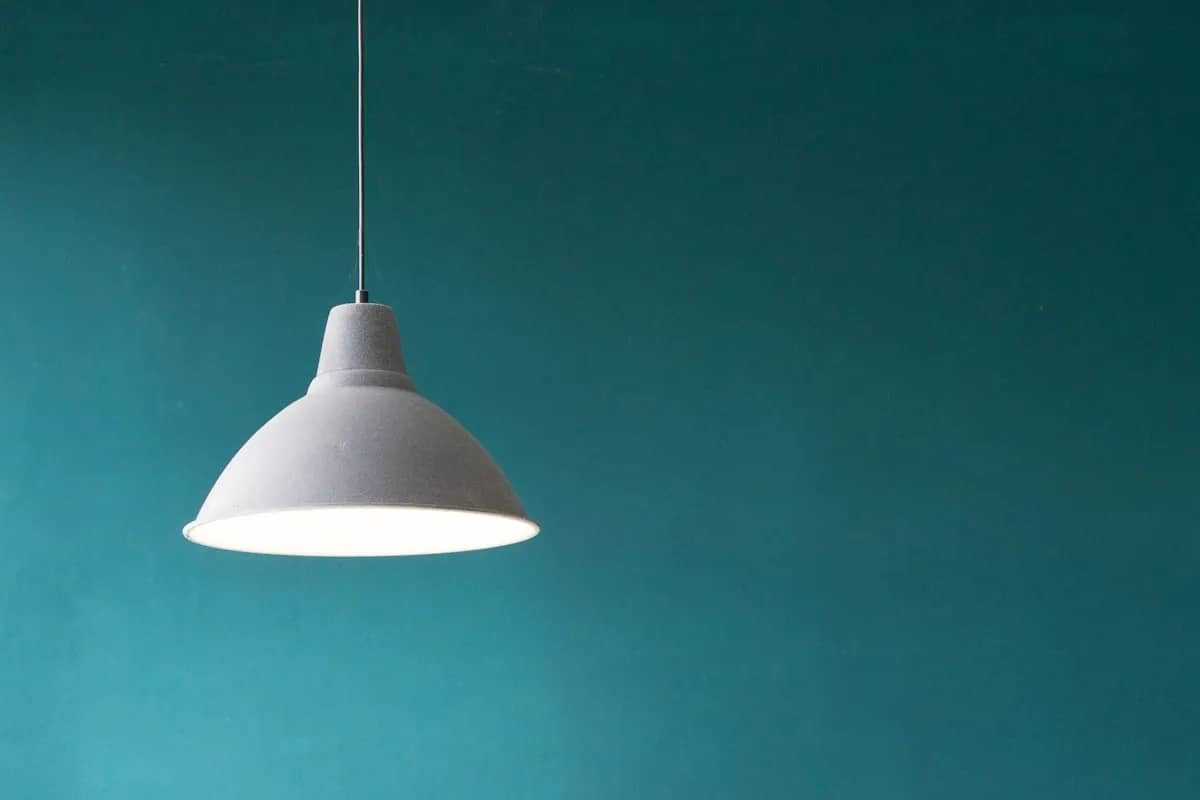
Installing plug-in pendant lights for apartments without an electrician requires, suspend the light fixture from a ceiling swag hook secured with a spring-wing toggle bolt, route the extended cord along the ceiling into a wall corner, disguise the wire with paintable raceways, and plug directly into a standard 120-volt wall outlet controlled by a rotary dimmer switch.
Rental apartments rarely feature ceiling junction boxes where tenants need illumination. Landlords install a single flush mount in the center of the room, leaving dining tables and reading nooks in shadow. Cutting into ceilings to run wiring requires licensed electricians and permits that are difficult to secure.
Plug-in swag pendant lighting completely eliminates this electrical limitation. By utilizing existing perimeter wall outlets and decorative ceiling hardware, you can center an overhead chandelier directly above your dining table without touching a single copper circuit wire. Before measuring your cord drop or buying ceiling hooks, use our interactive Pendant Light Spacing and Height Calculator to determine perfect table clearances, calculate cord lengths, and establish balanced visual proportions across your room.
Plug-In Pendant Lights for Apartments: The Ceiling Swag Light Principle
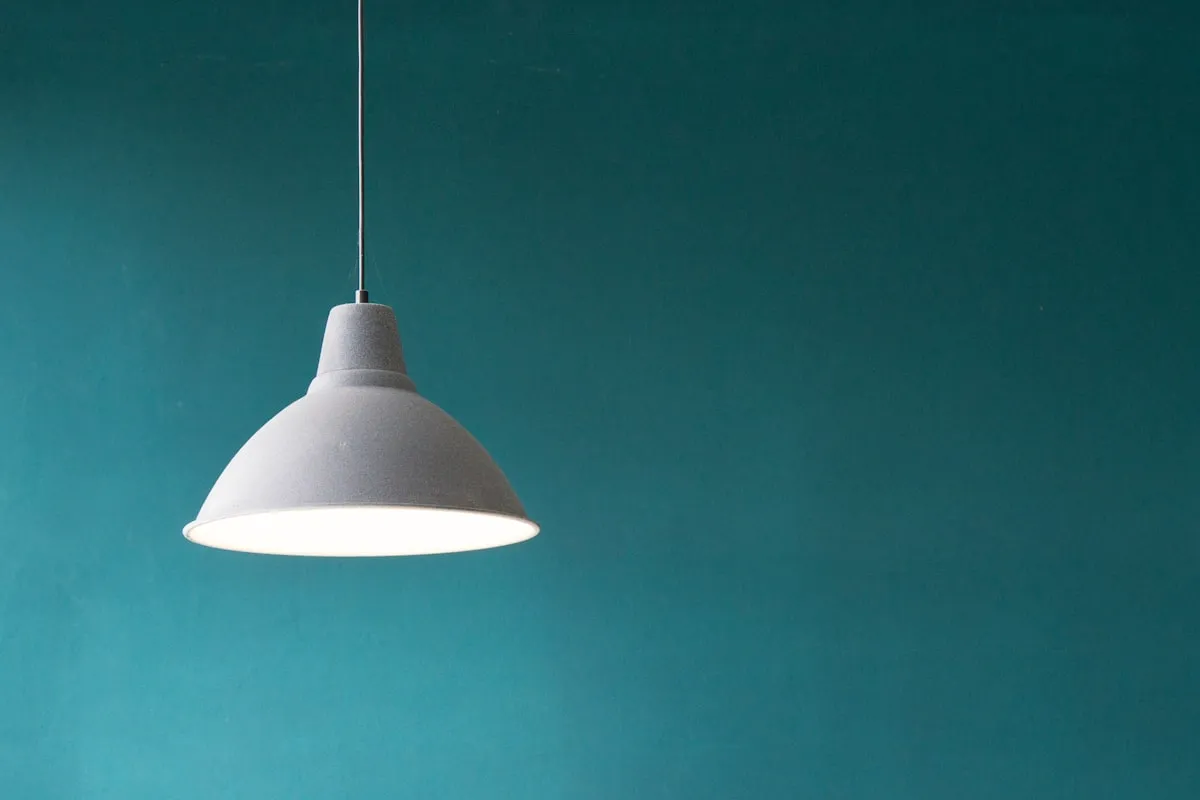
The swag light principle suspends an overhead luminaire from one or two ceiling hooks, using intentional cord slack to drape the electrical cable gracefully across the ceiling plane and down into a wall outlet.
Swag lighting originated in mid-century design, using brass chains and fabric cables to float statement fixtures over furniture. In rental decorating, swagging allows you to center lighting exactly above dining tables, rather than being trapped by wherever the builder placed the original ceiling box.
Calculate your required cord length using the four-part swag equation:
- Part 1: The Tabletop Drop: Measure the vertical distance from your ceiling down to your desired fixture height. In a room with nine-foot ceilings (108 inches) where the pendant hangs thirty-two inches above a thirty-inch dining table, your vertical drop equals forty-six inches.
- Part 2: The Ceiling Swag Traverse: Measure the horizontal distance across the ceiling from your primary fixture hook to the nearest wall corner where the cord will descend. If your dining table sits six feet (72 inches) from the wall, you need at least seventy-two inches of ceiling run.
- Part 3: The Wall Drop to the Outlet: Measure from the ceiling corner straight down the wall to your electrical outlet. In our nine-foot ceiling example with an outlet located eighteen inches off the baseboard, this vertical run equals ninety inches.
- Part 4: The Grace Arc Allowance: Add twenty-four inches of deliberate extra cord length to accommodate gentle draped curves at the ceiling hooks without placing mechanical strain on wire terminations.
A typical room requires eighteen to twenty feet of total cord length. Always purchase plug-in pendant sets with at least fifteen to twenty feet of fabric-wrapped cord, ensuring you never end up short of your power outlet.
Ceiling Anchor Safety: Drywall Toggles vs Heavy Joist Screws
Spring-wing toggle bolts safely suspend pendant light fixtures weighing up to twenty-five pounds in hollow rental ceiling drywall, whereas screw-in eye hooks must be driven directly into solid wood ceiling joists for heavier chandeliers.
Ceiling drywall endures downward gravitational pull that walls do not experience. Standard plastic anchors will pull straight out of ceiling drywall under vibrations from walking above. Using improper fasteners risks letting heavy glass shades fall onto tables below.
Match your ceiling fastener to your fixture weight with these safety rules:
- Spring-Wing Toggle Bolts (Best for Hollow Drywall): For shades weighing between three and twenty pounds, drill a three-eighths-inch hole through the ceiling drywall. Thread your decorative brass swag hook onto the bolt, compress the spring-loaded metal wings, and push the bolt through the hole. The wings snap open flat across the hidden upper side of the drywall, distributing fixture weight across a broad surface area.
- Threaded Screw Hooks (Direct Wood Joists): If your plug-in chandelier weighs over twenty pounds (such as multi-bulb brass or iron fixtures), use a magnetic stud finder to locate an overhead wooden ceiling joist. Pre-drill a narrow pilot hole and screw a heavy-duty threaded steel eye hook directly into solid timber. Wood joists can support over fifty pounds safely.
- Adhesive Ceiling Hooks (Ultra-Lightweight Only): Damage-free adhesive ceiling hooks should strictly be limited to ultra-lightweight paper lantern globes or featherweight woven bamboo shades weighing under one and a half pounds. Never hang glass, metal, or ceramic light fixtures with adhesive tabs.
When moving out, removing a toggle bolt is simple. Unscrew the hook; the wing drops harmlessly into the ceiling cavity. Fill the small hole with lightweight spackle, smooth it flush with a putty knife, and touch up with ceiling paint in minutes.
Cord Camouflage: Transforming Dangling Wires into Architectural Lines
Disguising dangling electrical wires using paintable surface raceways, vintage fabric-braided cording, or brass tubing sleeves eliminates messy cable clutter and turns functional wiring into an intentional architectural element.
Renters often worry about visible wiring. Cheap black PVC lamp cords draped loosely look like temporary construction work. By dressing electrical lines with intention, the installation looks like a deliberate designer choice rather than a temporary workaround.
Apply these three professional cord management techniques:
- Paintable Surface Cord Raceways (D-Line Covers): Half-round plastic cord raceways feature adhesive backings that adhere along the ceiling-to-wall junction. Snap your electrical cord inside the channel, close the hinged lid, and paint the exterior plastic with your leftover wall or trim paint. The cord enclosure virtually disappears into your baseboard and crown molding lines.
- Upgrade to Twisted Fabric-Braided Cord: If your cord must remain exposed across an open ceiling span, replace cheap plastic wire with rayon or cotton fabric-wrapped cord. Warm neutral cords like linen flax, houndstooth weave, or rich mustard gold look like curated industrial accents rather than hidden utility wires.
- Route Down Natural Wall Corners: Never allow an electrical cord to cut diagonally across a wide, flat drywall expanse. Route the cord horizontally across the ceiling until it hits an architectural inside wall corner, then run the cord straight down the vertical corner line. Vertical corners naturally live in shadow, making the wire far less noticeable.
Use clear silicone cord clips along baseboards to guide cables into outlets. Keeping wires snug against molding prevents pet chewing and prevents vacuum cleaners from snagging cords.
Plug-In Pendant Lighting Comparison Matrix: Styles, Weights, and Anchors
Choosing the best plug-in pendant requires evaluating shade weight, cord length, light diffusion characteristics, ceiling anchor hardware, and ideal apartment placement.
Different rooms require different lighting properties. A dining table demands soft ambient downlight with wide spread, while a kitchen island requires focused task illumination. Review this comparison matrix to select the ideal plug-in fixture style for your rental layout:
| Pendant Fixture Style | Average Weight | Recommended Ceiling Anchor | Light Dispersion Quality | Ideal Cord Aesthetics | Best Apartment Application |
|---|---|---|---|---|---|
| Woven Rattan / Bamboo Dome | 2 to 4 lbs | Spring-wing toggle bolt | Warm, textured, 360-degree ambient | Natural jute or linen fabric cord | Dining nooks, boho living corners |
| Frosted Glass Globe Swag Light | 5 to 8 lbs | Spring-wing toggle bolt | Soft, glare-free, omnidirectional | Twisted rayon cord with brass hook | Small entryways, bedroom ambient center |
| Multi-Arm Spider Chandelier | 8 to 15 lbs | Wood joist screw or dual toggles | Expansive multi-point illumination | Black woven cord with individual loops | Open-concept loft living rooms |
| Exposed Filament Edison Drop | 1 to 2 lbs | Lightweight toggle or screw hook | Direct decorative golden warmth | Industrial braided black or brass wire | Bedside reading perches, bar cart accents |
| Spun Metal Cone Task Pendant | 4 to 7 lbs | Spring-wing toggle bolt | Focused directional downward pool | Clean matte white or matte black cord | Kitchen peninsulas, home office desks |
Woven rattan shades and frosted glass globes offer ideal low weight and gentle light diffusion for apartments. Their lightweight design places minimal stress on ceiling drywall while delivering warm ambiance.
Dimmer Controls and Smart Bulb Integration for Ambient Flexibility
Integrating in-line rotary cord dimmers, smart plug adapters, and wireless 2700K LED bulbs gives plug-in pendant lights customizable brightness levels without altering rental wall switches or electrical wiring.
Pendant lights burning at maximum brightness create glaring hotspots. Rental wall switches are simple binary toggles without dimming. Adding dimming controls allows your swag light to transition from bright task lighting during dinner prep to warm candlelight glow during evening meals.
Implement flexible dimming using these plug-in strategies:
- In-Line Rotary Cord Dimmers: Purchase a plug-in extension cord featuring a built-in slider or rotary dial. Place the dial within easy arm reach near your dining table or nightstand. This gives you instant physical control over illumination without needing to reach down toward floor outlets.
- Smart Wi-Fi LED Bulbs: Install an app-enabled smart LED bulb (such as Philips Hue or similar systems) directly into your pendant socket. Pair the bulb with a wireless battery-powered magnetic dimmer switch that you can stick onto the wall next to your front door using damage-free adhesive strips.
- Select 2700K Warm-White Color Temperature: Never screw harsh 4000K or 5000K daylight bulbs into decorative swag pendants. Stick strictly to 2700K warm white or 2200K vintage amber filament bulbs. These warmer wavelengths flatter human skin tones, soften architectural shadows, and induce relaxation.
Ensure your LED bulb is labeled dimmable. Non-dimmable bulbs will flicker or fail prematurely when paired with dimming switches.
Dining Table and Bedside Swag Placement: Height and Drop Clearances
Suspend dining table swag pendants thirty to thirty-six inches above the tabletop surface, and position bedside drop pendants eighteen to twenty-four inches above nightstands to guarantee comfortable sightlines and prevent head collisions.
Fixture height dictates lighting comfort. Hanging a dining pendant too high glares into seated eyes while scattering light upward. Hanging it too low blocks sightlines across the table and causes head bumps.
Follow these architectural suspension clearances:
- Dining Table Clearance (30 to 36 Inches): Measure from the lowest rim of the pendant shade down to the tabletop. Thirty to thirty-four inches represents the sweet spot for standard thirty-inch high dining tables. This height casts a pool of intimate light over place settings while keeping the fixture well above eye level for seated conversations.
- Bedside Nightstand Clearance (18 to 24 Inches): Drop pendants make extraordinary bedside lamps in small bedrooms by clearing one hundred percent of tabletop surface area. Hang the bottom of the pendant eighteen to twenty-two inches above the nightstand mattress level, positioning the drop slightly forward so you can read comfortably without casting your own shadow.
- Open Pathway Clearance (Minimum 7 Feet): If hanging a swag pendant in an open hallway or living room seating zone where people walk underneath, the bottom of the shade must sit at least seven feet (eighty-four inches) above the finished floor to prevent taller guests from brushing against the fixture.
By calculating swag arcs accurately, installing secure toggle anchors, camouflaging electrical cables, and choosing warm dimmable bulbs, you can introduce high-end architectural lighting to your apartment without hiring an electrician or risking your security deposit.
Consult the National Electrical Code temporary wiring regulations for verified technical documentation, safety codes, and official industry standards.
Frequently Asked Questions About Plug-In Pendant Lights in Apartments
Can you hang a plug-in pendant light without drilling ceiling holes?
Yes, but only for ultra-lightweight shades weighing under two pounds using heavy-duty adhesive ceiling hooks. For glass, metal, or heavier woven pendants, always use a small toggle bolt to guarantee safe, secure overhead support.
How do you hide a long plug-in pendant light cord?
Use paintable self-adhesive D-Line cord covers, route wires down natural wall corners, or wrap cables in fabric sleeves. Painting surface raceways to match wall paint makes exposed electrical wiring virtually invisible along walls and moldings.
How much weight can a ceiling swag hook hold in drywall?
A swag hook installed with a metal spring-wing toggle bolt safely holds twenty to twenty-five pounds in half-inch drywall. Hooks screwed directly into wooden ceiling joists can support over fifty pounds without structural risk.
How far above a dining table should a plug-in pendant hang?
Hang the bottom of the pendant shade thirty to thirty-six inches above your dining table surface. This clearance provides intimate tabletop illumination while preventing sightline obstruction between seated guests and avoiding head bumps.
Can you convert a hardwired light fixture into a plug-in swag pendant?
Yes, you can easily wire a standard two-prong extension cord or vintage fabric cord kit into the hardwire fixture canopy. Connect black to hot, white to neutral, and cap with insulated wire nuts.
How do you patch a swag hook hole when moving out?
Unscrew the ceiling hook and let the toggle wing drop into the ceiling cavity. Fill the small three-eighths-inch hole with lightweight spackle, scrape flush with a putty knife, and touch up with ceiling paint.