Under-Cabinet Lighting Lumens Guide: 5 Kitchen Hacks
Reader Disclosure: This post contains affiliate links. If you buy through them, we may earn a commission at no extra cost to you. We only recommend items tested for clean craftsmanship and authentic durability.
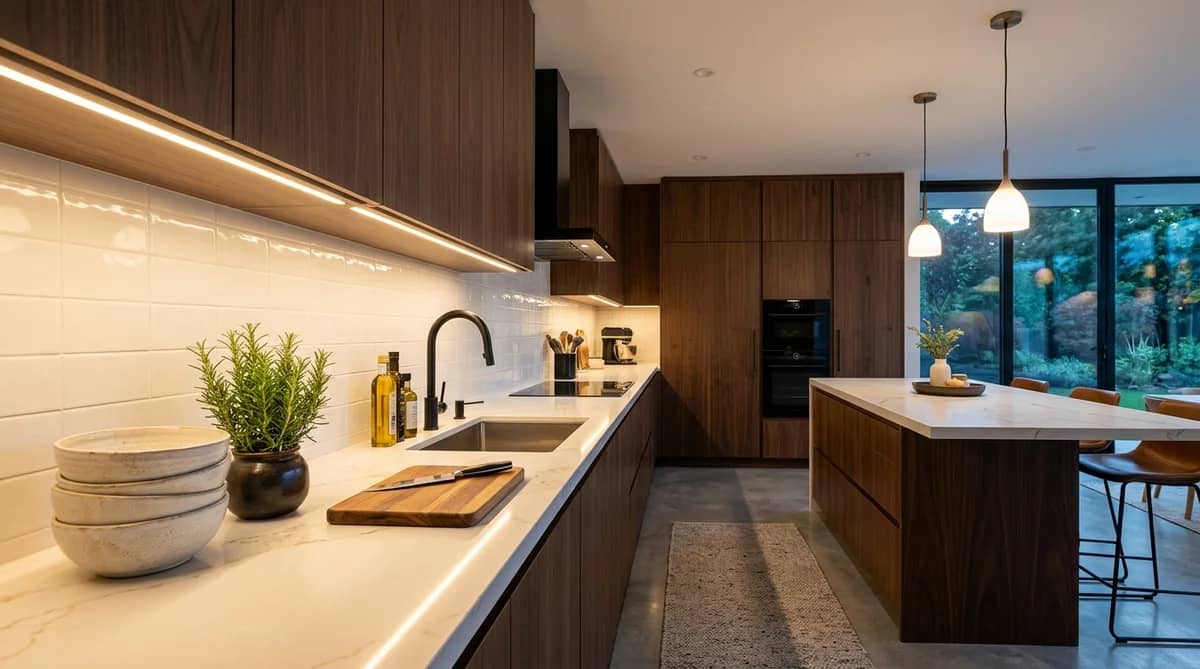
Mount under-cabinet lighting along the front lower edge of your cabinet box facing toward the backsplash. Aim for 250 to 400 lumens per linear foot at a warm 3000K color temperature. Front placement casts light directly onto food prep counters. It prevents body shadows and stops harsh glare from hitting your eyes.
Two installation errors ruin kitchen task lighting across thousands of remodels. Homeowners push LED strips against the rear drywall. This highlights tile grout lines while your body blocks ceiling fixtures. Your hands and cutting board sit in dark shadow. Others stick bare diode tape under dark walnut cabinets. Individual LED dots reflect off polished quartz counters like runway lights. Both errors waste electrical work and compromise kitchen safety.
Before buying drivers or cutting LED tape, measure your cabinets. Run your dimensions through our Under Cabinet Lighting Calculator to verify exact lumens, driver wattage, and channel cuts for your kitchen layout.
Front vs Back Placement: The Countertop Shadow Test
Install under-cabinet fixtures along the front lip of the upper cabinet frame. Place them roughly two inches behind the cabinet face. Direct the light beam inward toward the center of the countertop. Front mounting distributes bright task light across the primary cutting zone. Hands prep food in this bright area. Back-wall mounting directs light away from your workspace and wastes illumination on tile splash walls.
Reddit’s r/HomeImprovement community frequently discusses this exact placement blunder. A homeowner shared photos of LED tape stuck against the back tile splash. Slicing onions meant working inside their own hand shadow. Shifting that same tape strip to the front cabinet rail fixed the problem instantly. Countertop task illumination tripled without buying brighter diodes.
Why Back Wall Mounting Fails Everyday Kitchen Tasks
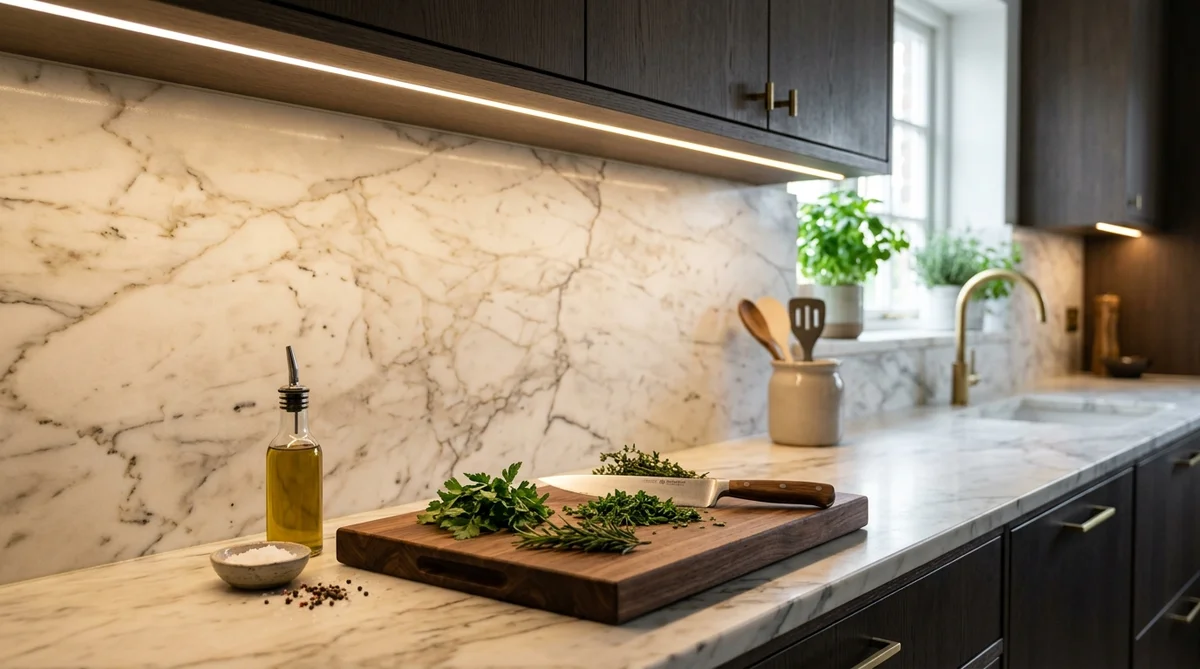
Kitchen upper cabinets measure twelve inches deep. Base counters measure twenty-four inches deep. When you mount lights against the rear wall, light pools in the back six inches of counter space. You store small appliances and spice jars in that back zone. You cut vegetables, roll dough, and read recipes in the front twelve inches. Rear fixtures starve the active work zone of usable light.
Standing in front of the counter also blocks overhead ceiling cans. Rear-mounted strips cannot compensate for your body silhouette. Placing fixtures along the front cabinet edge projects light downward and slightly backward. This completely erases your body shadow from the cutting board.
Angled 45-Degree Channels Versus Flat Channel Mounts
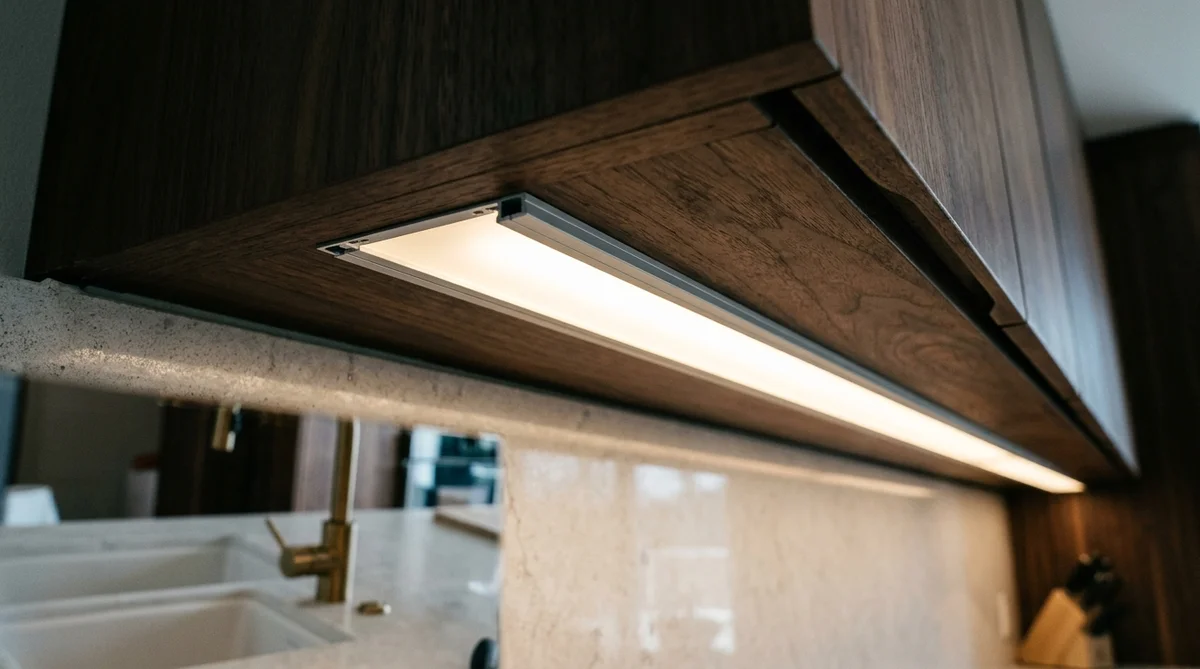
Angled 45-degree aluminum channels deliver superior light spread. Mount an angled corner channel where the front face frame meets the cabinet bottom panel. Point the lens inward toward the junction of the counter and the backsplash.
This 45-degree angle washes the entire twenty-four-inch counter surface evenly. Flat surface-mounted channels project light straight down in a narrow twelve-inch strip. The angled mount also prevents seated dinner guests from looking directly into harsh diode glare across an open-concept kitchen room.
How Many Lumens Per Foot for Kitchen Task Lighting?
Select 250 to 400 lumens per linear foot for active food preparation zones. A ten-foot run of upper cabinets requires 2,500 to 4,000 total lumens of task light. Pair this output with an electronic low-voltage dimmer. The dimmer lets you drop brightness down to 100 lumens per foot for late-night accent lighting.
Lumens measure actual light output, while watts measure electrical power consumption. Cheap big-box LED strips often claim five watts per foot. Yet they emit barely 150 lumens. High-efficiency commercial tape produces 350 lumens at four watts per foot. Always check the lumen rating on the manufacturer spec sheet before purchasing.
Prep Zone Task Lumens Versus Nightlight Accent Glow
Prep counters demand 50 to 60 foot-candles of light at the cutting surface. Delivering that level requires 300 to 400 lumens per foot from eighteen inches above the counter. This brightness allows you to read small spice labels clearly. It helps you inspect produce freshness and spot fine bones during meat butchering.
When cooking ends, full task output feels harsh and clinical. Wiring your under-cabinet drivers to a dedicated wall dimmer allows fast transitions. Dropping output down to thirty percent creates a soft perimeter glow. It guides family members to the refrigerator without turning on bright ceiling downlights.
Driver Sizing and the Eighty-Percent Continuous Load Rule
Calculate your power supply size by multiplying total linear footage by the tape wattage per foot. Then add twenty percent headroom. Running an LED driver at full capacity causes heat, buzzing, and early failure. An eighty percent maximum continuous load protects your driver for decades.
For example, a fifteen-foot cabinet run using 4-watt-per-foot tape consumes sixty watts of total power. Divide sixty by 0.8 to find the required power supply rating. You need a 75-watt or 96-watt 24-volt class 2 driver. House the driver inside an upper cabinet, a pantry, or a nearby basement utility area with good ventilation.
Diffusers and Channel Profiles: Eliminating Quartz Reflections
Never mount bare LED tape under kitchen cabinets without an aluminum extrusion channel and a milky frosted diffuser lens. Polished granite, glossy porcelain tile, and quartz countertops act like mirrors. Bare diodes reflect as distinct hot dots on glossy stone. This reflection causes eye strain and makes the kitchen look cheap.
Aluminum channels do two main jobs. The metal acts as a heat sink. It pulls heat away from delicate LED diodes. Cooler diodes hold their color and resist dimming over 50,000 hours. The milky opal lens blends individual points of light into a continuous, unbroken sheet of illumination.
Diode Density Standards and Pitch Spacing
Standard budget LED tape packs thirty to sixty diodes per meter. Even behind a frosted diffuser, these sparse diodes project visible hot spots across polished counters. For smooth illumination, choose high-density tape featuring 120 or 240 diodes per meter.
Tighter diode spacing shortens the physical gap between light sources. Light rays overlap before hitting the diffuser cover. The countertop reflects a smooth, unbroken beam that looks like custom architectural lighting.
Chip-on-Board LED Tape: The Continuous Ribbon Solution
Chip-on-Board (COB) LED tape eliminates diode reflection issues entirely. COB strips pack hundreds of tiny micro-diodes under a continuous layer of yellow phosphor coating. The strip produces an unbroken ribbon of light straight out of the package.
COB tape costs roughly twenty percent more than standard SMD tape. However, it works in ultra-shallow aluminum channels where standard diodes produce hot spots. If your upper cabinets have shallow bottom reveals under one-half inch, COB tape provides the only clean, dot-free solution on the market.
Color Temperature and Color Rendering Index Standards
Choose 3000K warm-white LEDs with a minimum Color Rendering Index (CRI) of 90 for residential kitchens. A 3000K color temperature offers clean clarity for task chopping. It keeps wood cabinetry and warm stone backsplashes feeling inviting. Low-CRI light under 80 washes out red meats and makes green herbs look dull and gray.
Avoid 4000K and 5000K cool-white tape in home kitchens. Cool temperatures mimic commercial office basements, drain warmth from hardwood floors, and distort natural food tones. Stick between 2700K for traditional rustic kitchens with dark wood cabinets and 3000K for modern transitional kitchens with white oak, marble, or quartzite counters.
Wire Management and Power Driver Placement
Hiding low-voltage wires creates a clean, custom installation. Drill small three-sixteenth-inch pass-through holes through the lower partition stiles of your upper cabinets. Keep these holes close to the front face frame. Feed 18-gauge two-conductor wire through the holes to connect separate cabinet runs.
Secure the wire runs along the cabinet lip with adhesive clips. Never run high-voltage 120-volt Romex wire exposed beneath upper cabinets. Keep all line-voltage connections inside a wall box or remote driver enclosure. The low-voltage secondary wire operates safely under thirty volts and remains completely invisible from standing height.
Locate your remote dimmable driver in an accessible spot. Good locations include the top of an upper cabinet box, inside a kitchen pantry, or under the sink base. Ensure the driver enclosure has four inches of open air clearance on all sides to dissipate heat during extended evening operation.
Under-Cabinet Lighting Specification Matrix
Review the comparison matrix below to balance fixture styles, lumen outputs, and installation requirements for your kitchen remodel project.
| Lighting Technology. | Lumens per Foot. | Diffusion Quality. | Installation Skill. | Best Counter Surface. |
|---|---|---|---|---|
| COB Strip in 45-Degree Channel. | 300 to 450 lumens. | 100% dotless continuous glow. | Moderate (low-voltage wire). | Polished quartz, marble, and granite. |
| High-Density SMD Tape (240 LEDs/m). | 250 to 400 lumens. | Uniform behind deep opal lens. | Moderate (soldering or snap clips). | Honed stone, butcher block, and laminate. |
| Rigid Plug-In Light Bars. | 200 to 300 lumens. | Good with visible connector breaks. | Easy (surface screws). | Rental apartments and quick retrofits. |
| Individual Round Puck Lights. | 150 to 200 lumens each. | Scalloped light pools with shadows. | Easy (individual cords). | Glass-door display hutches only. |
Calculate your total cabinet footage, required power transformer sizes, and wire gauge needs with our interactive Under Cabinet Lighting Calculator before ordering materials.
When selecting professional aluminum profile channels, high-CRI COB tape, and 24-volt dimmable transformers, explore verified options on Amazon to review trade specifications and builder reviews.
Five Costly Under-Cabinet Lighting Mistakes to Avoid
Reddit’s r/HomeDecorating and r/electricians forums document these five errors regularly. Avoid them to save money on drywall repair and rewiring labor.
Mounting against the back wall. Pushing fixtures to the rear highlights backsplash tile imperfections and plunges front cutting boards into darkness. Always mount behind the front cabinet rail.
Skipping the diffuser channel. Sticking bare tape directly to raw cabinet wood causes diode reflections on stone and traps diode heat. Always mount tape inside aluminum channels.
Using 12-volt tape on long runs. Low-voltage 12-volt tape suffers noticeable voltage drop past sixteen feet, causing the far end of your counters to dim. Choose 24-volt systems for uniform brightness across runs up to thirty feet.
Choosing cool 4000K or 5000K diodes. High Kelvin light gives residential kitchens a cold hospital aesthetic. Specify 2700K to 3000K warm-white diodes with 90+ CRI for natural food tones.
Overloading the power driver. Sizing a transformer at exact tape wattage causes premature driver burnout. Maintain a twenty percent safety buffer on continuous driver loads.
For additional fixture planning rules across kitchen islands, dining tables, and prep zones, explore our comprehensive Lighting Design and Fixtures guide collection.
Frequently Asked Questions About Under-Cabinet Lighting
Should under-cabinet lights be placed at the front or back?
Mount fixtures along the front lower edge of the cabinet box facing toward the backsplash. This positions the light beam directly over your cutting surface, eliminates torso shadows, and hides the fixture behind the cabinet face frame.
How many lumens do you need for kitchen under-cabinet lighting?
Specify 250 to 400 lumens per linear foot for active food prep zones. A ten-foot counter run requires 2,500 to 4,000 total lumens. Connect the circuit to a dimmer switch to adjust brightness down for late-night accent lighting.
What color temperature is best for under-cabinet kitchen lights?
A warm 3000K color temperature with a minimum 90 CRI is best for residential kitchens. It renders fresh food colors accurately, complements warm wood cabinets, and prevents the harsh blue glare produced by 4000K and 5000K commercial diodes.
How do you prevent LED diode dots from reflecting on quartz counters?
Mount LED tape inside an angled aluminum channel fitted with a milky frosted opal diffuser lens. For zero dot reflection on glossy stone, select Chip-on-Board LED tape, which emits a continuous, uniform ribbon of light without individual diode points.
Why is 24-volt LED tape better than 12-volt for kitchen counters?
A 24-volt LED system carries current over twice the distance of a 12-volt system without voltage drop. This eliminates dimming at the far end of long cabinet runs, reduces wire thickness requirements, and keeps illumination consistent across all countertops.
Final Installation Checklist for Under-Cabinet Lighting
Measure total linear footage along the front edge of your upper cabinets. Calculate required driver wattage using the 80 percent continuous load rule. Specify 24-volt, 3000K, 90+ CRI high-density or COB LED tape. Cut 45-degree aluminum channels with milky diffusers to length. Mount channels behind the front cabinet lip angled toward the counter center.
These simple choices take thirty minutes to plan and prevent dark prep counters, harsh quartz reflections, and costly driver replacements across your kitchen remodel.