Picture Frame Mat Size Calculator & Border Ratio Guide
Reader Disclosure: This guide contains affiliate links. If you buy framing supplies through our links, we may earn a commission at no extra cost to you.
Use this picture frame mat size calculator guide to choose a border that fits your print and frame. Most small prints look best with a 2.5 to 3-inch border. Measure the frame opening, allow for the rabbet, and make the mat window slightly smaller than the art.
A mat gives art breathing room and keeps paper off the glass. The steps below cover standard sizes, cut math, safe materials, and simple mounting. You can use them for a ready-made frame or a custom order.
Quick Reference: Print Sizes, Mat Borders, and Frame Sizes
Start with the art size, then pick a frame that leaves enough room for a clean border. A wider mat makes a small print feel more important. Use these common pairings as a starting point, then adjust for the wall and frame style.
| Print size | Mat border | Common frame size | Good use | Helpful supply |
|---|---|---|---|---|
| 4 x 6 inches | 2 to 2.5 inches | 8 x 10 inches | Desk or console table | Pre-cut 8 x 10 mats |
| 5 x 7 inches | 2.5 to 3 inches | 11 x 14 inches | Hallway portraits | 11 x 14 acid-free mats |
| 8 x 10 inches | 2.5 to 3.5 inches | 11 x 14 or 16 x 20 inches | Living room art | Acid-free linen tape |
| 11 x 14 inches | 3 to 4 inches | 16 x 20 or 18 x 24 inches | Bedroom or entry wall | 45-degree mat cutter |
| 16 x 20 inches | 3.5 to 4.5 inches | 24 x 30 or 24 x 36 inches | Large focal wall | Acid-free foam board |
Picture Frame Mat Size Calculator: The Formula
Find each mat border by subtracting the art size from the frame opening, then divide by two. Do width and height as separate sums. This gives equal side borders, and it shows when a frame will leave a taller or wider border.
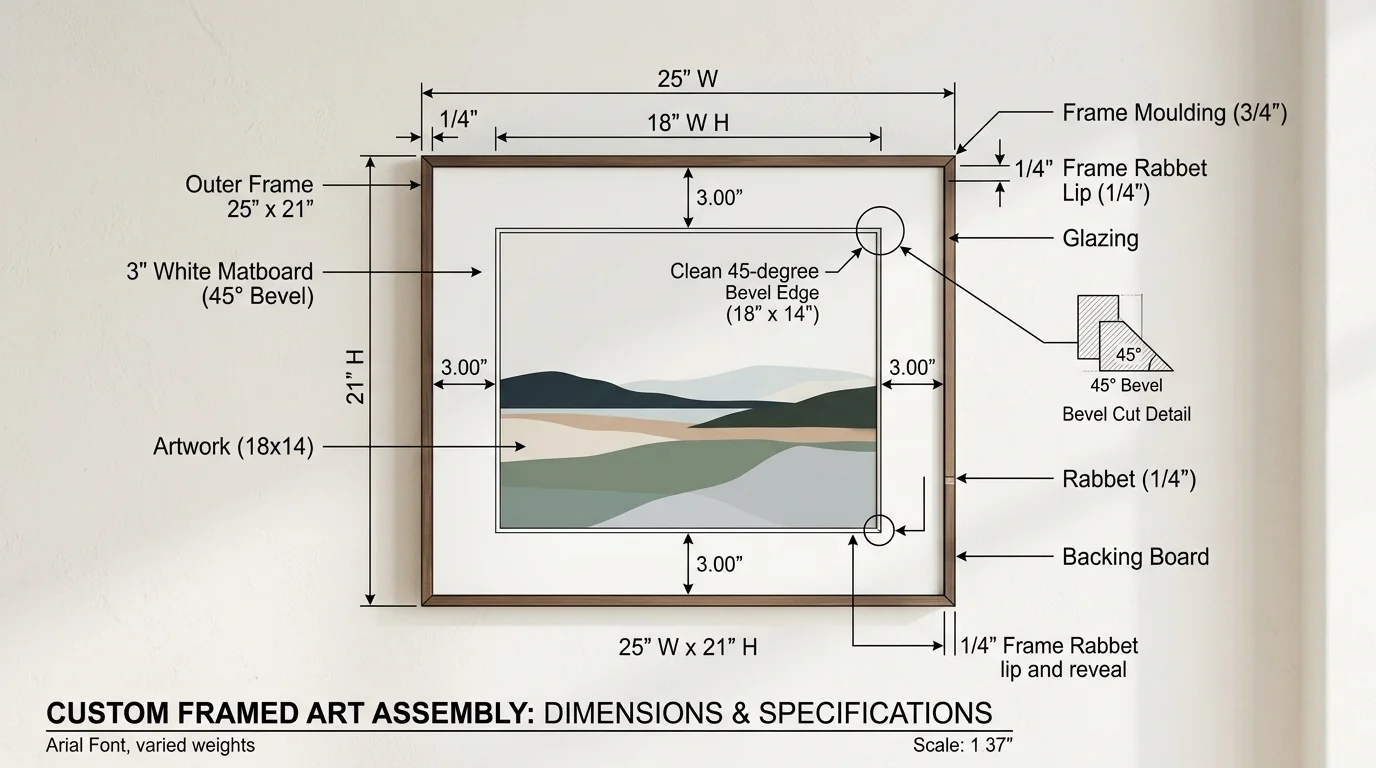
- Side border: (frame opening width minus art width) divided by 2.
- Top and bottom border: (frame opening height minus art height) divided by 2.
For an 8 x 10 print in a 16 x 20 frame, the side border is 4 inches. The top and bottom border is 5 inches. If you want equal 3.5-inch borders, use a custom 15 x 17 frame instead.
Measure the Rabbet and Make the Window Smaller
Measure the frame rabbet before you order or cut a mat. The rabbet is the inner ledge that holds the glass, mat, art, and backing. It hides part of the outside mat edge, so the visible border is often one-quarter inch narrower.
Also make the mat window smaller than the print. The overlap holds the art in place. A standard cut removes one-half inch from the print width and height. An 8 x 10 print then needs a 7.5 x 9.5-inch window.
- Use a one-quarter-inch overlap on each side for most prints.
- Use one-eighth inch on each side if a signature sits close to the edge.
- Check the whole print before you cut. A mat should never cover a name, date, or image detail you want seen.
Choose a Mat Border That Looks Balanced
Choose a mat border that gives the art enough calm space without making the frame feel empty. Small prints usually need 2 to 3 inches. Larger pieces can take 3.5 inches or more. Let the print, frame, and wall size guide the final choice.
- Smaller than 8 x 10: use a 2 to 2.5-inch border.
- From 8 x 10 through 16 x 20: use a 2.5 to 3.5-inch border.
- Larger than 18 x 24: use a 3.5 to 5-inch border.
These are visual guidelines, not fixed rules. A small black-and-white photo may need a wider border. A busy print may look better with less space. Hold paper strips around the art before you buy a custom mat.
Keep the Mat and Frame Widths Different
Keep a clear size difference between the mat border and the frame face. Equal widths can make two hard stripes around the picture. The eye then notices the border and moulding before the art, which weakens the whole display.
- Pair a slim half-inch or three-quarter-inch frame with a 2.5 to 3.5-inch mat.
- Pair a wide, ornate frame with a narrow 1.5-inch mat or skip the mat for canvas art.
- Use a simple frame when you want the mat and print to lead the look.
Add a Little More Space at the Bottom
Add a little extra mat at the bottom if a centered print looks low once it hangs. This is called bottom-weighting. It corrects a common visual effect that makes equal borders seem uneven. The change is small, but it can make a framed print look settled.
- For frames up to 11 x 14 inches, add one-quarter inch to the bottom.
- For 16 x 20-inch frames and larger, add three-eighths to one-half inch.
- For art above a fireplace, start with one-half inch because viewers look up at it.
Use Acid-Free Matboard for Art You Want to Keep
Use acid-free matboard for photos, prints, watercolors, and family art you want to protect. Cheap paper mats can yellow and pass stains into the paper over time. Look for acid-free or conservation-grade board, especially when the piece has personal or resale value.
Choose 4-ply board for everyday prints. It is about one-sixteenth inch thick and gives a clean bevel. Choose 8-ply board for a deeper bevel and stronger shadow line. Cotton rag board is a sound choice for valuable art.
Mount a Paper Print with T-Hinges
Mount paper art from the top edge with two acid-free T-hinges. This lets the paper expand and shrink as room humidity changes. Tape on all four sides can trap the sheet and cause waves, so keep the sides and bottom free.
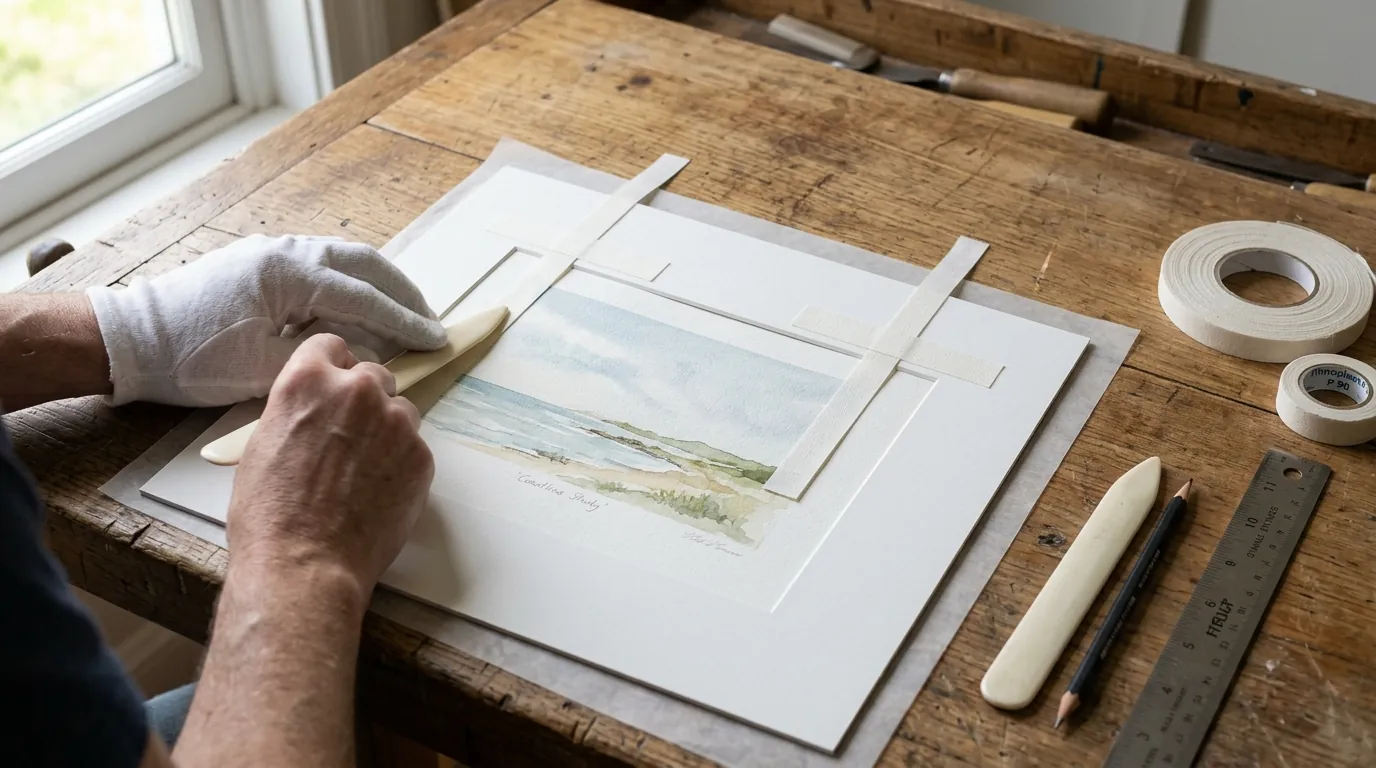
- Cut two short vertical tabs and two longer horizontal strips from acid-free linen tape.
- Stick the lower half of each vertical tab to the back top edge of the print.
- Set the print behind the mat window and line it up.
- Place a horizontal strip across each tab to form a T on the backing board.
Pick Glass That Suits the Room
Pick glazing based on where the art will hang and how much light reaches it. Standard glass works for low-cost, low-risk displays. Conservation glass helps protect light-sensitive art. Anti-reflective glass costs more, but it can make art much easier to see.
- Standard glass: a basic choice for posters and casual prints. It can show room glare.
- Conservation glass: a better choice for photos or art near daylight because it filters more UV light.
- Museum glass: use it for art where glare would spoil the view. Its coating makes reflections less obvious.
Cut a Mat Cleanly at Home
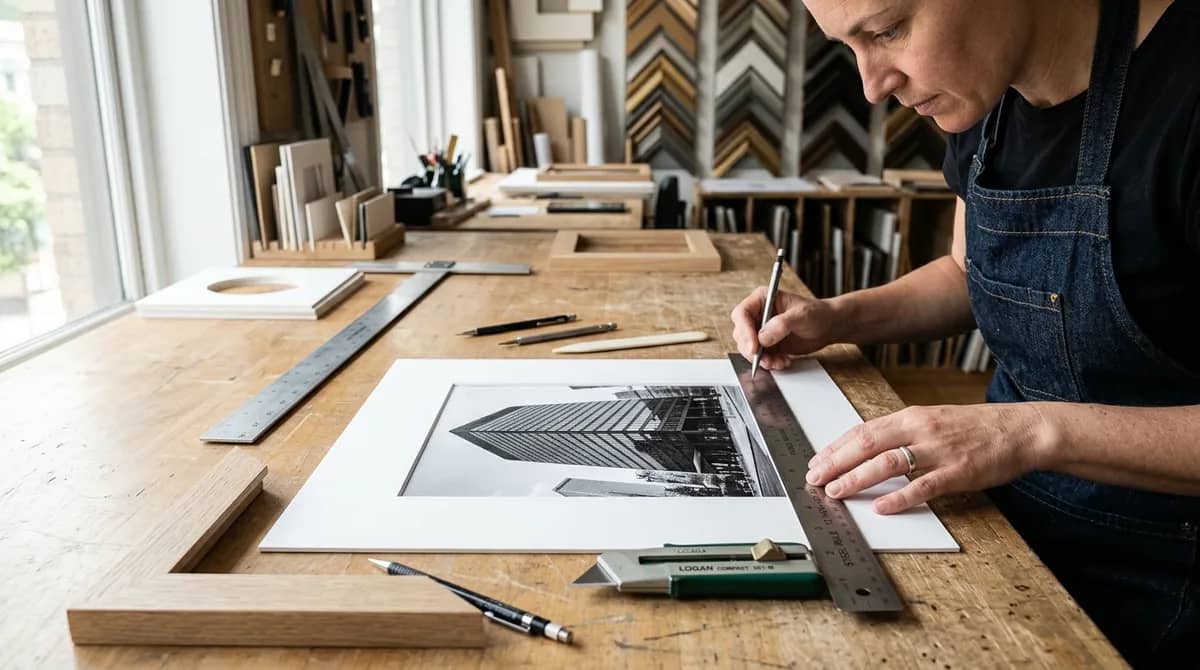
Cut a mat on a flat table with a metal ruler, a sharp blade, and a scrap board underneath. Mark each cut with care and test on offcuts first. A dull blade tears the paper face and makes corner errors harder to fix.
- Put a fresh slip sheet under the mat so the blade has a clean surface to enter.
- Use a 45-degree mat cutter and follow its start and stop marks.
- If a corner will not release, turn the board over and finish the fibers with a sharp utility knife.
Frequently Asked Questions About Picture Frame Mats
These answers cover the small details that often cause a wrong mat order or a poor fit. Check them before you place a custom order or start cutting board at home.
What is the difference between single and double matting?
Single matting uses one board around the print. Double matting places a second color below the top mat, leaving a thin reveal near the window. Use it when you want to repeat a color from the art.
What mat color works with black-and-white photos?
White, warm white, and soft cream work well with black-and-white photos. Match the mat to the paper tone. A cool print often suits bright white. A sepia or vintage print often suits a warmer cream.
Can I mat an oil or acrylic canvas?
Do not press a paper mat or glass against a stretched canvas. Canvas needs space, and the paint surface can stick or suffer damage. Use a floater frame or a canvas liner made for that job.
Why does a pre-cut mat cover part of my photo?
Pre-cut mats use a smaller window so the photo cannot fall through. An 8 x 10 mat often has a 7.5 x 9.5-inch opening. That leaves a one-quarter-inch overlap on all four sides.
Final Mat Sizing Checklist
Measure the art, the frame opening, and the rabbet before you buy a mat. Make the window slightly smaller than the art. Pick an acid-free board and use a border that suits the print. These checks prevent most costly framing mistakes.