Grid Gallery Wall Spacing: How to Hang 6 or 9 Matching Frames Flawlessly
Reader Disclosure: This guide contains affiliate links. Buying through our links may earn us a small commission at no extra cost to you. We recommend framing hardware, mounting gear, and laser leveling tools based on direct workshop tests, structural safety ratings, and residential durability.
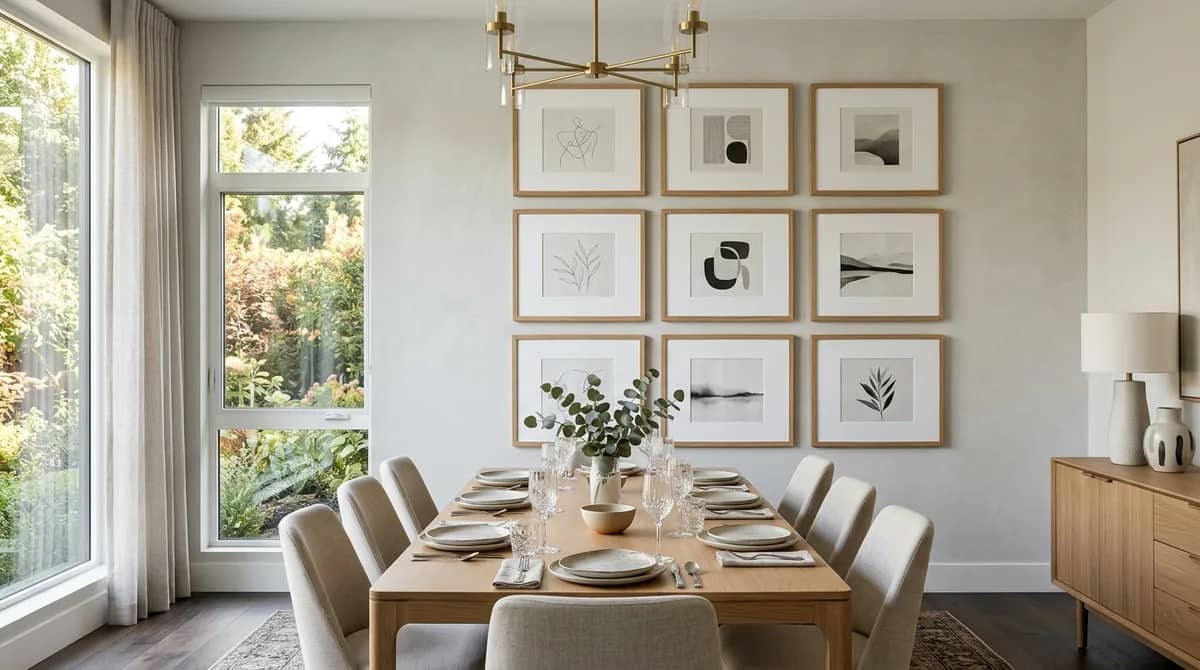
Grid gallery wall spacing requires 2 to 3 inches of uniform separation between matching frames. Most interior designers use 2.5 inches as the standard gap. Treat a 6-frame or 9-frame grid as one single art piece. Hang the center point 57 inches from the floor on open walls. Leave 8 to 10 inches of clearance above living room furniture.
Most DIY decorators struggle with symmetrical art walls because tiny measuring errors grow across rows. One misplaced nail leaves frames crooked, uneven, and surrounded by patched drywall holes. Brown kraft paper templates and a rigid spacer block eliminate all measuring guesswork. You can lock frames into crisp alignment on your first attempt without drilling extra holes.
Quick Comparison: Grid Gallery Wall Sizes and Wall Dimensions
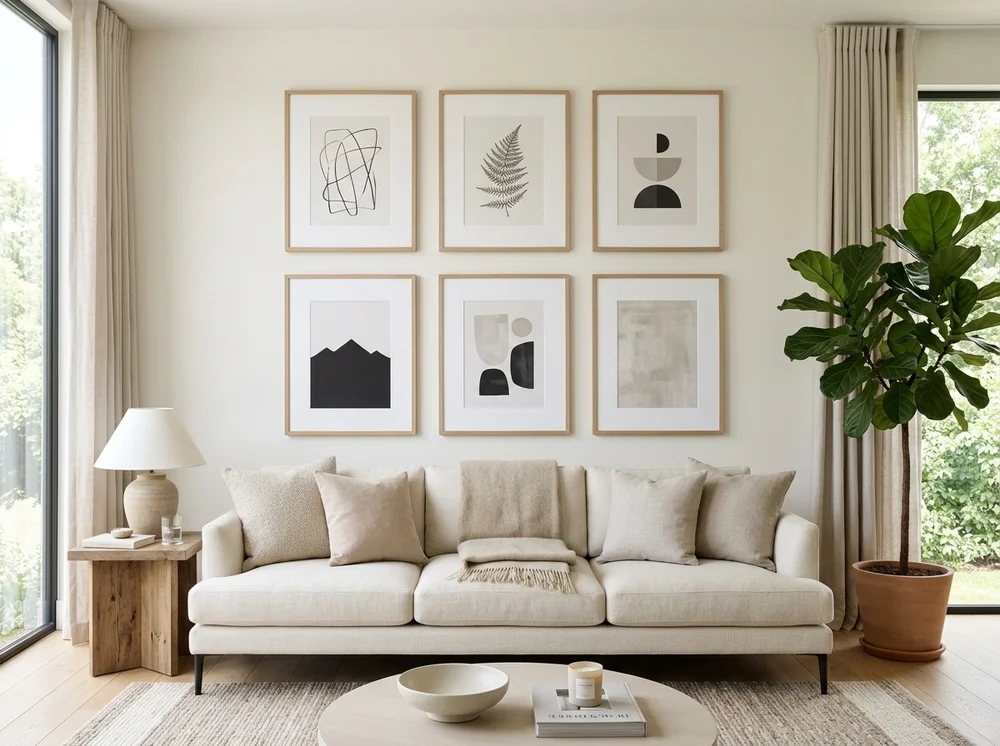
Choose your grid layout based on your available wall width, ceiling height, and frame sizes. A 6-frame grid fits over standard sofas. A 9-frame square grid fills tall open entryways. Use this sizing chart to match your wall space with the right frame size and spacing interval.
| Grid Configuration | Individual Frame Size | Overall Cluster Footprint (2.5 in gaps) | Best Home Wall Placement | Recommended Framing Hardware |
|---|---|---|---|---|
| 6-Frame Grid (3 Wide x 2 High) | 11×14 matted to 8×10 | 38 in wide by 30.5 in tall | Centered over 72 to 84-inch sofas and credenzas | Matching Matted Wood Frame 6-Pack |
| 6-Frame Grid (2 Wide x 3 High) | 11×14 matted to 8×10 | 24.5 in wide by 47 in tall | Narrow hallway walls, foyer piers, and stair landings | Cross-Line Self-Leveling Laser Level |
| 8-Frame Grid (4 Wide x 2 High) | 12×12 square frames | 55.5 in wide by 26.5 in tall | Long dining room walls and low horizontal sectionals | Square Gallery Frame Multi-Pack |
| 9-Frame Grid (3 Wide x 3 High) | 16×20 matted to 11×14 | 53 in wide by 65 in tall | Tall 9 to 10-foot accent walls and open entryways | Removable Museum Frame Putty |
Calculate Your Grid Spacing and Nail Coordinates Instantly
Symmetrical picture hanging requires exact horizontal spacing and vertical nail drops. Enter your wall width, frame dimensions, and frame counts into our interactive calculator tool. The calculator gives you exact nail marks, total wall span, and side margins in seconds.
The Golden Grid Gallery Wall Spacing Rule: Why 2 to 3 Inches Is Mandatory
Maintain strictly 2 to 3 inches of space between all frames in a symmetrical grid. A 2.5-inch gap creates ideal visual balance across rows and columns. Gaps smaller than 1.5 inches look cramped and cluttered. Spacing wider than 4 inches makes the display fall apart into isolated frames.
Eclectic gallery walls allow loose, uneven spacing between mixed frames. Symmetrical grids follow strict geometry. Your eye spots even an eighth-inch difference right away. Use these three spacing guidelines to keep your grid layout sharp:
- The 2.5-inch standard provides the best balance. It lets wall color show through while pulling all frames together into one unified art display.
- Gaps under 1.5 inches crowd your art. Slight frame flaws and uneven walls stand out when frames sit too close together.
- Gaps over 4 inches break visual unity. Wide spaces make frames look like scattered photos floating on a large blank wall.
Pick one spacing measurement: 2 inches, 2.5 inches, or 3 inches. Use that exact number for both horizontal gaps and vertical gaps across the entire grid.
The Sawtooth Hanger Variance: The Secret Reason Grids Hang Crooked
Factory hanging hardware causes most crooked gallery walls, not user measuring mistakes. Mass-produced frames often have brackets placed 1/8 to 1/4 inch off from frame to frame. Never measure just one frame and assume the rest match. Audit each frame individually before driving a single nail.
Using one measurement for all frames makes your rows tilt. Professional art installers avoid this problem by testing every frame before hanging:
- Place all matching frames face down on a soft blanket or clean drop cloth.
- Measure from the top frame edge down to the hanger hook point on each frame.
- Number each frame on the back from 1 to 6 with pencil or painter tape.
- Write each frame exact hook drop on its back and on its matching paper template.
The Paper Template Method: Hanging Zero Extra Holes in Drywall
The brown kraft paper template method guarantees level frames with zero unwanted drywall holes. Cut paper sheets to match each frame. Mark the nail holes, then tape the layout to the wall. You verify all lines before driving a single nail into drywall.
Step 1: Trace and Cut Your Paper Templates
Roll out brown kraft paper or craft butcher paper on a flat floor. Place each frame on the paper and trace its outer edges with a sharp pencil. Cut out each paper rectangle. Label each paper template with the number of its matching frame.
Step 2: Punch Exact Nail Coordinates Through the Paper
Find the exact center between the left and right edges of each paper template. Measure down from the top edge using that frame recorded bracket drop. Mark an X at that spot. Punch a small hole through the X using a nail tip or pencil point.
Step 3: Build a Cardboard Spacer Block
Do not use a flexible metal tape measure to space templates on the wall. Tape measures bend and cause alignment drift across long rows. Cut a scrap piece of rigid cardboard to your exact gap width, such as 2.5 inches wide by 6 inches long. Hold this spacer block between templates as you tape them in place.
Step 4: Tape Templates and Verify Level Lines
Stick the templates to the wall using low-tack blue painter tape. Position your top center template first. Use your 2.5-inch spacer block to align adjacent templates across rows and down columns. Check top edges with a 24-inch torpedo level or a laser level. Adjust the tape until every edge sits straight.
Step 5: Drive Nails Directly Through Template Marks
Drive brass picture hanging hooks straight through the pre-punched holes in the paper templates. Drive all hooks flush into the drywall. Peel off the blue tape and remove the kraft paper. Hang each numbered frame on its matching hook for a clean layout.
The Furniture Proportion Rule: Spacing Grids Over Sofas and Consoles
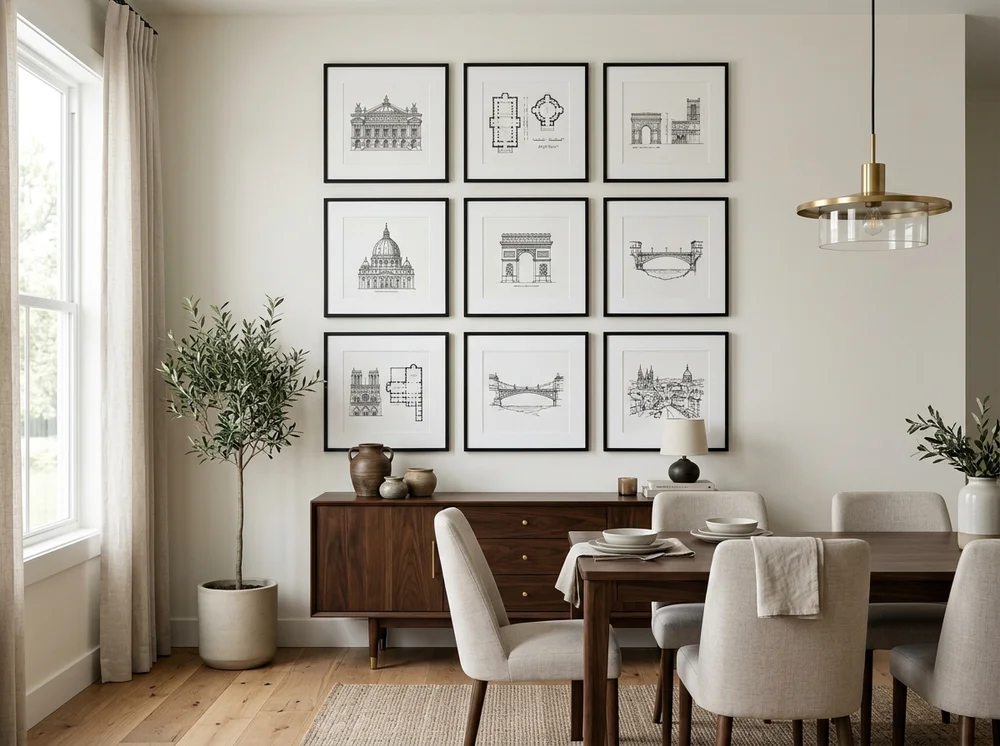
Center your gallery grid over furniture by following two basic sizing rules. Span 65 to 75 percent of the furniture width to balance the wall. Hang the bottom row 8 to 10 inches above the furniture back. This clearance leaves head room for seated guests and anchors the art display.
The Two-Thirds Width Rule
Your total grid width should equal roughly two-thirds to three-quarters of your furniture width. Measure from the outer left edge of the grid to the outer right edge. Over an 84-inch living room sofa, your grid should measure between 55 and 63 inches wide. A 6-frame grid of 16×20-inch frames spans about 54 inches, creating a balanced visual base.
The 8-Inch Clearance Rule
Leave 8 to 10 inches between the sofa back and the bottom edge of your frame row. This gap prevents leaning guests from bumping frames with their heads. On open walls without furniture, center the grid at 57 inches from the floor. This height matches standard gallery eye level.
Locking Frames in Place: How to Prevent Shifting and Tilting
Stop picture frames from tilting on the wall by using removable museum putty. Frames hung on single nails swing out of level from closing doors, foot traffic, and routine dusting. Pressing a pea-sized ball of museum putty behind bottom frame corners locks frames flat against the drywall.
Use this four-step putty process to keep your grid lines straight over time:
- Roll a pea-sized ball of non-staining clear museum putty between your fingertips.
- Stick one putty ball onto each bottom corner on the back of the frame moulding.
- Hang the frame on its wall hook. Place a small level on top, and straighten the frame.
- Press bottom corners against the drywall. The putty grips firmly without staining paint or tearing paper when removed.
Matboard Selection: Optical White vs. Warm Cream vs. Linen Texture
Matboards create white space around photos and define the color warmth of your gallery wall. Bright optical white mats fit cool modern rooms and black-and-white photos. Warm cream mats pair with traditional decor and sepia portraits. Woven linen mats add rich texture and reduce glass glare.
Crisp Optical White Mats
Optical white mats feature cool, bright paper stock. They fit modern spaces painted in pure white, cool gray, or navy. Optical white creates strong contrast next to black-and-white photography. This sharp contrast highlights crisp lines and bold subjects.
Warm Off-White and Ivory Mats
Warm cream and ivory mats contain gentle yellow undertones. They blend with rooms painted in warm alabaster, greige, or soft beige. Cream matting softens vintage sepia photos, landscape prints, and botanical sketches. This pairing creates a relaxed, collected feel in living rooms and bedrooms.
Textured Linen Matboards
Fabric-wrapped linen matboards add depth and texture to frame interiors. The woven cloth catches room light and cuts down on harsh glass glare. Linen matting gives a custom look to entry halls and formal dining rooms.
Frequently Asked Questions
Find direct answers to common questions homeowners ask about planning and hanging grid gallery walls. Learn about adhesive strips, electrical switches, print themes, weight limits, and frame styles so you can complete your project with confidence.
Can you use Command picture hanging strips for a grid gallery wall?
Adhesive strips hold light frames firmly, but they make micro-adjustments difficult. Even a tiny tilt ruins a 9-frame grid. Moving adhesive strips without peeling off paint is tough. For the straightest lines, drive slim brass picture pins straight through paper templates.
What if an electrical switch falls in the middle of my planned grid?
If a wall switch or thermostat blocks your grid, adjust your layout plan. Switch to an 8-frame wide grid (4×2) that sits above the switchplate. You can also pick a clear wall. Never leave an empty hole in a symmetrical grid to dodge an outlet.
Should all art prints in a grid gallery wall share the same theme?
Yes, visual harmony matters in a symmetrical grid. Choose a matching series, like black-and-white family photos, sepia sketches, or botanical prints. If art styles clash, the clean geometric look of the grid breaks down.
How much weight can standard drywall picture hooks support?
Brass picture hooks with steel pins hold 20 to 30 pounds in drywall without wall anchors. Most 11×14 or 16×20 glass frames weigh between 3 and 6 pounds. Standard picture hooks support grid frames easily and leave tiny pin holes that patch in minutes.
Can you mix frame moulding profiles in a symmetrical grid?
No, symmetrical grids need identical frame mouldings, finishes, and mat widths to maintain visual rhythm. Mixing gold frames with thin black metal frames breaks the clean geometry. Save eclectic frame mixing for casual salon-style gallery walls.
Related Interior Design and Wall Decor Guides
Continue refining your wall displays, architectural trim, and art installation techniques with our practical sizing guides: