Staircase Gallery Wall Layout: 5 Diagonal Grid Steps
Reader Disclosure: This post contains affiliate links. If you buy through them, we may earn a commission at no extra cost to you. We only recommend items tested for clean craftsmanship and authentic durability.
Hang a staircase gallery wall by creating a diagonal baseline fifty-seven to sixty inches above your stair treads. Measure vertically from the front nosing of every third step. Connect these reference points with blue painter tape. Center your picture frames along this incline. Maintain a tight two-to-three-inch gap between frames to create an orderly ascending display.
Most DIY staircase projects end in frustration and drywall damage. Homeowners stand on stair treads and eyeball picture heights without a reference line. They end up with a crooked zigzag of mismatched frames that makes people feel dizzy. Others hammer dozens of accidental nail holes into tall stairwell drywall. Calculating your diagonal datum line before driving a single picture hook prevents these messy blunders.
Before cutting kraft paper templates or tapping nails into your stairwell wall, test your tread count and frame dimensions with our Staircase Gallery Wall Calculator to map your diagonal layout accurately.
The 57-Inch Diagonal Datum Line Formula
Museum curators hang art with frame centers fifty-seven inches above flat floors. That height represents average human standing eye level. On an inclined staircase, you must adapt this standard into a continuous diagonal slope. The slope must rise at the exact pitch angle of your stair stringer.
Start at the bottom landing of your staircase. Measure fifty-seven inches straight up from the front edge nosing of the first tread. Mark this spot lightly with a pencil. Move up to the middle tread and make a second mark fifty-seven inches above its nosing. Repeat the measurement on the top stair tread. Stretch a laser level line or snap a chalk line across all three marks.
Why Measuring Plumb Matters on Stairs
Always hold your tape measure strictly plumb using a small bubble torpedo level. If you tilt your tape measure diagonally back against the wall riser, your height numbers become distorted. An angled tape produces uneven marks that curve your gallery baseline.
Drop a plumb bob or use a self-leveling cross-line laser mounted on a tall tripod. Verify that every vertical measurement lines up with true gravitational plumb. Taking this step ensures that your diagonal line runs perfectly parallel to the stair handrail.
Adjusting for Stair Landing Transitions
Many residential staircases feature an intermediate flat landing. When your staircase turns ninety or one hundred eighty degrees, your gallery layout must transition smoothly. Stop your diagonal baseline two steps before the flat landing platform.
On the flat landing wall, transition to a standard horizontal baseline fifty-seven inches above the floor. Treat the landing wall as a standalone focal display. Hang one large statement canvas or a symmetrical quad of frames. Resume your diagonal baseline as you step onto the upper flight of stairs.
Grid Layouts Versus Organic Salon-Style Arrangements
You can organize staircase art in two distinct design formats. A structured step grid uses identical frames hung in neat stair-stepped pairs or trios. An organic salon arrangement blends diverse frame sizes, antique wood tones, and canvas textures along an imaginary central axis.
A structured grid works best in modern, minimalist, and transitional homes. Use matching matte black or thin natural oak frames with wide white picture mats. Place one vertical frame directly above each stair tread. This repetition mimics the architectural cadence of your steps, creating a clean, rhythmic rhythm.
Styling the Organic Salon Method
Organic salon arrangements suit traditional, cottage, and eclectic homes. Collect family portraits, architectural sketches, and landscape oils in varying frame profiles. Anchor the layout by hanging your two largest focal frames first along the fifty-seven-inch diagonal line.
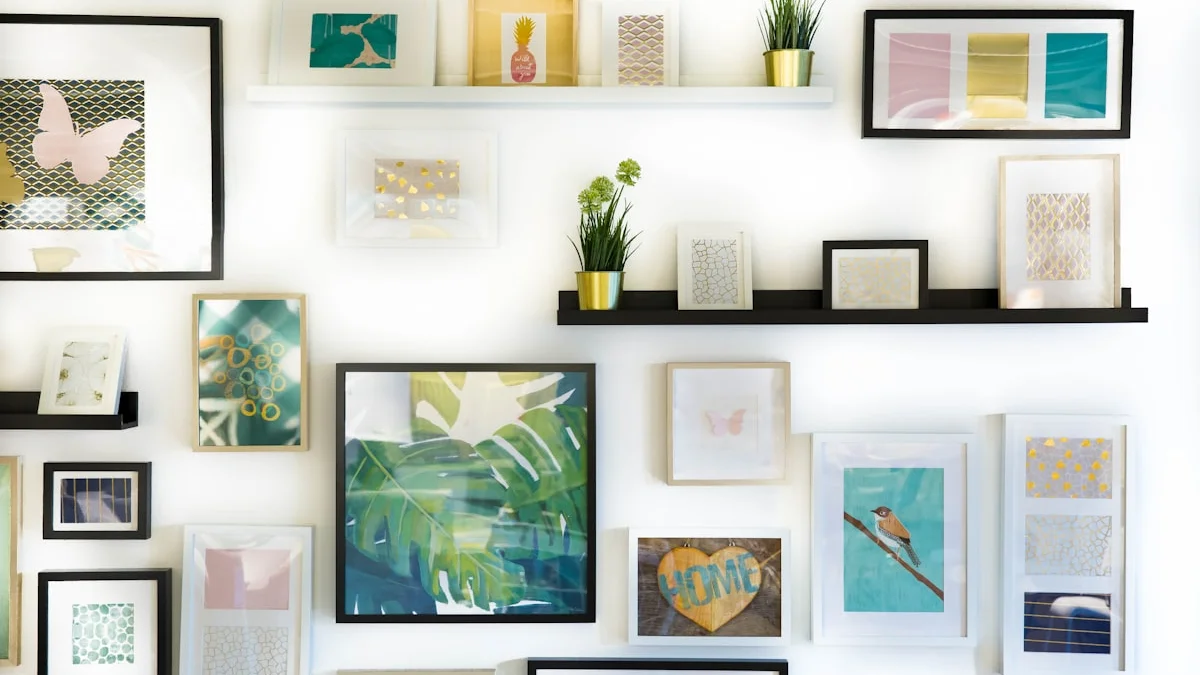
Fill the empty spaces above and below these anchor pieces with smaller frames. Maintain consistent two-inch spacing between all frame edges. Distribute frame finishes evenly across the wall so dark walnut, gilt gold, and white painted frames appear balanced across the entire climb.
Frame Spacing: The Two-to-Three-Inch Golden Rule
Keep the borders between adjacent picture frames between two and three inches apart. Spacing frames closer than two inches makes the wall feel cluttered and claustrophobic in a narrow stairwell. Spacing frames wider than four inches breaks visual continuity, making your pictures look like disconnected floating islands.
Cut small two-inch cardboard spacer blocks from scrap shipping boxes. Hold these spacer blocks between frames as you level them on the wall. This simple trick speeds up your installation and ensures uniform spacing across the entire run.
The Kraft Paper Template Method: Zero Wall Damage
Never hammer picture nails directly into stairwell drywall without creating paper mockups first. Stairwell walls can reach fifteen to twenty feet high over open stair runs. Correcting mistaken nail holes while balancing on a ladder is dangerous, exhausting, and messy.
Roll out brown kraft paper or inexpensive wrapping paper on your living room floor. Trace around each picture frame with a pencil. Cut out each paper template with scissors. Mark the exact hanging hardware location on each paper cutout by measuring from the top frame edge down to the wire bracket.
Tape Templates to the Stairwell Wall
Stick your paper templates onto the staircase wall using delicate blue painter tape. Align the center marks of your primary templates with your fifty-seven-inch diagonal reference line. Step back down to the bottom hallway to examine the overall layout from ground level.
Walk up and down the stairs several times. Look for awkward gaps, heavy color clusters, or tilted lines. Move the paper templates around freely until the composition feels completely natural. Once you love the arrangement, hammer your picture nails directly through the hanging marks on the paper, then pull the paper away cleanly.
Preventing Crooked Frames from Door Slams
Staircases act as soundboards for front door slams and running foot traffic. Standard picture hooks let frames tilt crookedly over time as vibrations travel through wall studs. Within a week, your tidy gallery wall looks disorderly.
Stick small squares of reusable adhesive mounting putty or rubber bumper pads to the bottom two corners of every frame. Press the frame firmly against the drywall once leveled. The adhesive pads grip the wall texture, dampening vibrations and locking your frames in permanent, level alignment.
Picture Matting and Hardware Weight Ratings
Generous picture matting provides crucial visual breathing room in a busy staircase gallery. When frames feature narrow one-inch mats, busy art prints collide visually and make the wall look messy. Choose archival white or warm off-white mats measuring two-and-a-half to three inches wide.
Wide mats create a uniform white border around family photographs and travel prints. This border establishes visual consistency even when frames feature different wood or metallic finishes. High-grade four-ply acid-free mats also prevent photographs from touching picture glass directly, protecting memories from stairwell humidity fluctuations.
Hardware Weight Ratings on Sloped Stairwell Walls
Stairwell drywall spans two floor levels without intermediate horizontal plates, creating large open stud bays. For frames weighing under ten pounds, use angled brass picture hooks with thin hardened steel nails. Drive the nails into the drywall at a steep forty-five-degree angle.
For heavy solid oak frames or large glazed canvases exceeding fifteen pounds, use metal self-drilling drywall anchors or steel toggle bolts. Never rely on plastic expansion plugs or adhesive command strips alone on tall stair walls. A falling frame poses a severe safety hazard to family members walking up and down the steps below.
Staircase Gallery Wall Dimension and Spacing Matrix
Review the planning matrix below to match your staircase tread length, ceiling height, and frame sizing parameters.
| Staircase Style & Length. | Baseline Height Above Nosing. | Recommended Frame Count. | Frame Spacing Gap. | Best Layout Style. |
|---|---|---|---|---|
| Straight 12-Tread Flight. | 57 to 58 inches. | 6 to 8 medium frames. | 2.5 to 3.0 inches. | Single ascending diagonal row. |
| Straight 15-Tread Flight. | 58 to 60 inches. | 10 to 14 mixed frames. | 2.0 to 2.5 inches. | Two-tier staggered salon layout. |
| L-Shaped with Flat Landing. | 57 inches (treads) / 60 in (landing). | 8 to 12 frames + 1 large landing art. | 2.0 to 3.0 inches. | Diagonal rows with focal landing quad. |
| Winding or Spiral Staircase. | 56 to 58 inches. | 5 to 7 small vertical frames. | 3.0 to 4.0 inches. | Minimalist vertical step sequence. |
| Double-Height Foyer Stairwell. | 60 to 62 inches. | 15 to 20 large statement pieces. | 3.0 inches. | Full floor-to-ceiling salon wall. |
Check your exact tread heights and wall dimensions with our interactive Staircase Gallery Wall Calculator before shopping for frames.
When selecting coordinated wooden frame sets, brass picture hangers, and non-marring level mounting putty, explore tested decor hardware on Amazon to review trade dimensions and customer photos.
Five Costly Staircase Gallery Wall Mistakes to Avoid
Interior design forums and DIY restoration groups regularly highlight these five common pitfalls. Keep them in mind to save your wall paint and sanity.
Measuring from the flat floor instead of stair treads. Measuring sixty inches from the bottom landing creates frames that disappear under handrails as the stairs climb. Always measure upward from each tread nosing.
Hanging frames too low on the wall. People carrying laundry hampers or luggage upstairs often bump their shoulders against low frames. Maintain at least thirty-six inches of clearance between the handrail and lower frame edges.
Using single-nail wire hangers. Picture frames hung on a single centered wire tilt sideways whenever heavy footsteps shake the staircase. Use two D-ring hooks on the left and right rails of each frame for rock-solid stability.
Ignoring frame glass glare. Stairwells with tall foyer windows often catch blinding reflections across standard picture glass. Choose non-glare museum acrylic or UV-filtering glass for artwork in bright entryways.
Clustering all dark frames in one corner. Grouping four heavy black frames together while scattering thin gold frames elsewhere makes the wall look lopsided. Mix frame finishes evenly across the entire diagonal line.
For more home styling rules covering art placement, picture ledges, and gallery spacing, explore our complete Wall Decor and Art Hanging guide collection.
Frequently Asked Questions About Staircase Gallery Walls
How high above the stairs should pictures be hung?
Hang pictures fifty-seven to sixty inches above the stair treads. Measure straight up from the front nosing of each tread to the horizontal center of your frame. This height places the artwork at natural eye level for climbing guests.
How much space should be between frames on a staircase wall?
Leave two to three inches of space between adjacent frame borders. This tight gap maintains visual unity across the display. Wider gaps make artwork look disconnected, while tighter spacing feels crowded in a narrow stairwell passage.
How do you keep picture frames straight on stairs?
Hang frames using two separate wall hooks positioned on the left and right rails. Place small pieces of reusable adhesive mounting putty under the lower frame corners to grip the drywall and stop vibrations caused by heavy footsteps.
Should all frames on a staircase gallery wall match?
Not necessarily. Matching frames create a crisp, modern grid that feels serene and orderly. Mixing complementary wood, brass, and painted finishes creates an eclectic salon display. Keep your picture mat colors uniform to unite diverse frame profiles cleanly.
How do you plan a staircase gallery wall without damaging walls?
Cut brown kraft paper templates matching the exact dimensions of your frames. Tape the templates to the wall with blue painter tape. Rearrange the paper cutouts until balanced, then drive your nails directly through the hanging marks.
Final Installation Checklist for Staircase Art
Measure fifty-seven inches vertically above tread nosings at three points. Connect marks with a laser line or painter tape. Trace and cut paper templates for every frame. Mark nail points on the templates. Tape templates to the wall and check sightlines from the bottom floor. Drive two D-ring hooks per frame and secure bottom corners with putty.
Taking sixty minutes to plan with templates transforms an intimidating stairwell into an architectural showpiece that brightens your entire home interior.