DIY Wood Slat Accent Wall Spacing: 5 Pro Formulas
Reader Disclosure: This post contains affiliate links. If you buy through them, we may earn a commission at no extra cost to you. We recommend products with clear specifications and practical installation value.
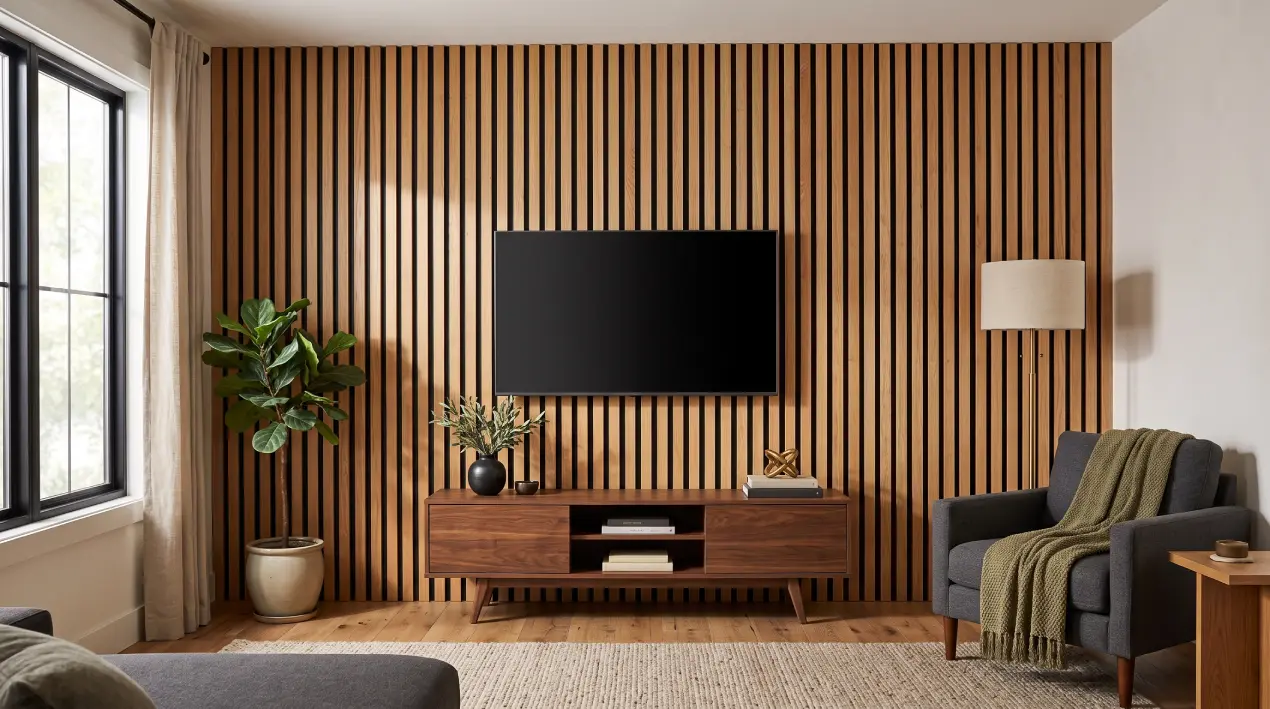
A practical wood slat accent wall uses three-quarter-inch to one-inch wide slats with one-half-inch to five-eighths-inch shadow gaps over a dark backing. Paint the wall behind the slats flat black or deep charcoal so the gaps read as continuous shadow lines. Add acoustic felt when sound absorption matters, and check the selected panel system’s published test data before quoting an NRC result.
Vertical wood slat walls add warmth behind bedroom headboards, living room consoles, and dining nooks. DIY builders often see wavy boards, bright drywall through the seams, and uneven spacing after rushing the layout. A measured pattern and a dark background solve the most visible problems before installation begins.
Nailing pine boards straight onto bare drywall creates avoidable trouble. Soft lumber can twist as indoor humidity changes, and white drywall can show through every gap. Use acclimated boards, mark a level layout, and test one short section before fastening the full wall.
Before buying lumber or loading your nail gun, enter your room width and ceiling height into our interactive Wood Slat Wall Calculator to estimate board count, gap dimensions, and material costs.
The Golden Slat and Gap Dimension Ratio
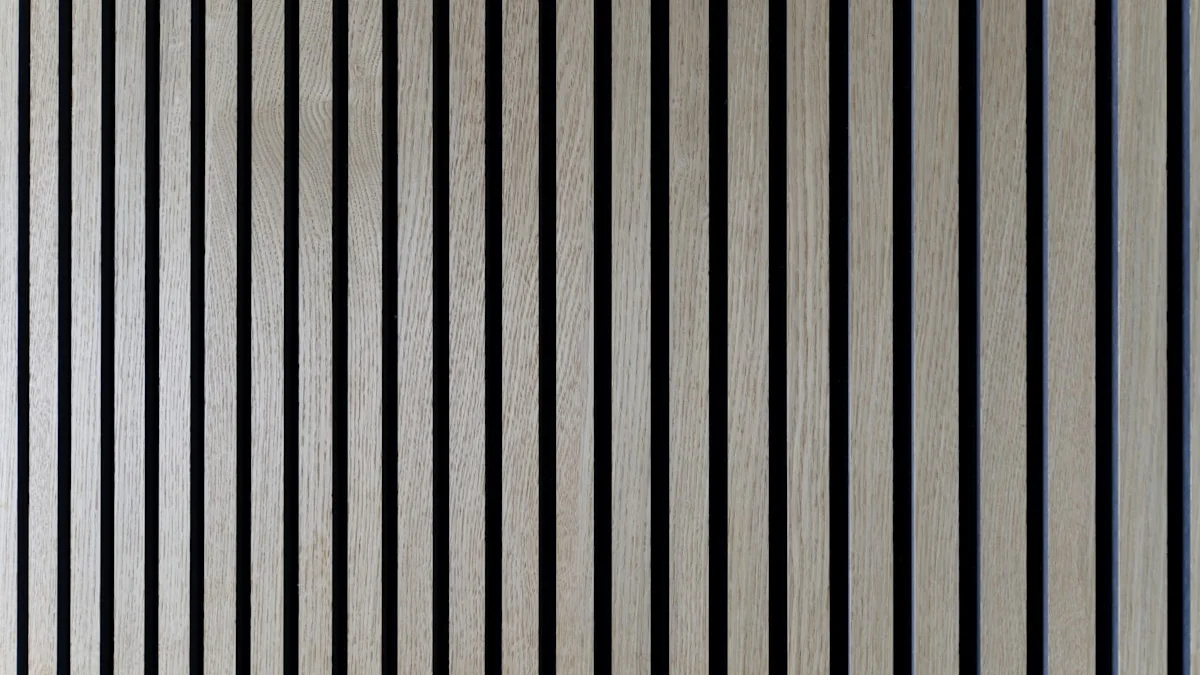
The standard architectural ratio for vertical slat walls pairs one-inch-wide timber battens with one-half-inch reveal gaps, establishing a clean two-to-one proportion of wood surface to shadow reveal. This two-to-one ratio warms the room while leaving dark channels that catch ambient room light.
Wide gaps make the wall look thin and sparse like a shipping crate. Narrow gaps blur separate battens into a flat solid board from across the room. Keeping gaps between one-half inch and five-eighths inch preserves crisp vertical shadow lines from every viewing angle.
Slat depth also changes visual weight. For standard eight-foot ceilings, choose slats measuring one-half inch to three-quarters of an inch deep. Shallow slats under three-eighths of an inch cast weak shadows. Slats deeper than one inch create heavy side shadows that collect dust and crowd narrow rooms.
Calculating Slat Quantity Across Full Wall Widths
Calculate your lumber needs with a basic job-site formula. Measure your total wall width in inches. Add your slat width to your chosen gap width to find your single pattern module. For example, a one-inch slat plus a one-half-inch gap equals a one-and-a-half-inch module.
Divide your total wall width by that module size. On a one-hundred-twenty-inch wall, dividing one hundred twenty by one-and-a-half yields eighty slats. Always add ten percent extra stock to your final lumber order. Extra wood covers saw cut waste, natural knots, and twisted boards that you set aside during sorting.
Handling Wall Ends: Symmetrical Margin Offsets
Walls rarely divide evenly into exact pattern modules. When your calculation leaves a remainder of one-half inch or three-quarters of an inch, avoid squeezing a skinny strip into the final corner. Doing so creates an awkward seam that draws attention immediately.
Instead, split that leftover space between both wall ends. Measure your leftover fraction and divide it by two. Place that calculated margin space at both the left and right corners before nailing your first batten. This symmetrical offset centers the entire pattern cleanly across the wall.
Acoustic Benefits: When Recycled PET Felt Backing Helps
Recycled PET felt can reduce reflected high frequency sound when it sits behind open slat gaps, but the result depends on the felt, air space, slat coverage, and room surfaces. Treat the backing as sound absorption, not soundproofing. Use the manufacturer’s tested NRC for the exact panel assembly.
For context, one current PET panel specification from Autex Acoustics lists an NRC range of 0.55 to 0.70 for its Groove Duet system. Use that figure only for the tested product and installation described by the manufacturer.
Acoustic felt solves this problem through porous absorption. Sound waves enter the gaps between wooden slats and strike the dense felt mesh. The fibers convert sound energy into tiny amounts of heat. This process softens voices, stops flutter echo, and makes media speakers sound clear.
Flutter Echo vs Sound Dampening in Media Rooms
Hard parallel walls cause fast high-frequency flutter echoes. Clap your hands in an empty room and listen for the sharp ringing buzz. Smooth drywall cannot trap sound waves on its own.
A vertical slat wall can soften reflected sound in two ways. The hard wood faces scatter some reflections across different angles, while the open channels expose the felt backer. The result depends on the full wall assembly and the other hard surfaces in the room. It will not make a room soundproof.
> [!NOTE] Image Prompt: A photorealistic editorial photograph of a modern media room with a vertical oak slat accent wall backed by dark acoustic felt. Show a low media console, compact speakers, a sofa, and visible open gaps between the slats. Compose the scene from the front corner so the wood faces and dark felt channels are easy to inspect. Use soft controlled lighting from the left, realistic acoustic room materials, warm oak and charcoal tones, 4:3 composition, no people, no text, no labels, no watermark. Output a lightweight WebP below 100 KB.
Pre-Assembled Slat Panels vs Raw DIY Lumber Assembly
DIY builders must choose between pre-assembled acoustic panels and individual raw boards. Pre-assembled panels often combine wood veneer or finished slats with PET felt, but panel width, height, thickness, and fire rating vary by manufacturer. Confirm those specifications before ordering.
Pre-assembled panels usually reduce layout and fastening work because one piece carries several slats. You still need to check plumb, locate suitable fasteners, and cut around outlets and trim. Raw timber boards can cost less in materials, but they require more measuring, finishing, leveling, and fastening.
Pre-Installation Prep: The Black Background Rule
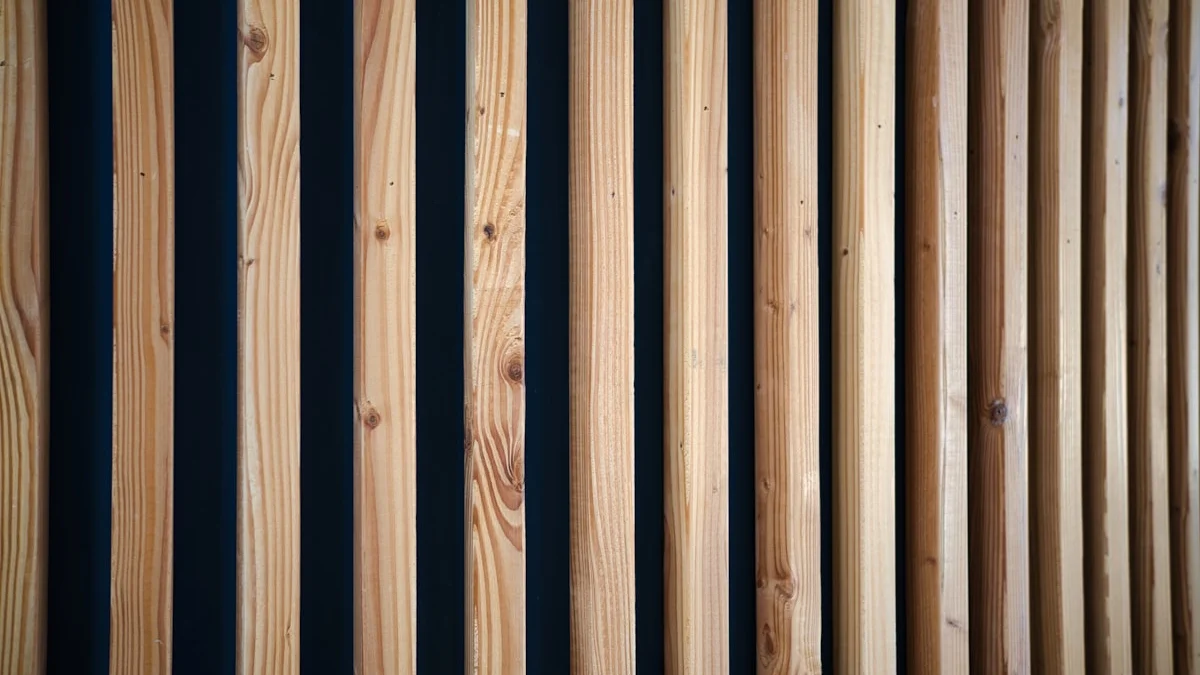
Always coat your bare drywall with two layers of dead-flat black or deep charcoal paint before mounting any timber slats or acoustic panels. Painting the background dark creates continuous shadow depth. It prevents light drywall patches from spoiling your finished project.
Even with pre-assembled panels, trimming around doors, outlets, or baseboards can expose small drywall sections. If white wallboard shows through seams, every cut becomes obvious. A matte black basecoat ensures that every gap, corner, and cut edge reveals rich shadow.
Why Flat Paint Is Superior to Satin for Shadow Backing
Never use satin, eggshell, or gloss paint behind wood slats. Shiny paints reflect light from windows and lamps. When light bounces off the wall behind your slats, the shadow effect vanishes, showing wall bumps and nail marks.
Dead-flat black paint absorbs incoming light. It hides drywall tape lines and small dents behind zero-shine darkness. Two coats of flat black latex paint give tough coverage that will not scuff or show glossy spots during assembly.
Locating and Marking Wall Studs for Structural Fastening
Slide a stud finder across the wall before painting. Mark the center of every sixteen-inch vertical wall stud near the ceiling and floor. Draw light pencil marks or snap vertical chalk lines with a four-foot level.
Lightweight felt panels can hang using hollow-wall anchors. Still, driving at least half of your screws into solid wall studs provides permanent holding power. Fastening into studs keeps heavy wood panels from pulling loose over years of home use.
Fastening Techniques: How to Hide Brad Nails Completely
Secure lightweight slat panels by driving black eighteen-gauge brad nails through the felt backing between the slats when the panel maker allows that method. This position hides the fastener heads from normal sight lines and keeps nail holes out of the finished wood faces.
Never shoot nails through the front face of real wood slats. Brad nails leave small dents in the wood grain. Filling those holes with putty causes pale spots because wood filler never absorbs stain or reflects light like real wood.
The Hardwood Spacer Block Technique for Uniform Gaps
If you build a slat wall using individual boards instead of pre-fab panels, never rely on a tape measure for every gap. Tape measures cause small errors that add up across an eight-foot wall, creating crooked lines by the opposite corner.
Cut two identical spacer blocks from a scrap piece of hardwood like oak or maple. Make the blocks to your exact gap size, such as one-half inch wide and six inches long. Hold one block near the top of the board and the second block near the bottom. Push the next timber slat tight against both blocks, check vertical plumb with a level, and shoot your brads. This simple spacer jig keeps the gap uniform from floor to ceiling.
Construction Adhesive vs Mechanical Fasteners on Drywall
Many online videos recommend spreading heavy construction glue on the back of wood panels. While glue grips hard, it tears the paper face off drywall. If you ever want to change the room design later, pulling glued panels destroys the wall.
Use mechanical fasteners instead. Black drywall screws or eighteen-gauge black brad nails driven into wall studs hold panels firm without glue. If you take down the wall in the future, simply remove the screws, patch tiny nail holes with spackle, and repaint the drywall in an afternoon.
Wood Slat Materials and Installation Options Matrix
Review the wood slat material options in the table below to choose a system for your room, budget, and sound absorption goals. Treat every acoustic result as product specific because panel construction and installation method change the result.
| Material System | Acoustic Rating | Humidity Warp Resistance | Typical DIY Workload | Material Cost Guidance |
|---|---|---|---|---|
| Felt-Backed Veneered MDF Panels | Use the manufacturer’s tested NRC. | High dimensional stability | Lower layout workload | Compare current panel prices |
| Solid White Oak Raw Lumber | Usually needs separate acoustic backing. | Moderate moisture movement | High measuring and finishing workload | Price varies by species and grade |
| Kiln-Dried Pine or Poplar Slats | Usually needs separate acoustic backing. | Low resistance to twisting | High measuring and finishing workload | Price varies by species and grade |
| Solid Walnut Custom Millwork | Usually needs separate acoustic backing. | Moderate moisture movement | Highest finishing workload | Price varies by species and grade |
| High-Density Foam Faux Slats | Check the product test data. | Not affected by wood moisture movement | Lower cutting and fastening workload | Compare current product prices |
Calculate your room cuts and total material budget with our interactive Wood Slat Wall Calculator before placing lumber orders.
When shopping for acoustic panels, black trim screws, and laser levels, compare current retailer specifications and prices before ordering. Product dimensions, felt content, fastener requirements, and fire ratings vary by system.
Five Costly Slat Wall Mistakes to Avoid
Five mistakes create most DIY slat wall problems: skipping acclimation, ignoring outlet depth, relying on glue, cutting around rounded trim, and using oversized nails. Check each item before you start fastening.
Skipping lumber room acclimation. Bringing cold raw lumber straight into a heated house causes quick warping. Let all wood boards or panels rest flat inside the room for forty-eight hours before mounting.
Forgetting electrical box extension rings. Slats add one-half inch to three-quarters of an inch of wall depth, sinking outlets too deep. Add plastic box extender rings to bring outlet plugs flush with your wood face.
Relying only on construction glue. Liquid adhesive without nails lets heavy panels slide down before glue dries. Always drive mechanical fasteners into wall studs or solid anchors.
Running slats onto rounded baseboards. Most baseboards have curved top edges that prevent square seating. Install a flat apron trim board or remove baseboards to make a clean floor joint.
Using heavy sixteen-gauge framing nails. Thick nails blow out wood fibers and split narrow slats. Use thin eighteen-gauge brad nails that seat clean without cracking wood edges.
For more architectural wall ideas covering board and batten, picture ledges, and frame layouts, browse our complete Wall Decor and Art Hanging guide library.
Frequently Asked Questions About Wood Slat Walls
What is the ideal spacing between wood slats on a wall?
The standard spacing is one-half inch to five-eighths inch between one-inch slats. This creates a clean two-to-one wood-to-shadow ratio that provides visual warmth without crowding the room.
Do wood slat walls really reduce room noise?
Wood slat walls backed by recycled polyester felt can soften room echo. The felt absorbs some reflected sound, while the solid wood faces scatter other reflections. The result depends on the panel design, wall coverage, air space, and other surfaces in the room.
Can you install wood slat walls without studs?
Yes, you can install lightweight felt-backed slat panels using hollow-wall drywall anchors and black trim screws. However, fastening at least half of the panel edges into studs provides superior long-term hold.
How do you cut wood slat panels cleanly?
Cut wood slats with a fine-finish eighty-tooth miter saw blade to prevent splintering face veneers. Use a sharp utility knife against a steel straightedge to slice through the dense polyester felt backing.
How do you clean dust from wood slat walls?
Clean vertical slat channels using a vacuum cleaner fitted with a soft horsehair brush attachment. For occasional fingerprints, wipe the wood faces with a microfiber cloth dampened with mild soapy water.
Final Installation Checklist for Slat Accent Walls
Measure your wall width accurately. Acclimate all timber materials inside the room for forty-eight hours. Coat the target drywall with two layers of dead-flat black paint. Snap vertical stud guidelines across the wall surface. Use cut hardwood spacer blocks or modular felt panels to maintain uniform gaps. Drive eighteen-gauge black brad nails through felt channels instead of wood faces. Add electrical box extension rings to outlets before final inspection.
These checks give you a straighter, cleaner slat wall and reduce the chance of visible gaps, loose panels, or damaged trim.