Corner Gallery Wall Layout Ideas: 5 Rules for Tight Spaces
Reader Disclosure: This post contains affiliate links. If you buy through them, we may earn a commission at no extra cost to you. We only recommend items tested for clean craftsmanship and authentic durability.
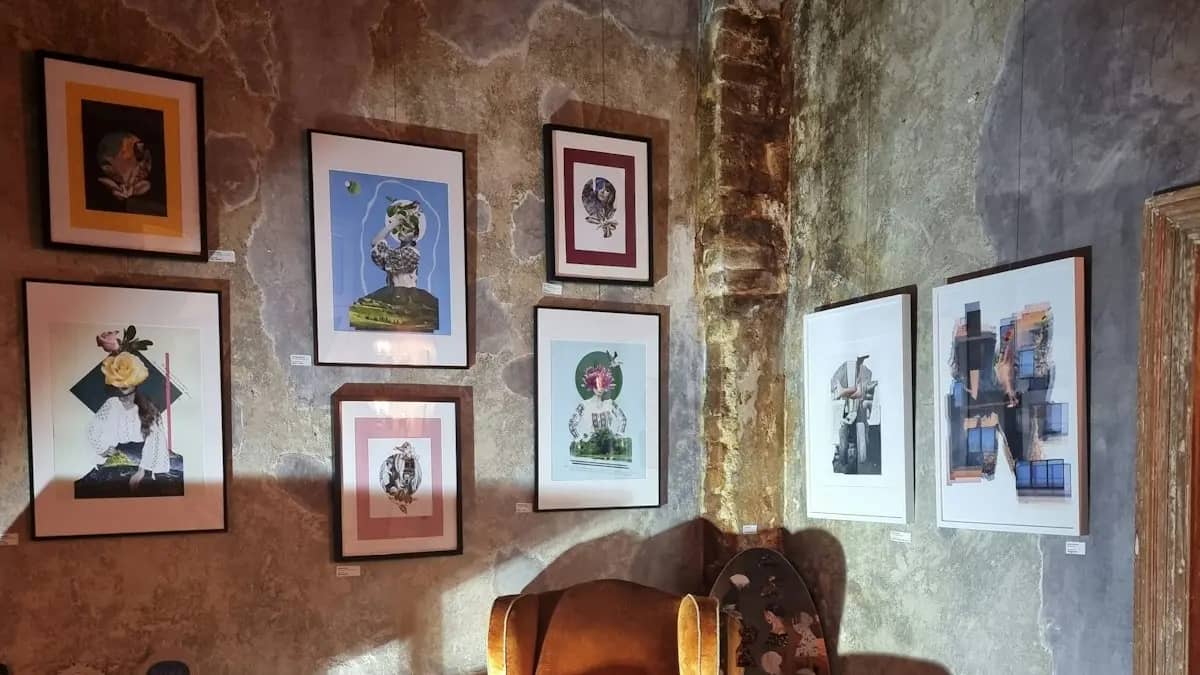
A corner gallery wall requires maintaining an exact uniform gap of two to three inches into the internal ninety-degree wall corner, mirroring frame horizontal baselines across the seam to create continuous visual flow. Wrapping art smoothly across corners breaks rigid room boundaries. It expands felt room depth in small homes. This layout turns empty corner space into an intentional gallery showcase.
Empty room corners often present stubborn decorating hurdles. Homeowners push a solitary plant or a small table into the corner. Yet the corner still feels cold and bare. Hanging art right up to the drywall crease causes wood frame edges to collide. Uneven gaps make the two wall surfaces look messy. In our Wall Decor & Art Hanging guides, we treat wall corners as continuous canvases. Proper spacing lets framed art wrap naturally around wall folds.
Before you tap nails into your drywall, calculate your frame margins. Use our interactive Gallery Wall Spacing Calculator to test frame runs. You can calculate picture gaps. You can balance frame weights across both wall sections.
The 2-to-3 Inch Corner Setback Rule Explained
Leave a minimum two to three inch clearance from the inner corner drywall seam to the edge of every picture frame on both walls to prevent frame collisions and maintain equal visual margins. That open space acts as a breathing buffer for your picture frames. When you hang art closer than two inches to an inside corner, frame edges touch. Most drywall corners deviate from a true ninety-degree angle by two to four degrees. The three-inch buffer hides these slight wall flaws.
Drywall workers apply thick joint compound into internal room corners. This mud builds up along the seam. The build-up creates a slight taper in the wall surface. If you push a picture frame too close to the corner, the back edge rides up on this taper. The frame sits tilted on the wall. A three-inch setback keeps your frame flat against the level drywall.
Equal corner spacing also protects frame mouldings during humid seasons. Wood studs swell during damp summer months. They shrink during dry winter heating weeks. When picture frames sit too close to the corner fold, minor wall shifts can twist hanging wires. Frames tilt off level. Maintaining consistent three-inch margins on both wall faces keeps your gallery secure and plumb all year long.
Inside Corners vs Outside Architectural Corner Pillars
Inside corners and outside corners demand opposite spacing strategies. An inside corner folds inward like an open book. You view both wall faces at the same time from the center of the room. Here, equal two-to-three-inch setbacks prevent visual crowding. They keep shadow lines neat along the drywall joint.
Outside corners project outward into hallways or open-concept living rooms. Family members brush past the wall corner as they walk through the home. Increase your outside frame setback to four or five inches. This extra clearance prevents passing shoulders, tote bags, or coats from knocking frames off their wall hooks.
Use sturdy picture hooks with angled nail brackets on outside corners. Standard single nails can loosen when bumped. Two-nail brass brackets grip drywall core gypsum firmly. They hold heavy frames steady even when hallway doors shut hard.
Calculating Space for Deep Floating Frames
Deep canvas floating frames require larger corner clearances than flat poster frames. A modern floater frame often projects two inches out from the wall. If you place deep frames too near the corner, the side edge blocks the next picture. It cuts off the view from the side.
Measure the depth of your thickest frame before marking the wall. Add the frame depth to your three-inch gap. For a two-inch deep canvas, place hooks five inches from the seam. This gap keeps every picture in clear view from across the room.
Check nearby room doors and window shutters. If a door swings toward the corner, check the path of the handle. Leave plenty of room. The door knob must never hit your picture frames.
Horizontal Alignment: Establishing Bridging Datum Lines
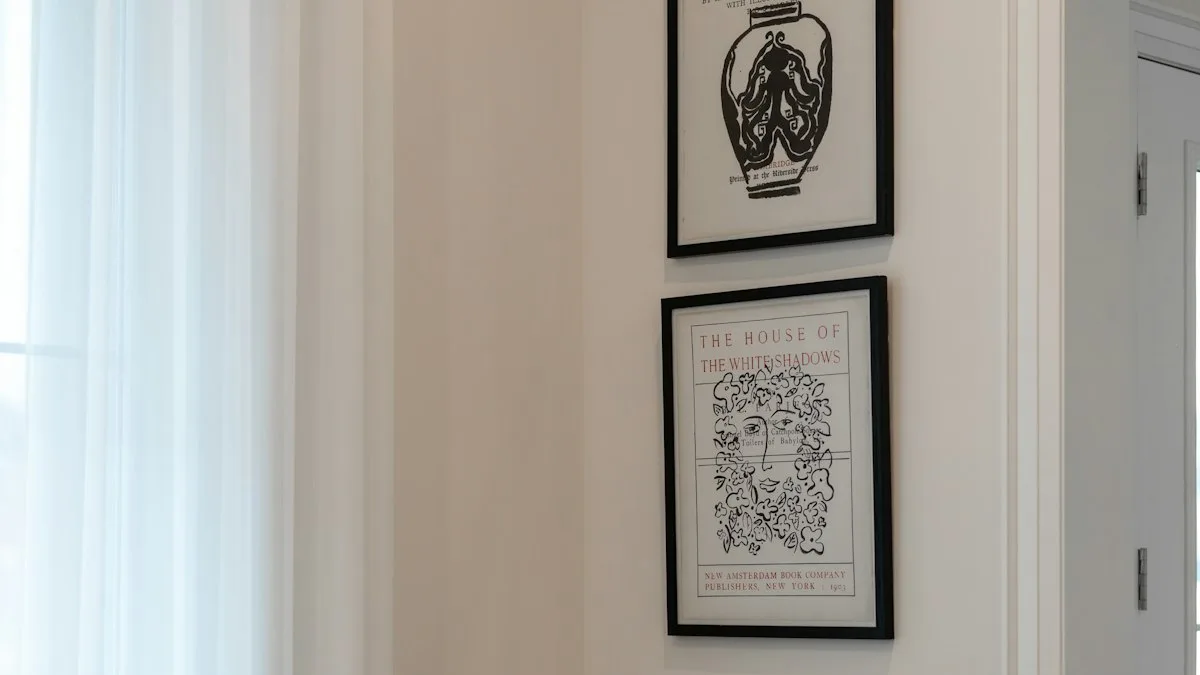
Align the horizontal midpoints or top edges of at least one row of art across both walls at fifty-seven inches eye level to create a continuous visual bridge that leads the eye smoothly around the bend. Without a continuous datum line, a corner gallery looks like two separate collections fighting for attention. A shared horizontal line connects the two wall faces into one cohesive display.
The Continuous Sightline Across the 90-Degree Seam
Set your primary horizontal line at museum height. Measure fifty-seven inches from the floor to the center of your anchor frames. Carry that line across the corner fold onto the next wall. Use a carpenter level or a laser level.
Visitors follow this unbroken horizon across the ninety-degree turn. The smooth sightline tricks the eye. It makes the room read as an open space. Small rooms instantly feel larger, airy, and bright.
Use blue painter tape to mark this horizontal guide on both walls. Step back ten feet to check the line from the main room entry. A visible tape guideline ensures that your picture hooks match your marks with pinpoint accuracy before you drill.
Wrapping Diptychs and Panorama Canvases
Splitting a two-piece diptych across an inside corner makes a bold design statement. Mount panel one on Wall A. Mount panel two on Wall B. Match the painted horizon line across the corner fold.
This wrapped composition turns the room architecture into an active part of the art display. The corner ceases to be an awkward boundary. Instead, it becomes the dynamic center point of your entire living space.
Keep the gap between panels equal to your other frame gaps. For two-inch gaps, place each canvas two inches from the corner. This balance unites the art across the fold.
Corner Lighting: Banishing Shadow Valley
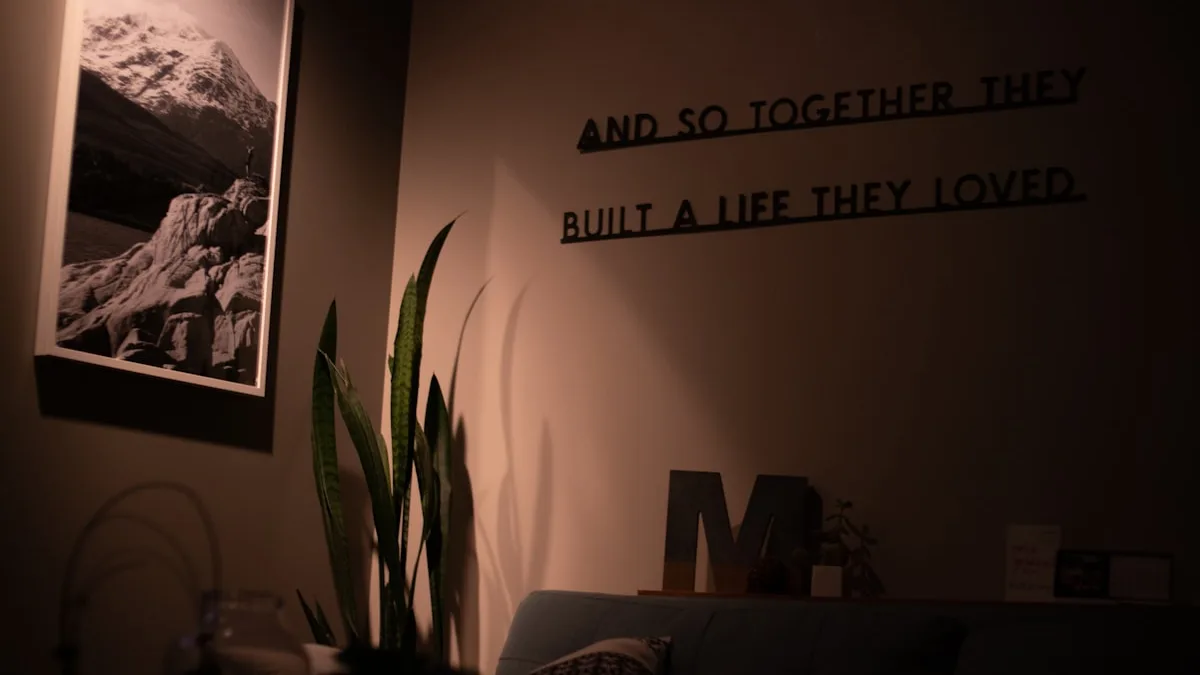
Illuminate corner gallery walls using a ceiling-mounted gimbal spotlight or an adjacent slender arched floor lamp to eliminate dark shadows in internal wall creases. Internal room corners naturally trap shadows because light rays from central ceiling fixtures strike the walls at steep, glancing angles. Without dedicated accent lighting, your framed prints look dim, muddy, and lifeless.
Why Room Corners Suffer Light Falloff
Architectural lighting studies show that ninety-degree inside corners receive up to forty percent less ambient light than flat wall surfaces. Daylight streaming from windows rarely reaches deep into room corners. Central flush-mount fixtures cast harsh diagonal shadows across corner frame edges.
Fix dark corners with an adjustable ceiling gimbal light. Angle the light directly into the corner fold. Choose warm bulbs between 2700K and 3000K. The soft downlight lifts the corner shadow. It brings out rich colors in your art prints.
In rental homes, choose a plug-in pharmacy lamp or an arched floor lamp. Place the base outside the walking path. Aim the lamp head right at the art display.
Using Anti-Reflective Museum Glass in Corner Enclosures
Corner gallery walls present unique reflection challenges because opposing frames face each other at ninety degrees. Standard picture glass on Wall A reflects bright light directly onto the glass surface of Wall B. This cross-reflection creates distracting glare that obscures the artwork underneath.
Upgrade corner frames with anti-reflective museum glass or non-glare acrylic. True museum glass has a special coating. It cuts surface glare down to less than one percent. You can enjoy your art from any chair without annoying glare spots.
Museum glass blocks ninety-nine percent of harmful UV rays. This protection stops fine art prints and family photos from fading in sunlight. It is a wise choice for valued art.
Layout Configurations: Symmetrical Mirroring vs Asymmetric Salon
Choose a symmetrical mirrored grid for formal architectural rooms, or use an organic ascending salon arrangement to draw the eye upward in compact apartments. Both layout styles work effectively when you apply consistent frame gaps and strict corner setbacks. The best choice depends on your room geometry, ceiling height, and personal decor preferences.
The L-Shaped Corner Wrap Layout
The L-shaped corner layout balances visual weight across both walls. Place one large thirty-by-forty-inch frame on Wall A. Then hang three stacked eleven-by-fourteen-inch frames on Wall B.
This asymmetrical arrangement feels collected, relaxed, and deliberate. It prevents the corner from feeling too rigid or sterile. It suits reading nooks, home offices, and apartment living rooms where furniture pieces sit off-center.
Anchor the large frame so its horizontal centerline matches the center of the stacked frames across the corner. This shared visual midpoint unites the two walls into a single dynamic display.
Planning Clearances with the Gallery Wall Spacing Calculator
Map your gallery wall layout on the floor before you drive hardware into the wall studs. Cut kraft paper templates to match each frame size. Tape the paper templates onto both wall faces using blue painter tape to preview spacing gaps and alignment lines.
Our interactive Gallery Wall Spacing Calculator removes guesswork by calculating exact inter-frame gaps based on your total wall dimensions. Enter your wall width and frame counts to ensure uniform two-inch spacing across your entire corner layout.
Mark the nail hanging bracket position directly onto each paper template with a pencil. Drive your picture hanging hook straight through the marked paper into the wall. Then pull the paper away cleanly from behind the hook.
Corner Gallery Wall Layout Styles Comparison
Comparing corner gallery wall layouts confirms that maintaining consistent corner setbacks and unified frame depths produces an immersive, designer-level feature wall. Different architectural spaces benefit from specific alignment strategies and frame groupings. Match your room style to the tested recommendations in the comparison matrix below.
Layout Format, Measurement Tolerance, and Room Expansion Impact
Use the structured specifications below to select the ideal layout style, set accurate frame gaps, and establish your corner clearance margins.
| Layout Style | Corner Setback Distance | Horizontal Alignment Rule | Best Room Location | Visual Impact |
|---|---|---|---|---|
| Symmetrical Corner Grid. | Exactly 2.5 inches on both walls. | Strict shared horizontal and vertical baselines. | Modern living room or formal dining corner. | Orderly, architectural, and graphic. |
| Asymmetric Salon Wrap. | 2.0 to 3.0 inches from corner seam. | Shared 57-inch central horizon line. | Cozy reading nook or bedroom corner. | Eclectic, collected, and relaxed. |
| Diptych or Triptych Fold. | 2.0 inches from corner seam. | Exact matching horizon across split canvas. | Minimalist modern apartment corner. | Bold, architectural, and expanding. |
| Vertical Column Stacks. | 3.0 inches from corner seam. | Dual parallel vertical stacks flanking corner. | Narrow entry foyer or compact hallway. | Sleek, tailored, and height-enhancing. |
| Floating Picture Ledge Wrap. | 1.5 to 2.0 inches from corner seam. | Dual horizontal ledges meeting at corner. | Casual home office or craft studio. | Flexible, casual, and easy to update. |
Check every mark with a laser level before you hammer. Clean frames in black, white, or warm oak look sharp when baselines match across the bend. A well-planned corner gallery creates a stunning display that transforms your entire home.
Frequently Asked Questions About Corner Gallery Walls
Direct answers to common reader inquiries clarify corner clearances, horizon alignment techniques, and proper frame selection for wrapping artwork around wall corners.
How far from the corner should picture frames be hung?
Maintain at least two to three inches of clear wall space between the inner corner seam and the nearest edge of any picture frame. This prevents frames from bumping each other while preserving balanced visual margins.
How do you align pictures around a wall corner?
Establish a shared horizontal baseline or center-line at fifty-seven inches eye level across both walls. Aligning at least one prominent row of frames to this shared line creates a continuous visual bridge that connects both surfaces.
Can you wrap a continuous canvas across a room corner?
Yes, splitting a diptych or panoramic landscape across a ninety-degree corner is a sophisticated designer technique. It embraces the room architecture and creates an immersive visual illusion that dissolves hard room corners.
What lighting works best for a corner gallery wall?
Directional ceiling gimbal recessed lights or an arched floor lamp work best. Internal corners naturally receive less ambient light, so dedicated downlighting prevents framed art from looking gloomy and eliminates harsh glass reflections.
Should frames match on both walls of a corner gallery?
Matching frame finishes in black, white, or natural oak creates sleek architectural cohesion in modern rooms. However, eclectic mixed frames work wonderfully if you maintain identical two-inch spacing and consistent matting throughout.