Chair Rail Height Rule 8-Foot Ceiling: 5 Math Rules
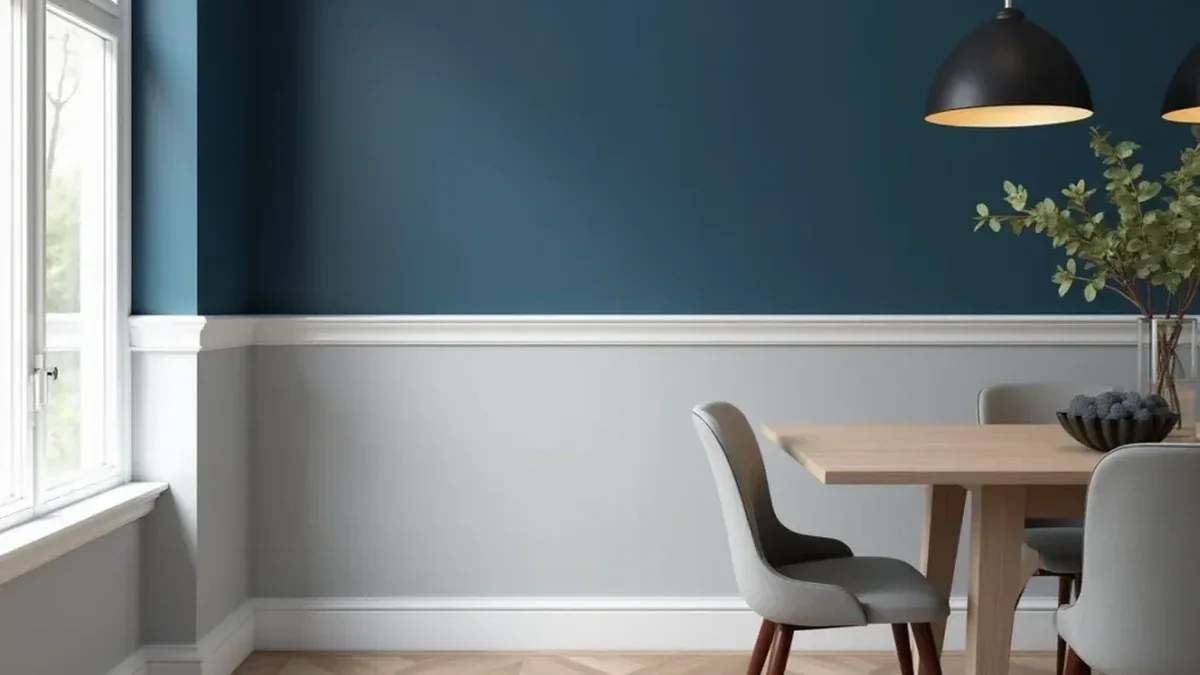
Reader Disclosure: This post contains affiliate links. If you buy through them, we may earn a commission at no extra cost to you. We only recommend items tested for clean craftsmanship and authentic durability.
Install chair rail moulding at one-third of your total ceiling height, setting the top of the moulding between thirty and thirty-two inches above the floor for eight-foot ceilings, and thirty-four to thirty-six inches for nine-foot ceilings. Fastening chair rail at the common thirty-six-inch height on eight-foot walls cuts the room in half visually and makes ceilings feel lower. Following the classical architectural one-third formula preserves gracious vertical proportions throughout your living areas.
Chair rail moulding brings classic architectural character to dining rooms, hallways, and powder baths. When installed at the correct height, it anchors the room and frames custom millwork. Yet many builders and homeowners set chair rail far too high. They pick thirty-six inches simply because standard kitchen counters sit thirty-six inches tall.
Setting moulding at thirty-six inches on an eight-foot wall creates an awkward visual split. The wall divides into equal upper and lower halves, creating visual tension that makes the ceiling feel pressed down. Learning the math behind classical architectural orders helps you establish balanced proportions that make rooms feel taller.
Before cutting moulding profiles or snapping chalk lines, enter your ceiling height and wall measurements into our interactive Chair Rail Height Calculator to determine exact layout heights and trim footage.
The Classical Golden Rule: One-Third of Ceiling Height
Install chair rail moulding at approximately one-third of the total height of your ceiling to respect classical Greco-Roman architectural proportions and avoid visually cutting the room in half. Classical Roman architects divided interior vertical planes into three distinct sections: the pedestal at the base, the column shaft in the center, and the entablature at the ceiling.
The chair rail marks the top cap of the architectural pedestal, known historically as the dado. In classical design, the pedestal occupies roughly one-fifth to one-third of the total wall height. For modern residential rooms with eight-foot ceilings, ninety-six inches divided by three equals exactly thirty-two inches. Setting your rail between thirty and thirty-two inches honors this timeless architectural balance.
When you keep the rail at or slightly below thirty-two inches, the wall space above expands. The upper two-thirds of the wall draws the viewer eyes upward, giving eight-foot builder ceilings an airy, taller presence. Raising the moulding above thirty-two inches shrinks that upper visual field and compresses the space.
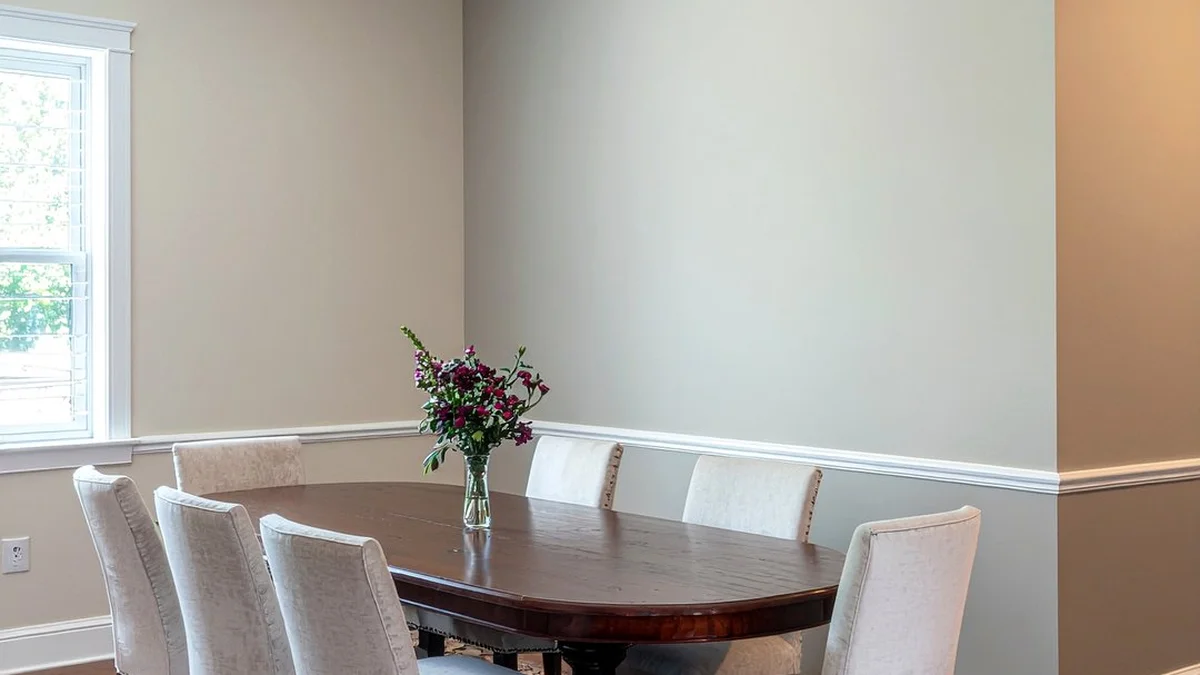
Calculating Heights for 8-Foot, 9-Foot, and 10-Foot Ceilings
Calculate your target chair rail height by multiplying total ceiling height in inches by 0.33. For an eight-foot ceiling measuring ninety-six inches, ninety-six times 0.33 yields thirty-one point seven inches. Professional trim carpenters round this measurement to thirty-two inches to simplify layout marks.
For a nine-foot ceiling measuring one hundred eight inches, multiplying by 0.33 yields thirty-five point six inches. Set the top of your chair rail at thirty-six inches for nine-foot rooms. For grand ten-foot ceilings measuring one hundred twenty inches, set your rail between thirty-eight and forty inches. These calculations keep the lower third proportional as room volume expands.
Why the Common 36-Inch Rule of Thumb Is Often Wrong
Many hardware store guides suggest installing chair rail at thirty-six inches across all rooms without checking ceiling heights. This advice stems from modern kitchen counter standards and standard light switch heights, not interior design principles.
Installing a rail at thirty-six inches on an eight-foot wall places the trim four inches too high. When you subtract six-inch floor baseboards and four-inch crown mouldings, a thirty-six-inch chair rail cuts the remaining visible drywall directly in half. Equal halves create visual monotony that robs the room of elegance.
Historical Context vs Modern Furniture Heights
Historically, chair rails protected fragile lime plaster walls from low thirty-inch dining chair backs, whereas modern decorative wainscoting serves primarily to ground room architecture and define wall color splits. In eighteenth-century European dining rooms, guests pushed dining chairs against the perimeter walls when meals concluded.
Dining chairs of that period featured low wooden crest rails that struck walls around twenty-eight to thirty inches high. The solid wooden chair rail absorbed scuffs from wood chairs and protected soft plaster from crumbling. Modern homeowners rarely park dining chairs against bare walls, so the moulding now functions as an aesthetic boundary instead of a bumper guard.
Protecting Plaster vs Establishing Architectural Pedestals
Understanding this historical shift frees you from trying to match chair rail height to your modern furniture. Today, the chair rail acts as the dividing cap between two different wall treatments. It separates wood beadboard, board and batten, or raised picture frame moulding from painted drywall or wallpaper above.
Treating the lower wall as an architectural pedestal creates a sense of permanence. The moulding establishes a grounded foundation that makes rooms look intentional and well-crafted. Chasing furniture heights undermines this classical balance.
Handling High-Back Modern Dining Chairs
Modern dining chairs often feature tall upholstered backs measuring thirty-eight to forty-two inches tall. Homeowners sometimes make the mistake of raising their chair rail to forty inches so the chair backs strike the wood trim. Doing so destroys the proportions of an eight-foot room.
Never raise your chair rail to chase tall modern chair silhouettes. Keep your rail anchored at thirty to thirty-two inches. Let tall chair backs rise naturally above the moulding horizon. This overlap creates pleasing visual depth and layers furniture in front of your millwork cleanly.
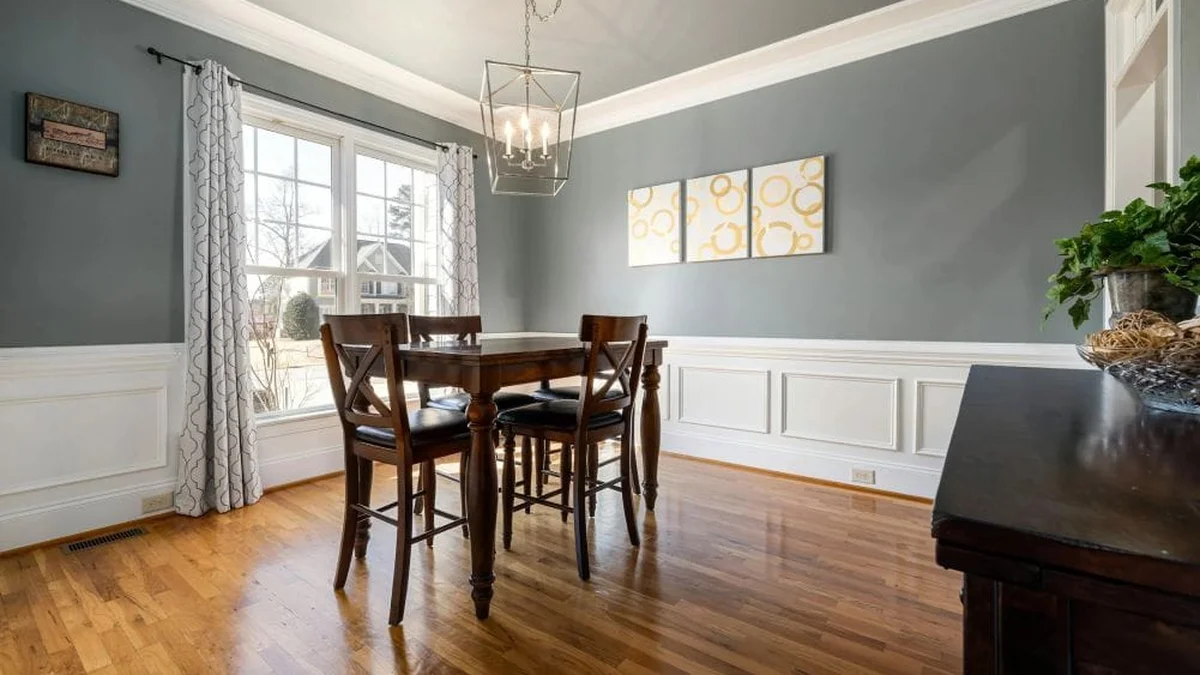
Resolving Transitions: Window Sills, Radiators, and Door Casings
Align your chair rail with the bottom of window sills when they sit within two inches of your target height, or terminate moulding into casings using crisp beveled self-returns. Awkward transitions around windows and doors ruin otherwise beautiful trim projects.
Residential windows in older homes often feature wooden sills that sit between thirty and thirty-four inches above finished floors. When a chair rail runs into a window casing just one inch above or below the sill, it creates an unsightly jog. Planning your transitions in advance ensures clean millwork throughout the room.
The Continuous Stool Technique at Window Openings
If your window sill sits thirty-one inches above the floor on an eight-foot wall, adjust your chair rail height to match the sill apron exactly. Running the chair rail directly into the window stool creates a continuous horizontal band around the entire perimeter of the room.
This continuous line ties your window millwork into your wall paneling. The eye follows the uninterrupted trim band without getting snagged on clumsy height differences. If the window sill sits far below thirty inches, run the chair rail straight into the side casing and terminate it with a neat joint.
Cutting 45-Degree Self-Returns at Casing Terminations
When chair rail terminates into door casings that are thinner than the rail moulding itself, never leave raw end-grain exposed. Cut a forty-five-degree outside miter on the end of the chair rail facing back toward the wall.
Cut a tiny triangular mating wedge, known as a self-return, and glue it into the open miter. The profile turns cleanly back into the wall surface, concealing all raw cut fibers. This small detail marks the difference between amateur DIY trim work and fine finish carpentry.
Color Blocking and Paint Strategies Above and Below Chair Rails
Paint the area below the chair rail in a darker shade or matching trim color to ground the room, while painting the upper wall in a lighter tone to draw the eye upward toward the ceiling. Color contrast reinforces the classical pedestal effect and shapes how people perceive room dimensions.
Applying dark navy, charcoal, or deep olive green below the chair rail gives the bottom third of the wall visual weight. Pairing this dark base with soft off-white, warm cream, or subtle greige above makes the upper walls appear expansive. Light colors reflect illumination from chandeliers and windows, brightening the room naturally.
Pairing Wallpaper Above Painted Wainscoting
Installing bold botanical or geometric wallpaper above a chair rail delivers maximum decorative style without overwhelming the room. Hanging large-scale wallpaper patterns on full eight-foot walls can feel busy and confining in small dining rooms.
Restricting vibrant wallpaper to the upper five feet above a thirty-two-inch chair rail keeps the room balanced. The calm, solid color of the wainscoting below anchors the visual energy of the pattern, creating a rich design that remains easy on the eyes.
Choosing Paint Sheens for Durability and Light Reflection
Select paint sheens that match the functional needs of each wall section. Paint the chair rail moulding and lower paneling in a satin or semi-gloss finish. Semi-gloss enamels resist scuffs from shoes, vacuum cleaners, and dining chairs while wiping clean easily.
Coat the upper wall in an eggshell or matte finish. Matte wall paint diffuses natural daylight evenly across the upper room and hides minor drywall flaws. This subtle contrast in sheen between the lower trim and upper wall adds tactile richness to your space.
Ceiling Height and Chair Rail Dimension Reference Matrix
Review the comprehensive dimension matrix below to match your specific ceiling height with the correct chair rail heights and moulding profiles.
| Ceiling Height. | One-Third Math Ratio. | Target Floor-to-Top Rail. | Moulding Width Profile. | Best Room Applications. |
|---|---|---|---|---|
| 8-Foot Ceiling (96 in). | 32.0 inches. | 30 to 32 inches. | 2.5 to 3.0 inches. | Dining rooms and casual hallways. |
| 9-Foot Ceiling (108 in). | 36.0 inches. | 34 to 36 inches. | 3.0 to 4.0 inches. | Formal dining and primary living rooms. |
| 10-Foot Ceiling (120 in). | 40.0 inches. | 38 to 40 inches. | 4.0 to 5.0 inches. | Historic homes and great rooms. |
| 12-Foot Ceiling (144 in). | 48.0 inches. | 42 to 46 inches. | 4.5 to 6.0 inches. | Grand entry foyers and home libraries. |
| Vaulted Sloped Wall. | Variable ratio. | Align to lowest wall 1/3. | 3.0 to 4.0 inches. | Open-plan vaulted living areas. |
Calculate your exact room moulding dimensions and layout lines with our interactive Chair Rail Height Calculator before purchasing trim stock.
When selecting professional chair rail profiles, miter saws, and self-leveling laser levels, explore trade carpentry collections on Amazon to check customer ratings and profiles.
Five Costly Chair Rail Installation Mistakes to Avoid
Finish carpenters routinely fix these five common installation mistakes. Keep them in mind to ensure your finished millwork looks flawless.
Measuring up from uneven finished floors. Older floors often dip or crown by half an inch across a room. Measuring up thirty-two inches from a sagging floor produces a crooked rail. Always project a continuous horizontal line with a self-leveling cross-line laser.
Setting rails at switch plate height. Standard light switches sit forty-eight inches on center, while outlet boxes sit twelve to eighteen inches high. Never align chair rails directly through electrical faceplates. Keep the rail well below switch boxes to avoid awkward cutouts.
Butting thick moulding flat against thin door casing. Standard chair rail moulding is often thicker than cheap builder door trim. Butting thick moulding straight into thin trim creates an ugly overhang. Use backer blocks or cut forty-five-degree self-returns to soften the transition.
Using straight butt joints on long wall spans. Timber shrinks along its length during winter heating cycles. Straight butt joints pull apart, leaving visible cracks. Join long runs using forty-five-degree scarf joints glued and nailed over wall studs.
Nailing only into drywall without finding studs. Drywall alone cannot support solid hardwood moulding over time. Locate wall studs with a magnetic stud finder and drive two-and-a-half-inch finish nails directly into framing lumber at every stud location.
For more architectural wall moulding guidance covering board and batten, picture ledges, and frame layouts, browse our complete Wall Decor and Art Hanging guide library.
Frequently Asked Questions About Chair Rail Height
What is the standard height for chair rail with 8-foot ceilings?
The standard height is thirty to thirty-two inches from the floor to the top of the moulding. This represents one-third of the ninety-six-inch wall height and prevents cutting the room in half visually.
Is 36 inches too high for chair rail on an 8-foot wall?
Yes, thirty-six inches is too high for eight-foot ceilings. When factoring in baseboards and crown moulding, thirty-six inches cuts the visible wall in half, making the ceiling feel squished and low.
Should chair rail match window sill height?
Yes, if the window sill sits within two inches of your target one-third height. Aligning the chair rail with the window stool creates a continuous horizontal line that unifies the room millwork.
What is the difference between chair rail and wainscoting cap?
A chair rail mounts directly to flat drywall as a standalone horizontal band. A wainscoting cap features a notched bottom groove that sits over wood panels or beadboard to cap the assembly.
How do you handle chair rail on stairs?
Measure thirty-two inches straight up from the front nose of the stair treads to set your angled line. Keep the height identical across every stair tread to ensure the rail runs parallel to the stairway incline.
Final Installation Checklist for Chair Rail Moulding
Measure your exact ceiling height. Divide total wall height by three to set your baseline height. Establish a dead-level horizon using a self-leveling laser level instead of measuring from uneven floors. Locate and mark every wall stud. Cut scarf joints on long wall spans and forty-five-degree self-returns at casing ends. Drive finish nails into studs and fill nail holes with sandable wood filler before painting.
Following these classical architectural standards ensures your chair rail adds graceful proportions, protects your walls, and enriches your interior spaces for decades.