Picture Ledge Shelf Styling: 5 Layering Guidelines
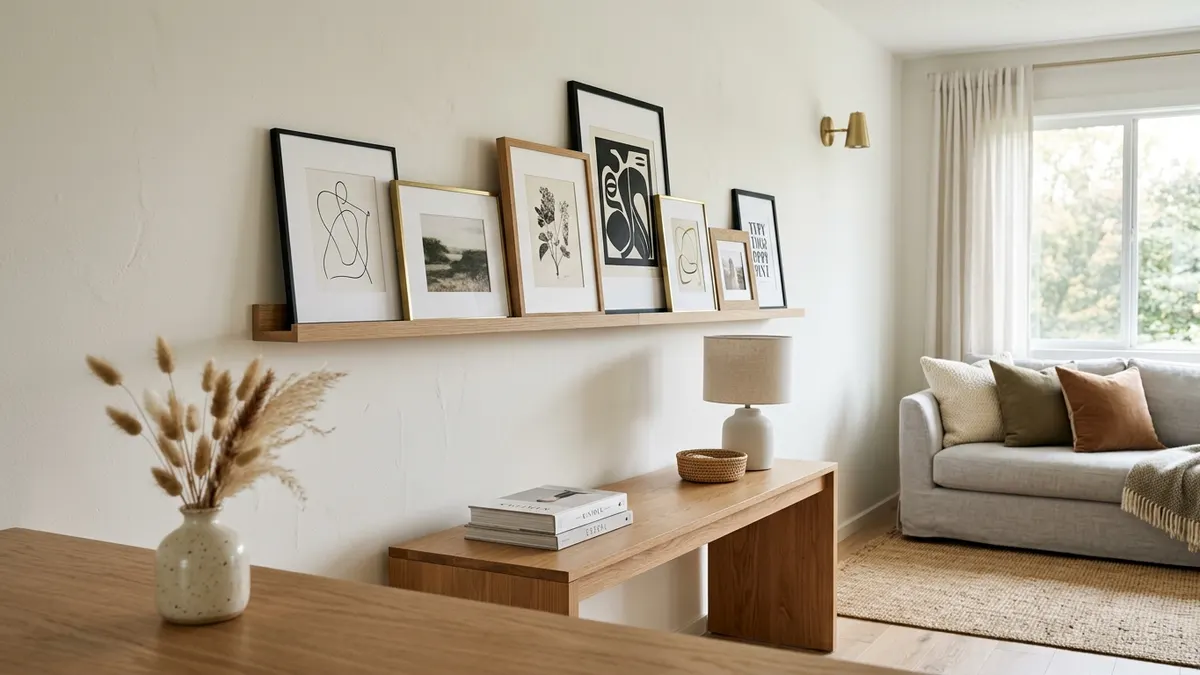
Reader Disclosure: This post contains affiliate links. If you buy through them, we may earn a commission at no extra cost to you. We only recommend items tested for clean craftsmanship and authentic durability.
Styling an intentional picture ledge requires using a shelf with at least three-and-a-half to four inches of usable front-to-back depth with a raised front lip to support overlapping frames. Layer art in three distinct planes including tall background anchors, medium overlapping layers, and small accent foreground items. Stagger neighboring frames with a modest twenty to thirty percent overlap. This tiered setup builds deep visual interest while keeping important subject details in clear view.
Picture ledges offer complete freedom for home decorators. You can swap art prints in seconds. You can mix personal family snapshots with oil paintings without drilling dozens of permanent wall holes. Yet many homeowners struggle with sloppy shelves. Frames slide forward and tumble onto the floor. Large pieces hide small prints behind them. In our Wall Decor & Art Hanging guides, we treat picture ledges as curated architectural displays. Proper depth and controlled layering produce clean, designer-level walls.
Before you mount your shelf, verify your frame matting ratios. Use our interactive Frame Matting Calculator to calculate border widths, compare frame sizes, and balance visual margins across your entire ledge display.
The Anatomy of a Functional Picture Ledge: Depth and Lip Geometry
A functional picture ledge requires a minimum usable depth of three-and-a-half to four inches and a raised front lip of at least one-half inch to prevent leaning frames from sliding forward. Standard decorative floating shelves lack this vital front lip. When picture frames lean backward against drywall, gravity pushes the frame base forward. Without a solid retaining lip, the bottom edge creeps forward over time until the frame falls to the floor.
Usable depth measures the clear wood space between the rear wall face and the inside edge of the front lip. Many mass-market shelves advertise a four-inch overall depth, but the wood thickness of the front and back rails steals over an inch of space. You need three full inches of clear flat deck to stack two or three wood frames in front of each other. Always check the inside channel measurement before buying shelf hardware.
Fasten the rear shelf rail into solid wall framing. A fully loaded four-foot picture ledge holds forty to sixty pounds of glass, wood, and metal frames. Plastic drywall anchors pull out under this forward-leaning load. Drive three-inch wood screws directly into at least two wood wall studs to keep the shelf level and secure.
If stud locations do not match your ideal shelf placement, use heavy-duty steel toggle bolts rated for at least seventy-five pounds each. Drill clean pilot holes through the drywall. Insert the toggle wings so they snap open behind the wall cavity. Tighten the bolts firmly so the shelf back sits tight against the wall plane.
Why Shallow 2-Inch Ledges Cause Falling Frames
Shallow two-inch ledges force picture frames into an unstable vertical posture. To rest securely on a wall shelf, a framed picture needs a backward lean angle of seven to ten degrees. A two-inch ledge leaves zero room for this natural tilt. The glass stands almost straight up. A minor door slam or heavy footsteps can pitch the frame forward onto the floor.
Shallow shelves also prevent any meaningful art layering. You cannot overlap a second frame in front of an anchor piece. The front frame teeters precariously on the narrow lip. Stick to deep four-inch ledges to build lush, multi-dimensional displays.
Grooved Base Channels vs Raised Wooden Lips
Picture ledges secure leaning frames using either a routed bottom groove or a raised front molding lip. A routed groove cuts a shallow channel down the center of a flat wooden shelf. The bottom edge of your frame drops into this channel to stop slipping. Routed grooves work well for single-row displays of flat photo prints.
Raised front molding lips provide far superior versatility for layered art styling. A half-inch front lip holds frames of different thicknesses anywhere along the shelf surface. You can slide frames back and forth to fine-tune your overlap. The raised wooden lip also conceals adhesive grip dots and small frame backing hardware from view.
The Three-Layer Designer Depth Formula
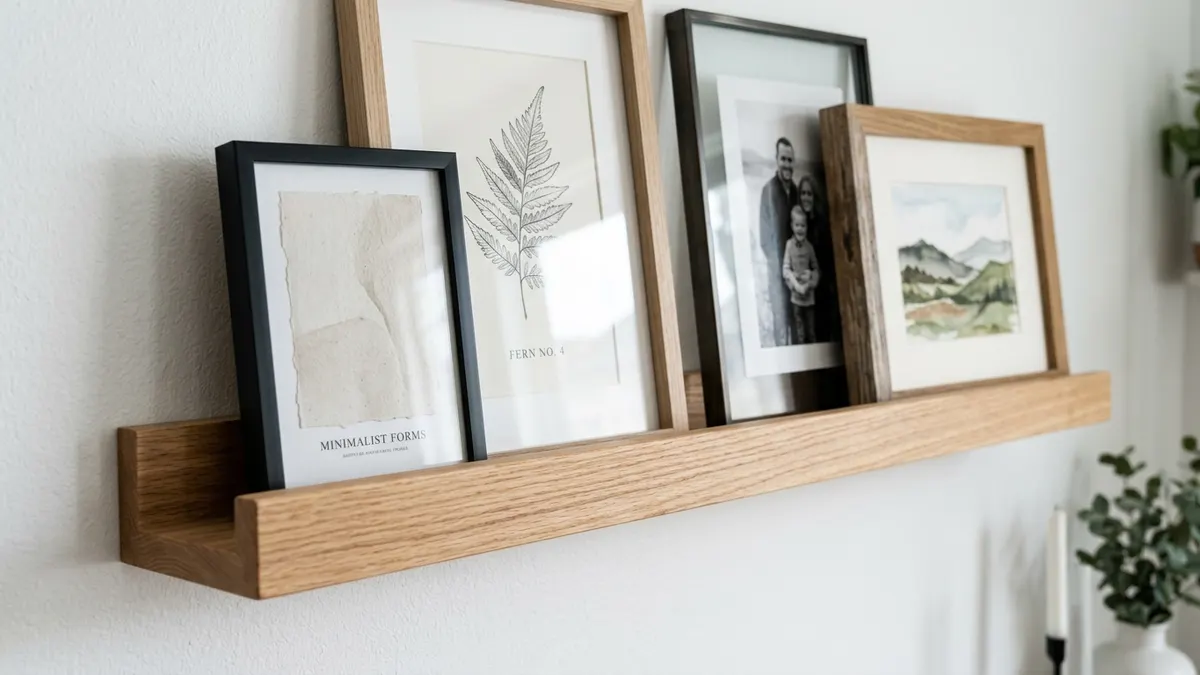
Create rich visual depth by staging art in three distinct planes: large anchor frames against the wall, medium frames overlapping the outer edges, and small sculptural objects in the foreground. Staging art in multiple tiers creates a collected, professional look. It turns a simple wall shelf into an engaging gallery display.
Background Anchors: Height and Placement Rules
Start your display by setting your largest frames directly against the wall surface. These anchor pieces establish the total height and visual boundaries of your arrangement. Select tall sixteen-by-twenty-inch or twenty-by-twenty-four-inch frames for a standard four-foot ledge. Position these large frames slightly off-center to avoid a stiff, symmetrical look.
Choose simple, high-impact art for your rear anchor frames. Architectural sketches, landscape photography, and bold abstract prints work best. Because foreground pieces will cover part of these background frames, pick compositions that remain legible even with twenty percent of their lower corners obscured.
Secure the top edge of very tall anchor frames with a tiny piece of removable museum putty on the back top corners. This sticky putty anchors the frame lightly to the wall drywall. It prevents frames from rattling when doors close nearby.
The 20-to-30 Percent Maximum Overlap Rule
Never cover more than twenty to thirty percent of any background frame width. Overlapping too heavily hides crucial parts of the art. It creates a messy, crowded appearance that frustrates viewers. The eye should perceive each individual piece as a complete, valued work.
Place medium ten-by-twelve-inch or eight-by-ten-inch frames in front of the anchor pieces. Position the front frame over the outer border and matting of the rear frame. Keep the central subject matter of both pictures open and unobstructed. This disciplined overlap produces casual dimension while honoring every artwork.
Balancing Frame Heights, Materials, and Matting Widths
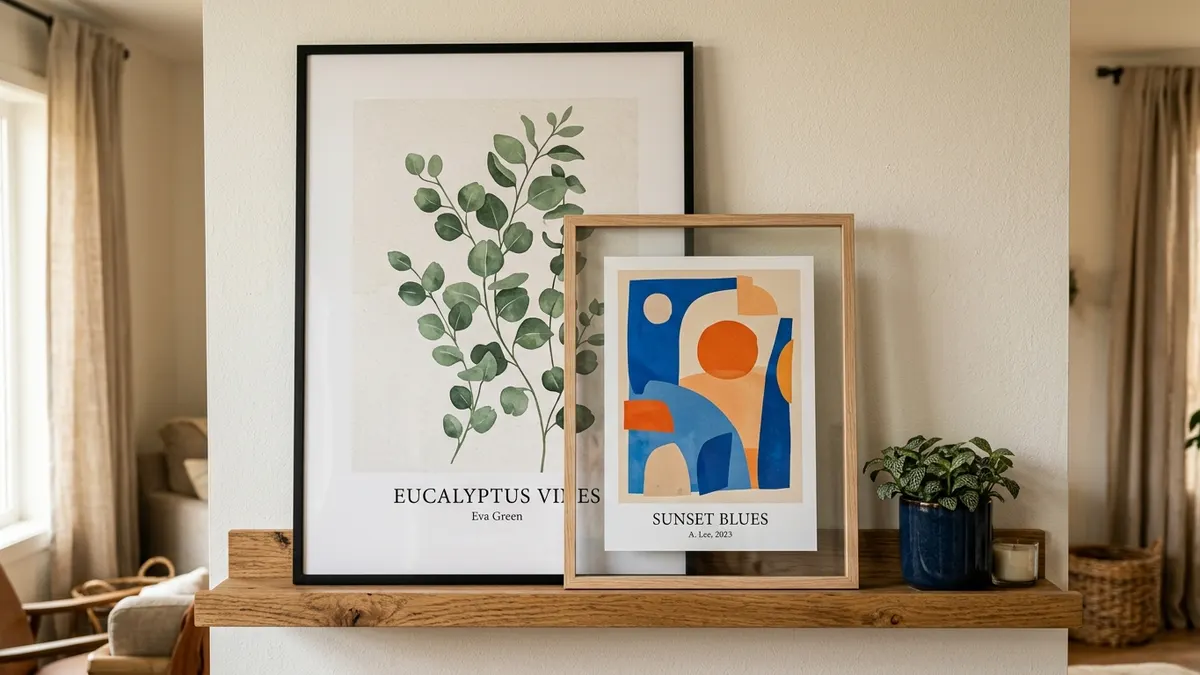
Vary frame heights by at least four to six inches between adjacent pieces, combining natural wood, matte black, and brass frames with wide white matting for an effortless collected aesthetic. Uniform frame sizes make a picture ledge look like a retail store shelf. Stepping heights up and down creates lively visual rhythm across the wall plane.
The Visual Rhythm of Staggered Frame Heights
Create an organic wave of frame peaks and valleys along your shelf. Pair a tall twenty-inch frame next to a short eight-inch square print. Follow that with a medium fourteen-inch frame. This height variation guides the viewer eye across the shelf in a smooth, continuous sweep.
Mix your frame profiles and materials with care. Combine two warm white oak frames with one slender matte black metal frame and one vintage brass frame. Repeat one dominant finish twice across the shelf to maintain visual harmony. Wide two-to-three-inch white mats give even small snapshots a museum-quality presence.
Stick to a tight color palette for your art prints to tie mixed frame finishes together. Pairing black-and-white portraits with sepia landscape sketches and muted botanical drawings creates a calm, unified display. The varied frames add texture without creating visual noise.
Incorporating Non-Frame Objects: Ceramics and Botanical Stems
Break up continuous glass reflections by tucking tactile decorative objects between your frames. A small handmade ceramic cup, a brass candle snuffer, or a petite clay vase brings warm organic texture to the display. These sculptural accents sit in the third, foremost layer of your ledge.
Add fresh or dried botanical elements to soften straight frame lines. A sprig of dried eucalyptus in a stone vessel or a delicate trailing ivy stem drapes gently over the front lip. Greenery injects life into the wall without cluttering valuable frame deck space.
Mounting Height and Vertical Wall Proportions
Mount a single picture ledge fifty to fifty-four inches above the floor, or ten to twelve inches above furniture backs, leaving twenty-four to thirty inches of open wall clearance above the shelf. When mounting on an open wall without furniture, aim for eye level. Placing the shelf fifty-two inches high puts the center of your art at standard museum gallery height.
When hanging a picture ledge above a couch, sofa table, or dining bench, preserve ten to twelve inches of clear headroom above the cushions. This margin prevents guests from bumping their heads when leaning back. It keeps the artwork visually tied to the seating group beneath it.
In narrow hallways or entryways, mount the ledge slightly higher at fifty-six to fifty-eight inches. This higher position keeps frame corners above swinging elbow height. It keeps traffic corridors completely clear.
Stacked Double Ledges: Vertical Clearance Spacing
Stacked picture ledges expand display capacity in rooms with tall nine or ten-foot ceilings. Mount the lower ledge thirty-six to forty inches from the floor. Space the upper ledge sixteen to twenty inches above the lower shelf. This vertical spacing accommodates tall anchor frames on the lower tier without crowding the upper shelf base.
Keep the upper shelf slightly lighter in visual weight than the bottom shelf. Place your largest, darkest frames on the lower ledge to anchor the wall. Stage smaller, airier prints with generous white mats on the upper tier. This top-down weight distribution feels natural, balanced, and stable.
Planning Proportions with the Frame Matting Calculator
Calculate your mat margins and frame dimensions before framing custom art prints. Narrow mats make small prints look pinched and lost on a deep shelf. Generous matting creates breathing room and gives different art styles a unified visual voice.
Our interactive Frame Matting Calculator takes the stress out of custom framing. Enter your print dimensions to determine ideal mat borders, frame aspect ratios, and outer mouldings tailored to your ledge setup.
Picture Ledge Styling Rules and Specifications Matrix
Reviewing picture ledge configurations reveals that combining adequate shelf depth with disciplined twenty percent layering creates an effortlessly curated, rotating gallery wall. Every shelf length requires a specific balance of frame quantities and anchor heights to maintain clean visual structure. Match your shelf size to the tested rules in the comparison matrix below.
Ledge Length, Frame Quantity, Layering Depth, and Mounting Specifications
Use the structured benchmarks below to pick your shelf length, determine total frame capacity, and calculate maximum safe anchor art heights.
| Picture Ledge Length | Recommended Frame Count | Max Height of Anchor Art | Optimal Layering Depth | Weight Limit (In Studs) |
|---|---|---|---|---|
| Compact Ledge (24 to 36 inches). | 3 to 4 frames plus 1 small object. | Up to 18 inches tall. | 2 distinct overlapping planes. | 25 to 35 lbs capacity. |
| Medium Ledge (48 to 60 inches). | 5 to 7 frames plus 2 small objects. | Up to 24 inches tall. | 3 distinct overlapping planes. | 45 to 60 lbs capacity. |
| Long Ledge (72 to 96 inches). | 8 to 11 frames plus 3 small objects. | Up to 30 inches tall. | 3 distinct overlapping planes. | 75 to 90 lbs capacity. |
| Stacked Dual Ledges (48 inches each). | 4 to 5 frames per individual shelf. | Up to 16 inches tall per tier. | 2 overlapping planes per shelf. | 50 lbs capacity per shelf. |
| Mini Accent Ledge (18 to 24 inches). | 2 to 3 frames plus 1 bud vase. | Up to 14 inches tall. | 2 overlapping planes. | 15 to 20 lbs capacity. |
Check every mounting bracket with a carpenter level before tightening your screws. Solid wall anchors and disciplined frame layering protect your art investment. A well-styled picture ledge transforms plain drywall into an evolving personal gallery that delights guests for years to come.
Frequently Asked Questions About Picture Ledges
Direct answers to common reader questions explain shelf depth requirements, frame overlap limits, mounting heights, and safety practices for styling picture ledges.
How deep should a picture ledge shelf be for layering art?
A picture ledge should be at least three-and-a-half to four inches deep with a raised front lip. This provides ample space to layer and overlap three depth planes of frames without risking frames falling off.
How much should frames overlap on a picture ledge?
Overlap adjacent frames by no more than twenty to thirty percent of their total width. This creates relaxed visual depth and dimension while ensuring the subject matter and composition of rear prints remain fully visible.
How high should a picture ledge be mounted above a sofa?
Mount a picture ledge ten to twelve inches above the top of your sofa back cushions. This provides comfortable headroom for seated guests while keeping the artwork visually connected to the living room seating area.
Can you put a picture ledge over a bed safely?
Yes, but exercise caution. Fasten the ledge securely into wall studs using structural screws, and use acrylic plexiglass instead of heavy glass in frames to prevent injury in the event of accidental displacement.
How do you keep picture frames from sliding forward on a ledge?
Choose a ledge with a raised front lip or routed groove. For flat shelves, stick small clear silicone bumper dots or adhesive rubber grip strips along the base of the frame to lock it in place.